


DIY Gantry Crane: The Ultimate Guide
Heavy lifting can be a literal pain in the back. That’s when a gantry crane comes to your rescue. A gantry crane is designed to lift and move heavy objects with ease. It can be a game-changer for your operations. And the best part? With the right knowledge and tools, you can build one yourself.
In this comprehensive guide, we’ll dive deep into the ins and outs of DIY gantry cranes, different types of gantry cranes and their components, and a basic step-by-step process of constructing a simple gantry crane. We’ll also help you understand the precautionary measures you should take while creating your crane, ensuring safety along with efficiency.
Ready to channel your inner engineer? Let’s dive into the process of making a gantry crane from scratch.
Building a Gantry Crane 101
Before we start our DIY journey, let’s take a moment to understand what gantry cranes are and their uses.
What is a Gantry Crane?
In simple terms, a gantry crane is an overhead crane that can typically be moved around on crane casters and used to hoist or lift heavy objects.
A gantry crane is usually made up of:
- a frame (usually in an A-shape)
- a hoist
- a trolley
- and casters (the wheels)
Why Use a Gantry Crane?
Using a gantry crane can save you significant physical strain, especially when dealing with loads that are too heavy to lift manually. They are versatile, easy to use, and allow you the freedom to move heavy objects not just up and down, but also sideways.
Plus, if you’ve attached heavy-duty crane casters, you can even wheel your heavy objects to different locations, adding to its convenience and functionality.
By understanding the fundamental operation, you can optimize its use in your specific context. In the next section, we’ll explore the different types of DIY gantry cranes you can build, helping you choose the one that fits your needs best.
Types of DIY Gantry Cranes You Can Make
Choosing the right gantry crane for your needs will largely depend on the specific tasks you want to accomplish, the environment in which the crane will be used, and of course, your budget. Let’s explore your options.
For instance, if you are moving goods that vary greatly in size or you’re working on uneven ground, an adjustable or telescoping gantry crane may be your best option. Alternatively, for consistent, repetitive tasks involving loads of the same size, a fixed gantry crane could be the most practical and cost-effective solution.
Here are three main types you can build:
Fixed gantry cranes maintain a fixed height, meaning you cannot adjust the frame up or down. They’re simple and cost-effective to build and are a great option if you’re working with items of a uniform size or in an environment with ample vertical space.
Adjustable gantry cranes allow for adjustments in frame height, accommodating a wider range of lifting needs. They are slightly more complex than fixed cranes, but still fairly simple and affordable to construct.
Telescoping gantry cranes are a sophisticated choice designed to handle precise height adjustments and uneven surfaces. They can bear heavy loads of up to two tons. While expensive and complex to build, they offer maximum flexibility and power.

Components of a DIY Gantry Crane
Building a gantry crane is not as daunting as it might sound especially if you understand the primary components involved.
Let’s delve into them:
Frame Design
A gantry crane frame typically follows an A-frame design, with two legs on either side. The frame could be constructed from various materials such as wood, steel, or aluminum.
- Wood is usually the least expensive option suitable for lighter loads. Though, a wood frame may not withstand harsh weather conditions as effectively as other materials.
- A steel frame is a much more durable and common choice. It is ideal for projects requiring 500 lbs or more.
- Aluminum is a lightweight material allowing for easy movement of heavy objects. While it’s more challenging and expensive to build, it might be a requirement if your needs extend beyond basic lifting.
The Girder: Single vs Double
The girder is a crucial part of your DIY gantry crane. Girder is a horizontal beam that supports the trolley and hoist, enabling the user to lift heavy loads.
There are two types of girders you can consider: Single vs double Girders
- In most situations, a single girder is a good choice for DIY gantry cranes. It is easier and cheaper to incorporate into the crane.
- A double girder, on the other hand, is required if you need extra power, with a higher capacity rating and more hook weight than a single girder can offer.
The choice between a single or double girder will largely depend on your lifting requirements and budget.
The Heart of the Crane: Hoist and Trolley
A hoist is a device used for lifting or lowering a load using a drum or lift wheel, while a trolley enables the movement of the hoist (and therefore the load) horizontally along the crane.
Here are your options:
- Manual chain hoists are cost-effective and easy to install. However, as the name suggests, manual effort is needed to pull the chain and hoist the heavy object up.
- Electric chain hoists remove the manual effort, making the process faster and easier for you when dealing with heavier loads.
- Electric cable hoists are the most convenient and also the most expensive. They can lift and pull as much weight as your gantry crane can handle, significantly simplifying the process for you.
The choice of hoist and trolley will depend on your budget, the weight of the loads you will be lifting, and the height from which you will be lifting.
In the next section, we’ll discuss the crane casters, a critical component that provides your gantry crane with mobility.
After all, what good is a crane if it can’t move the load to where you need it?
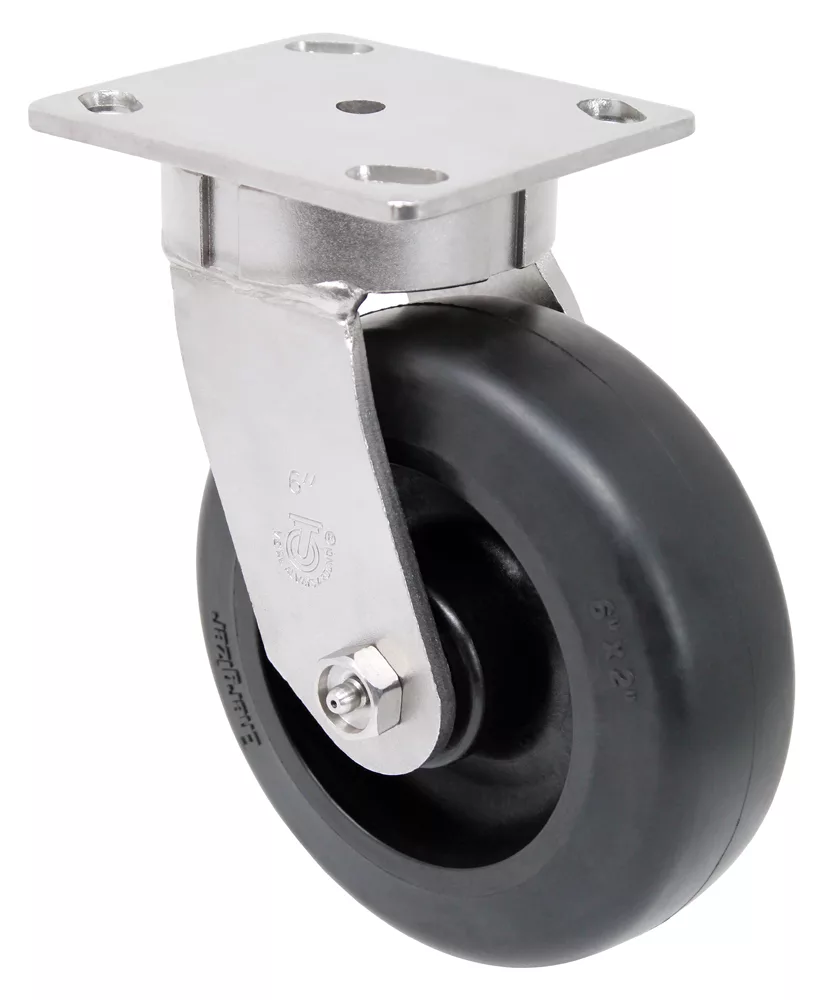
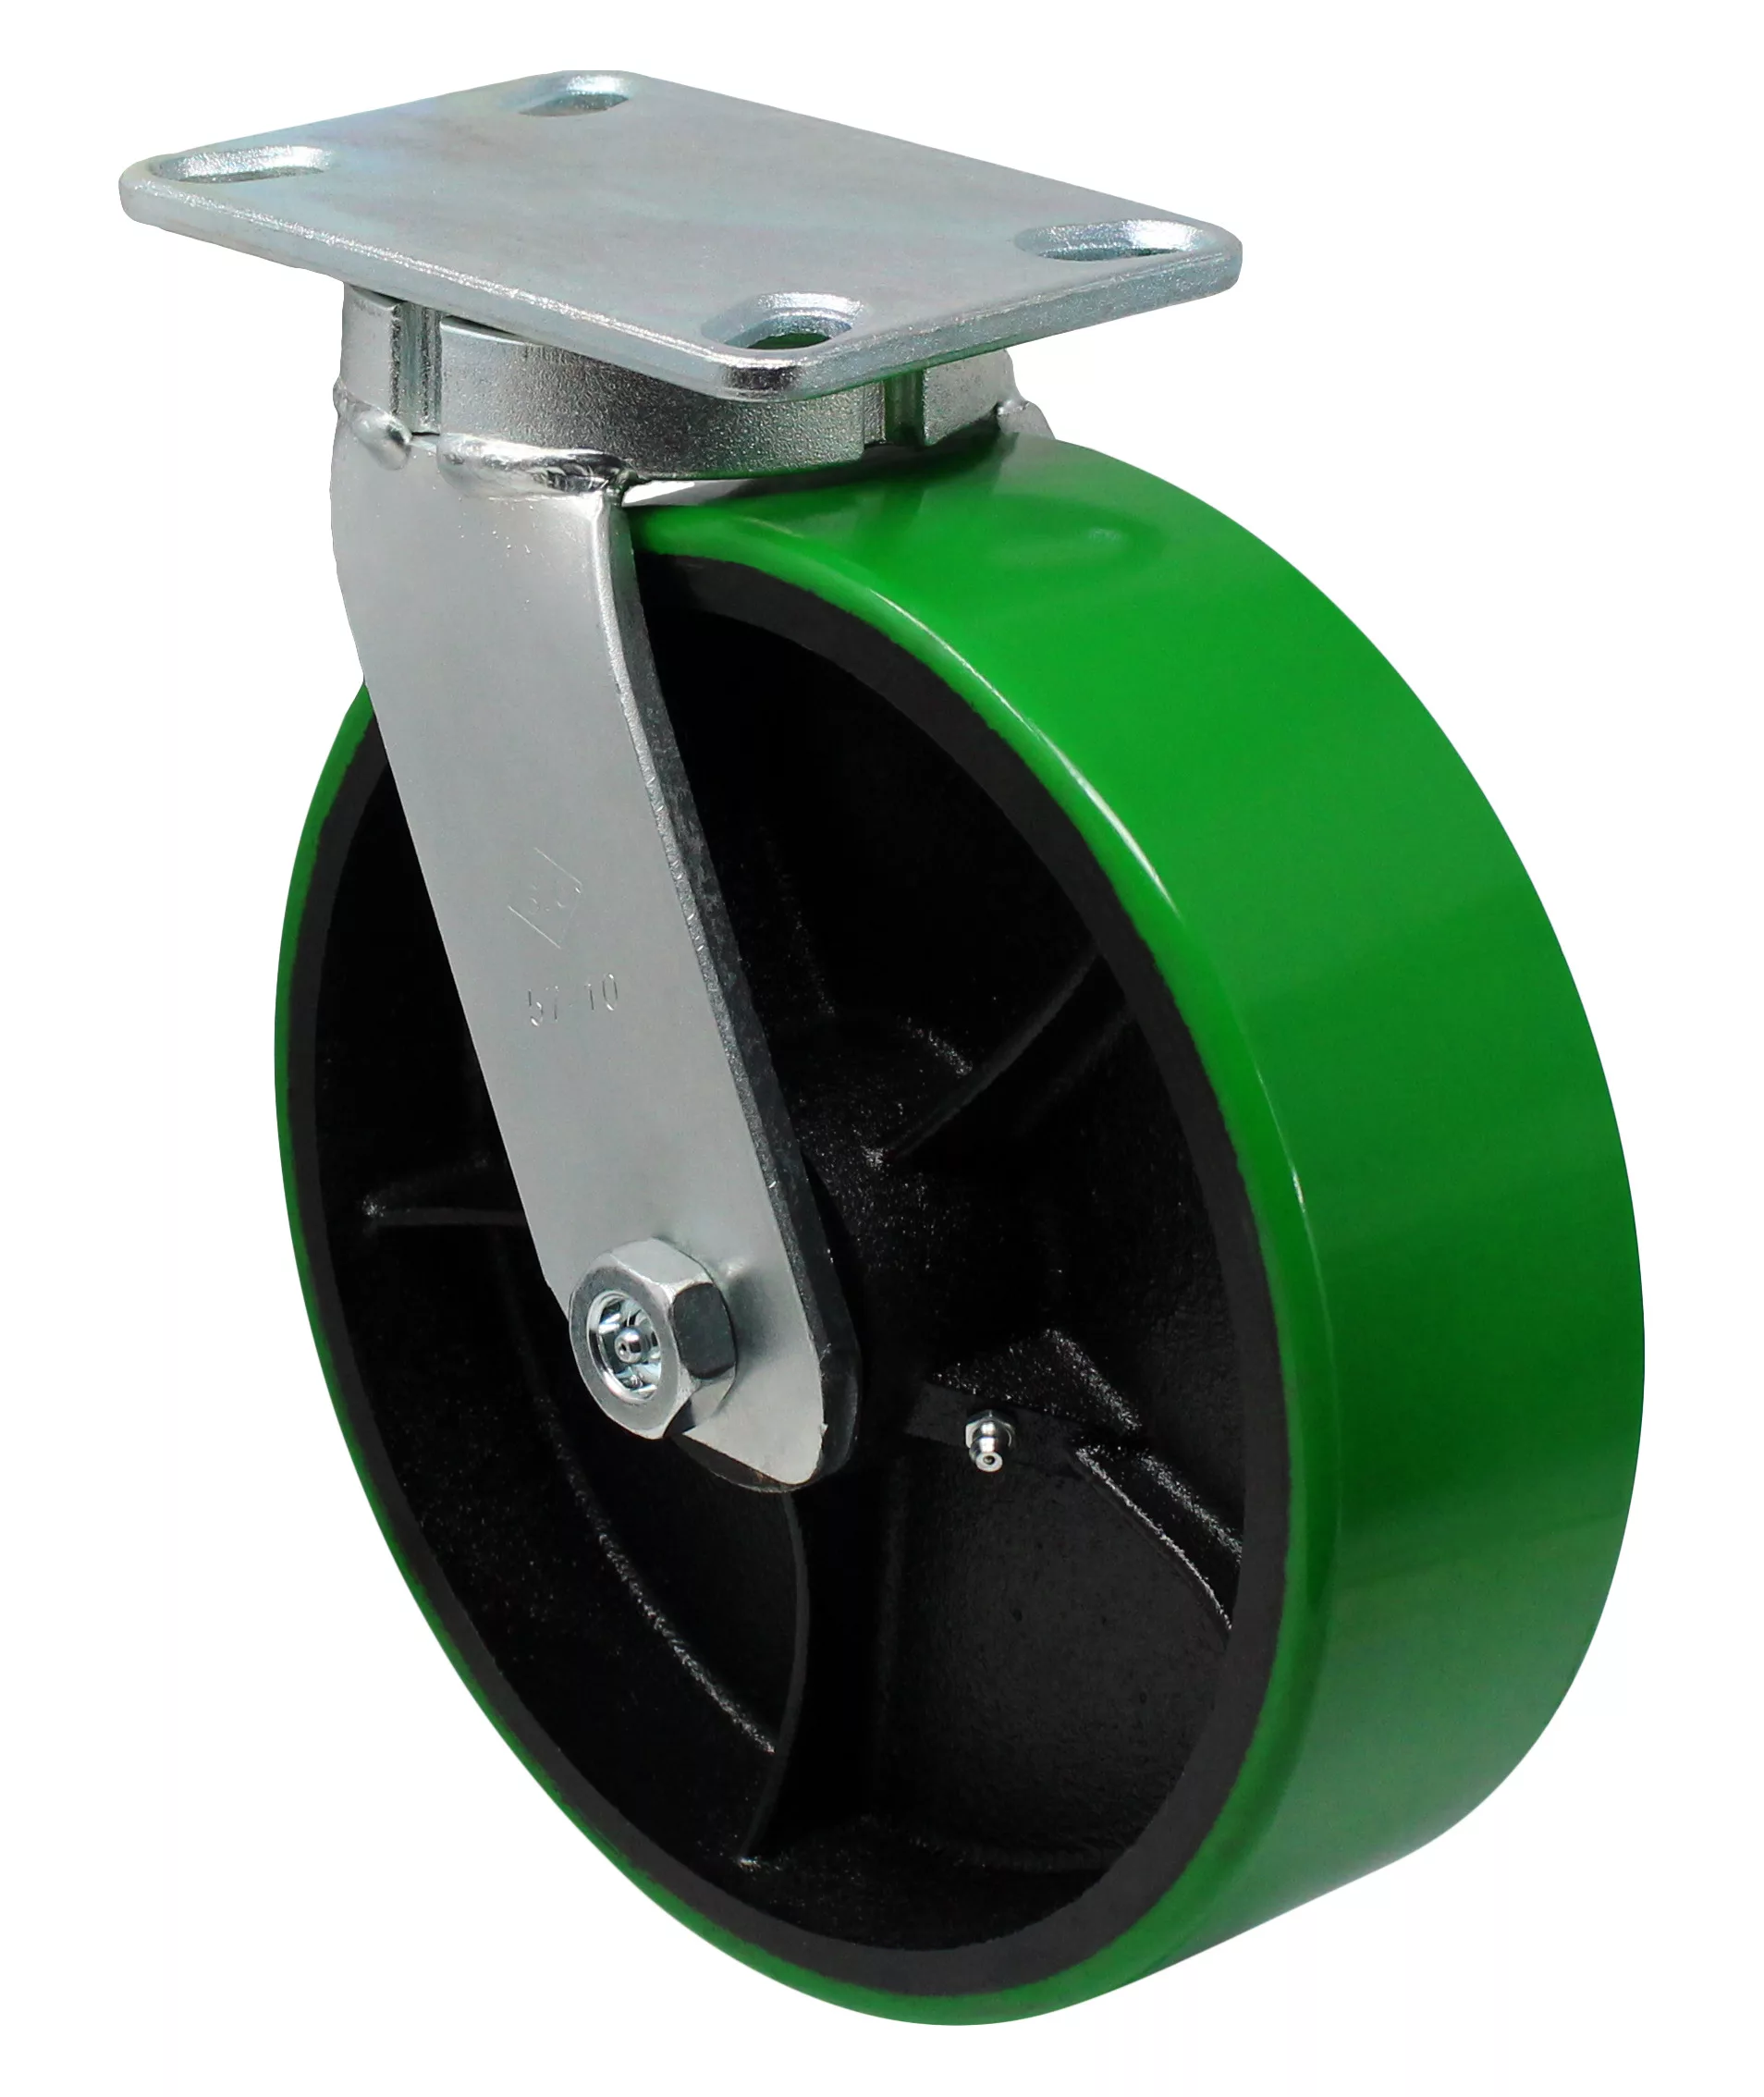
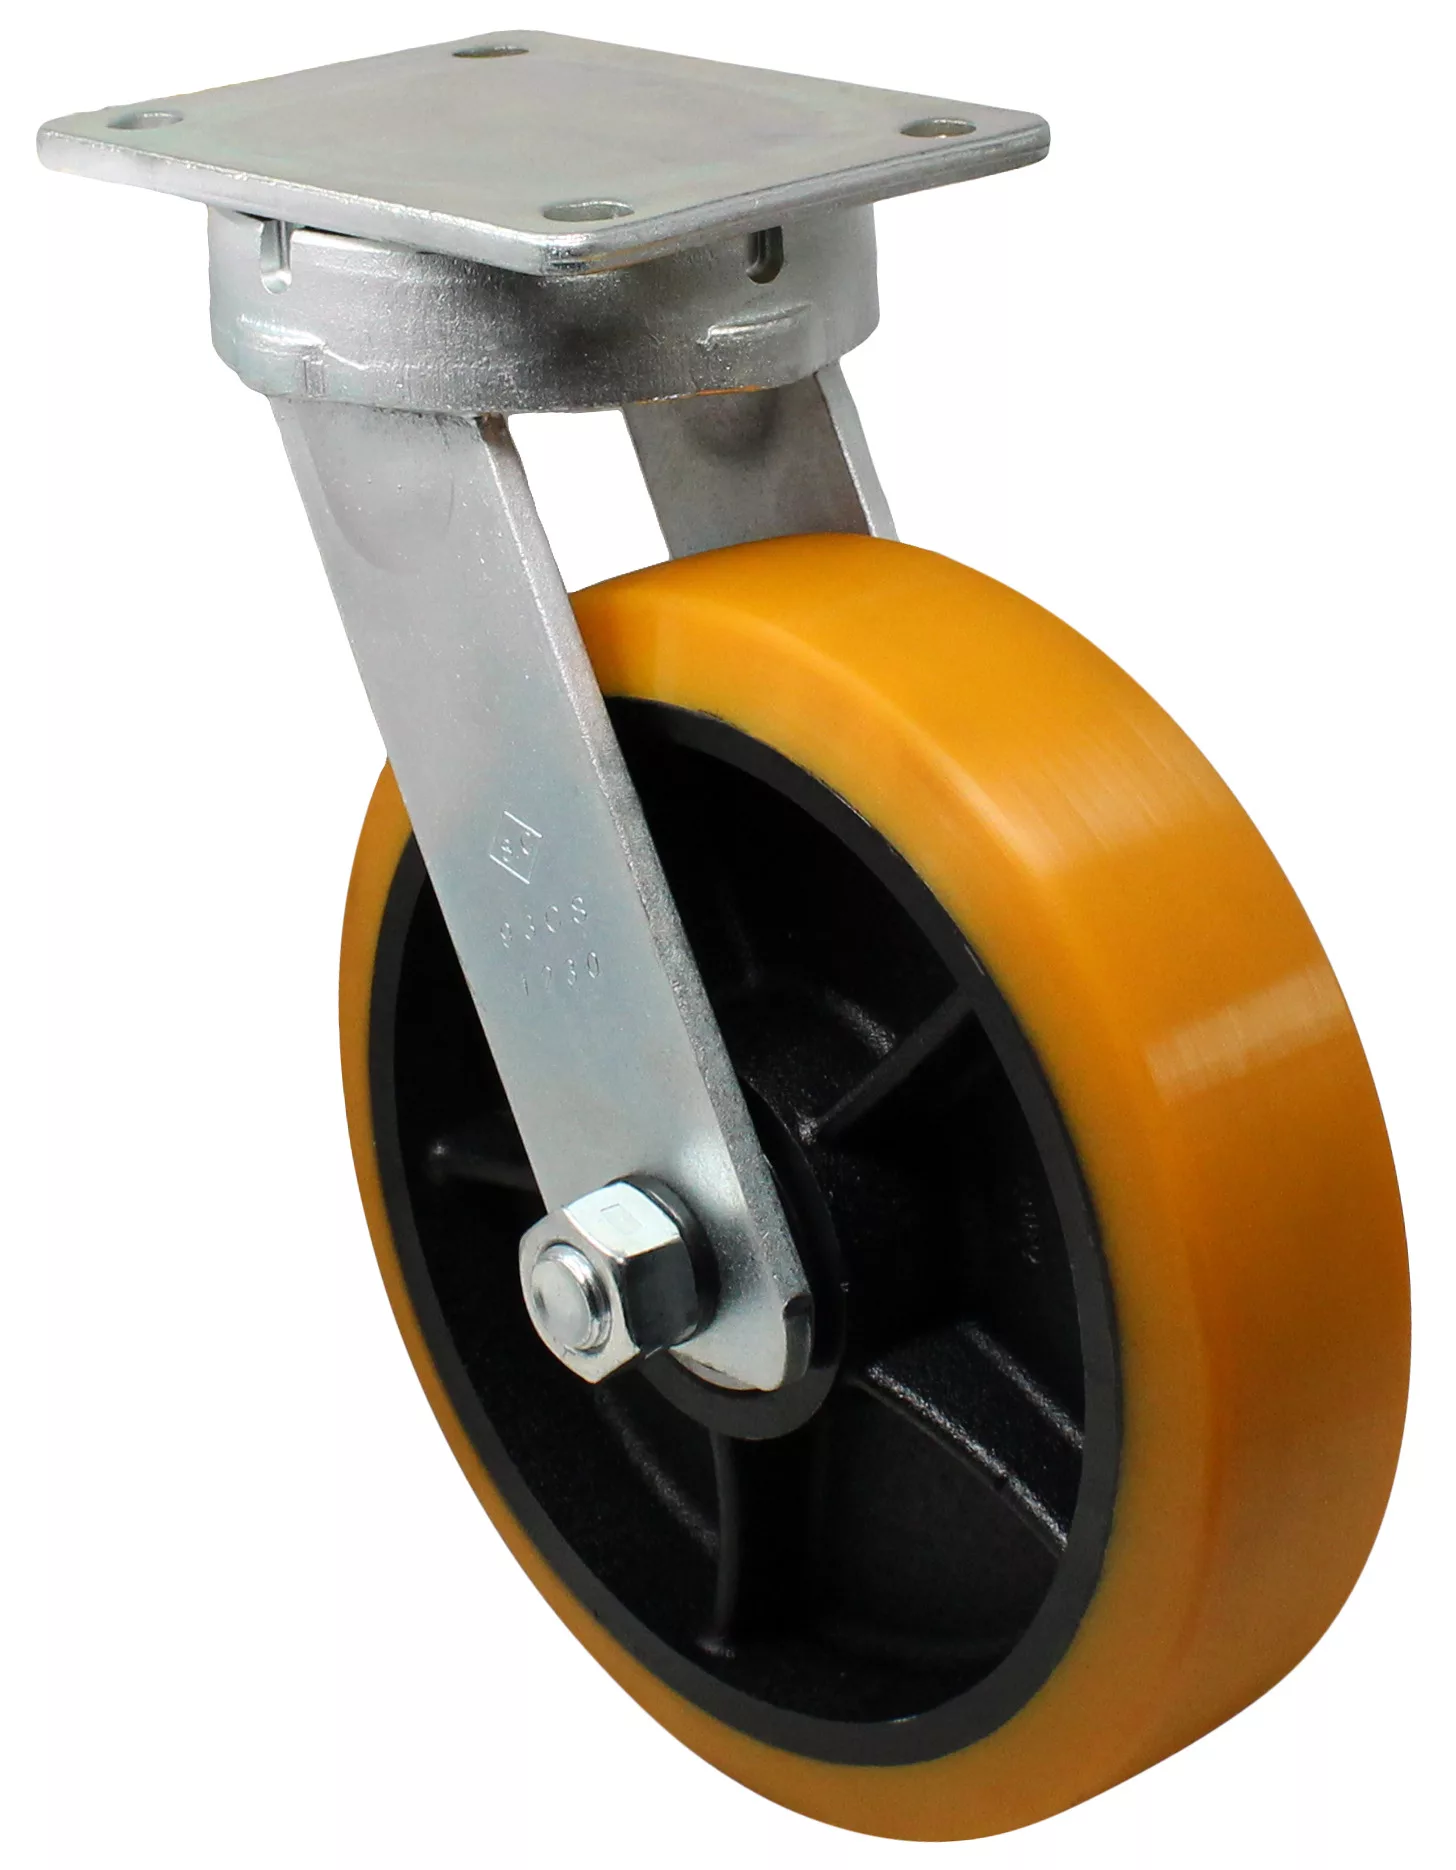
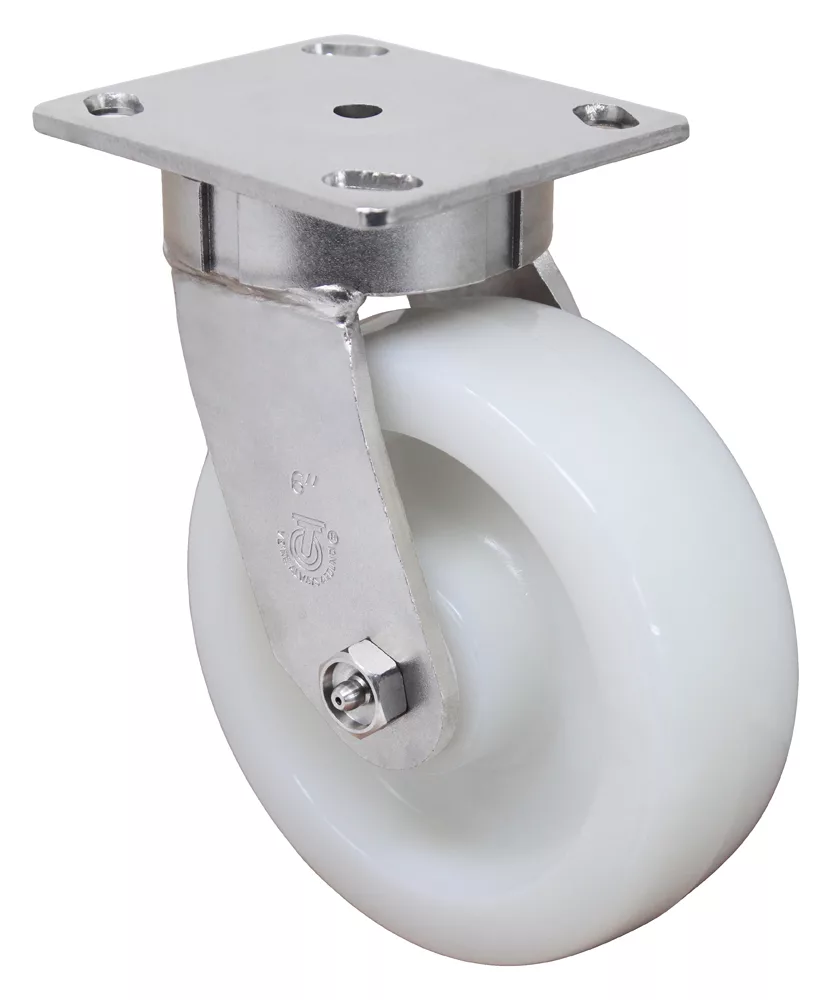
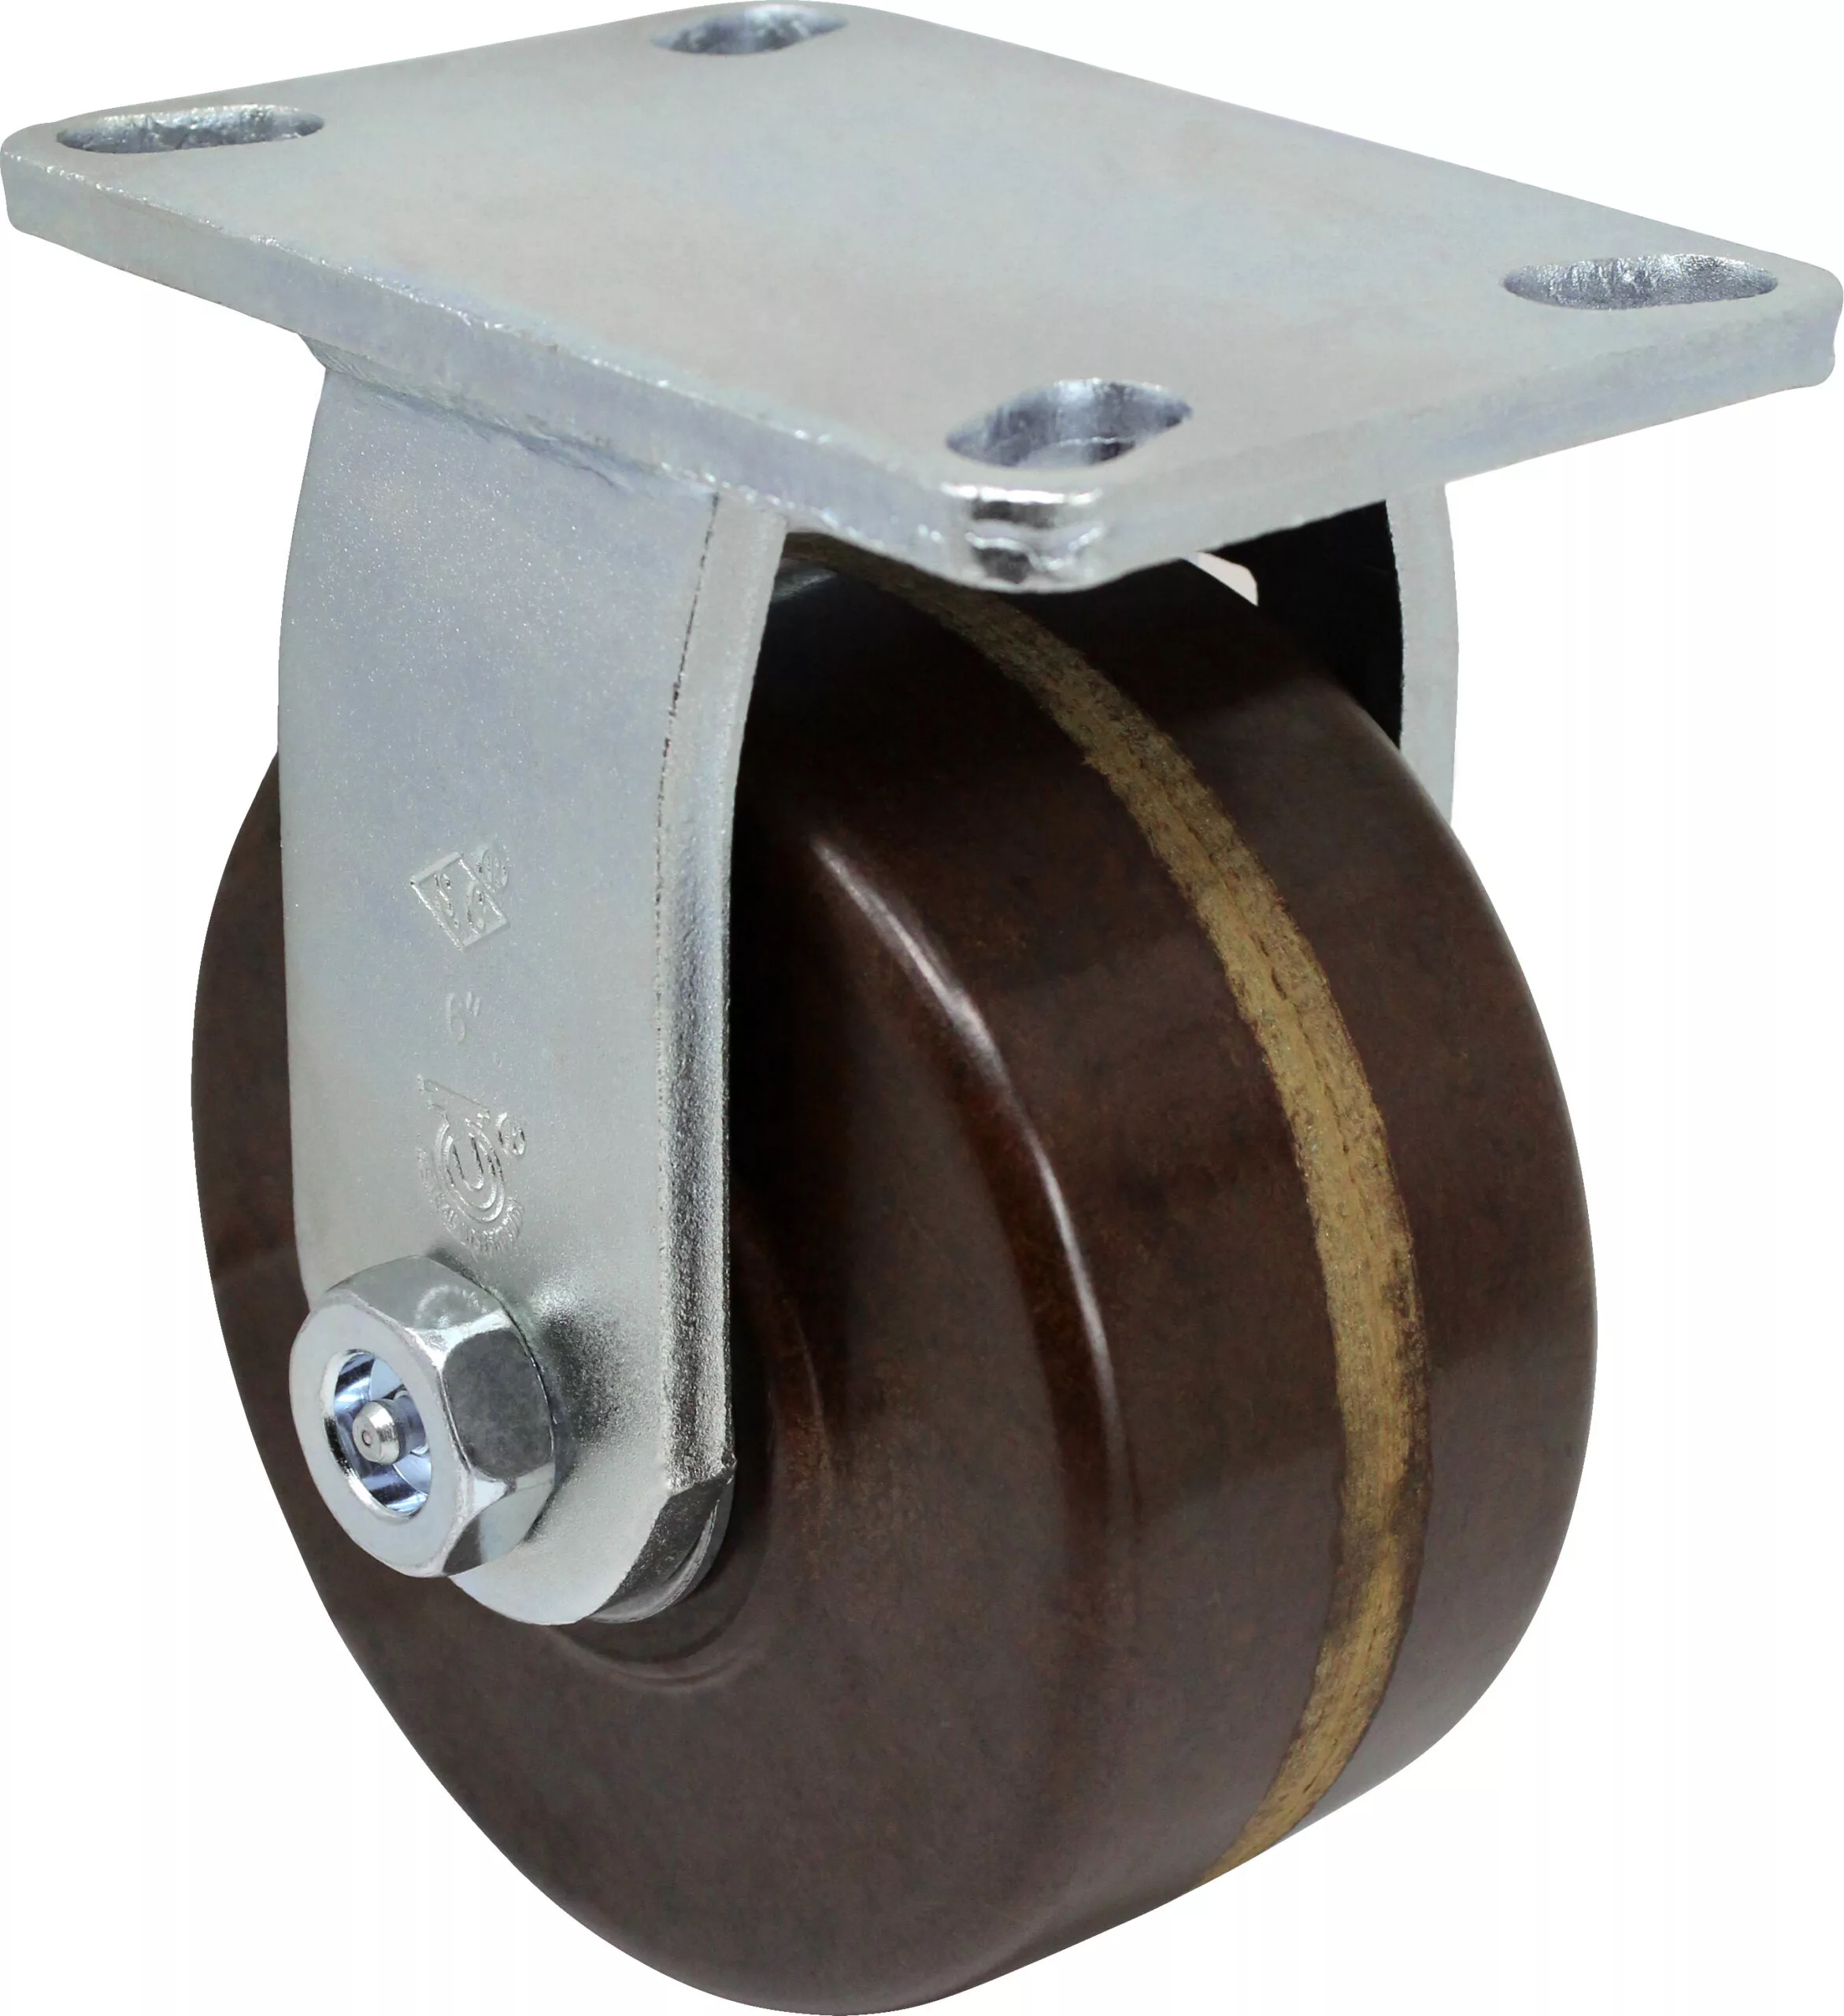
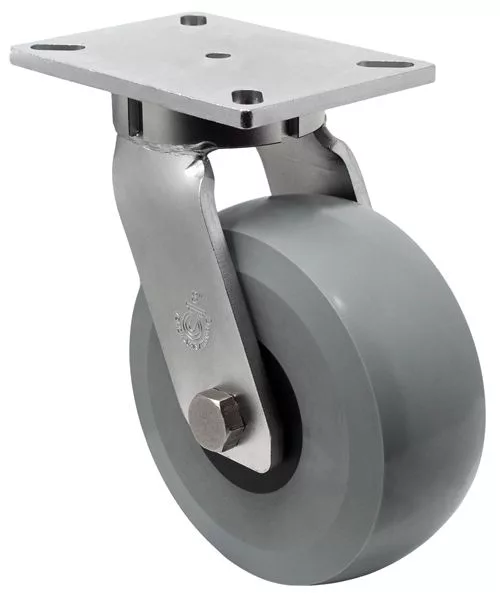
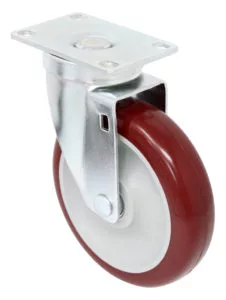
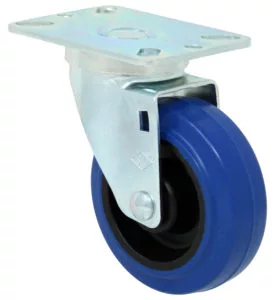
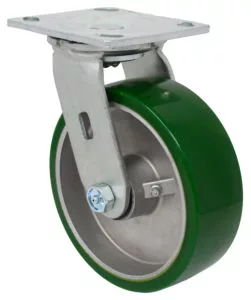
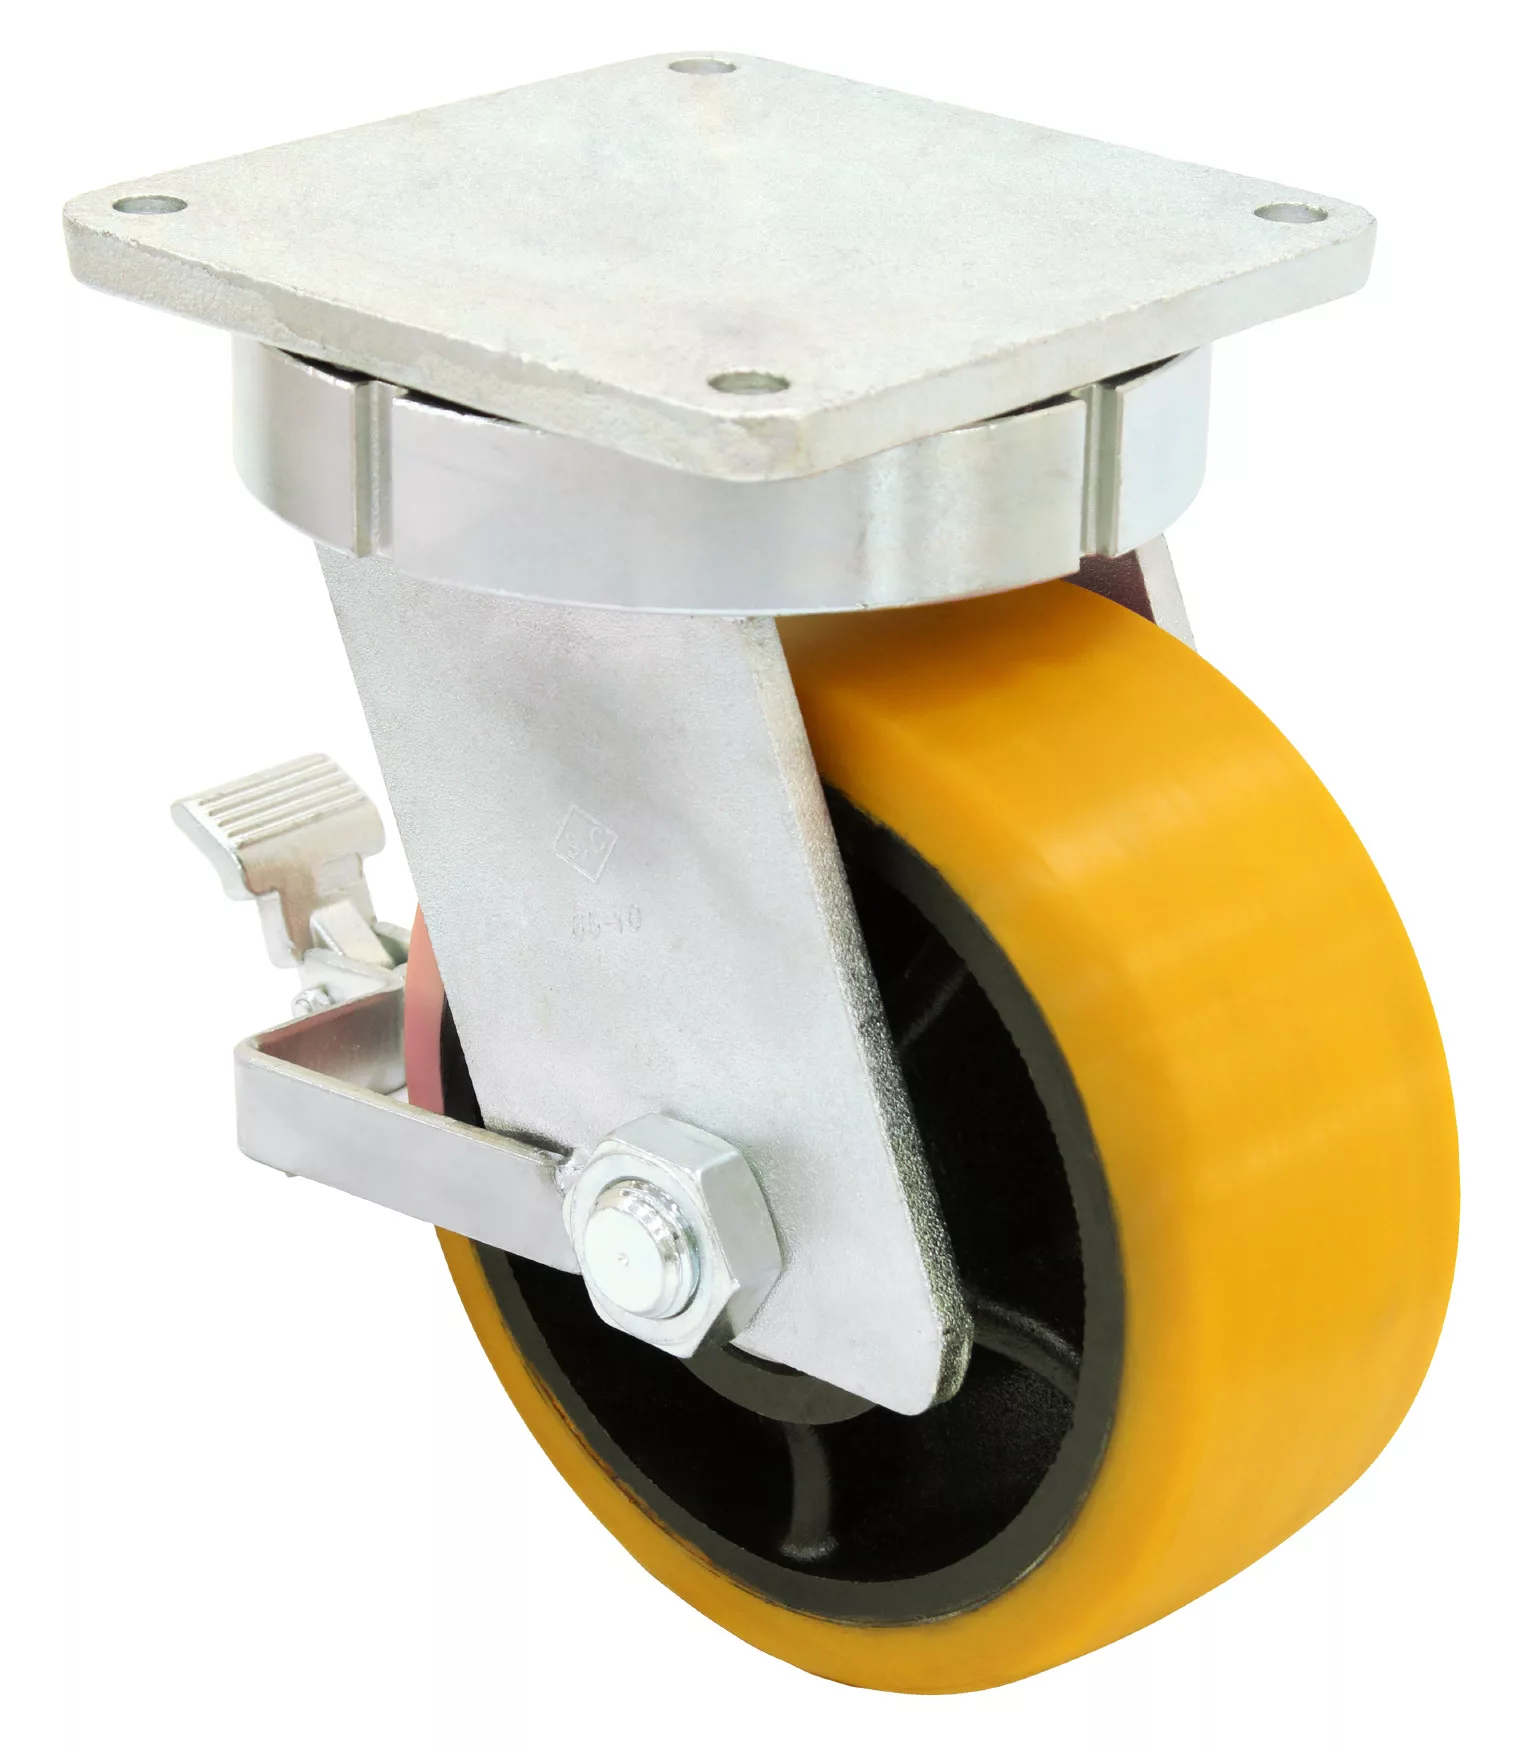
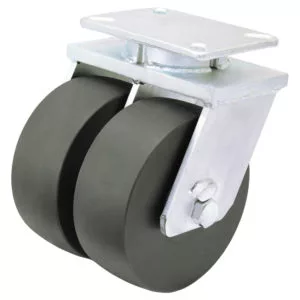
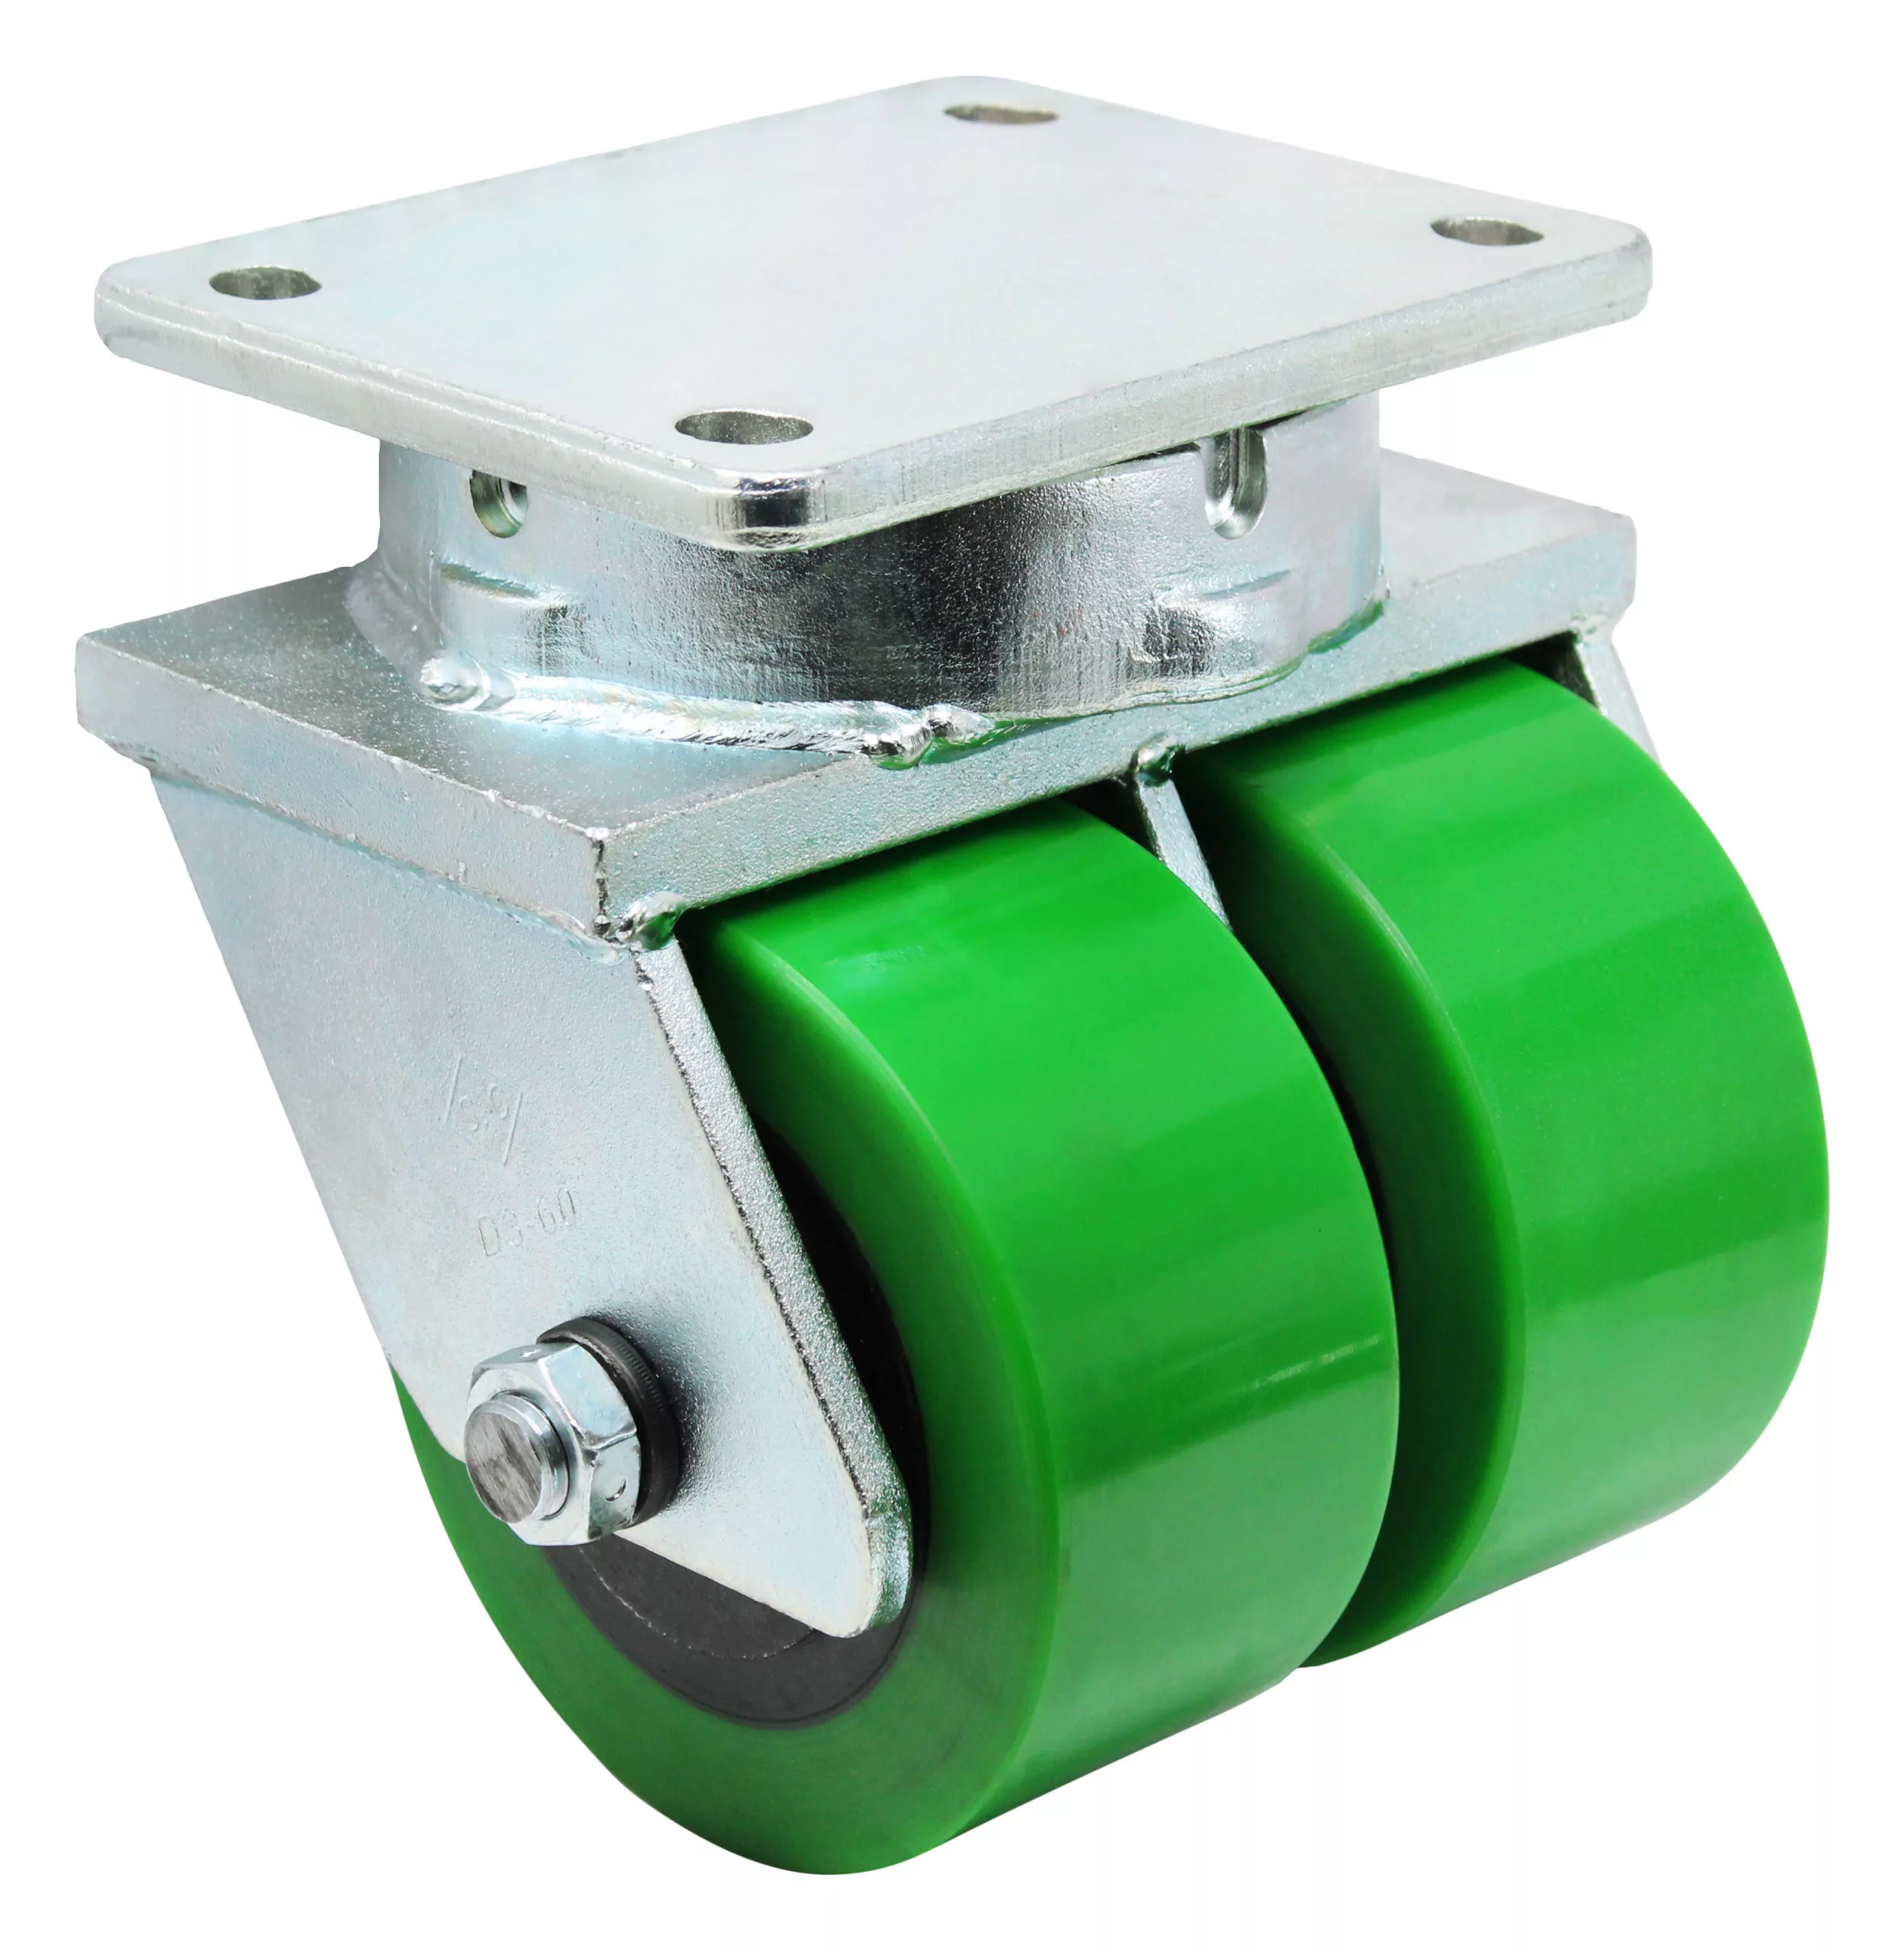
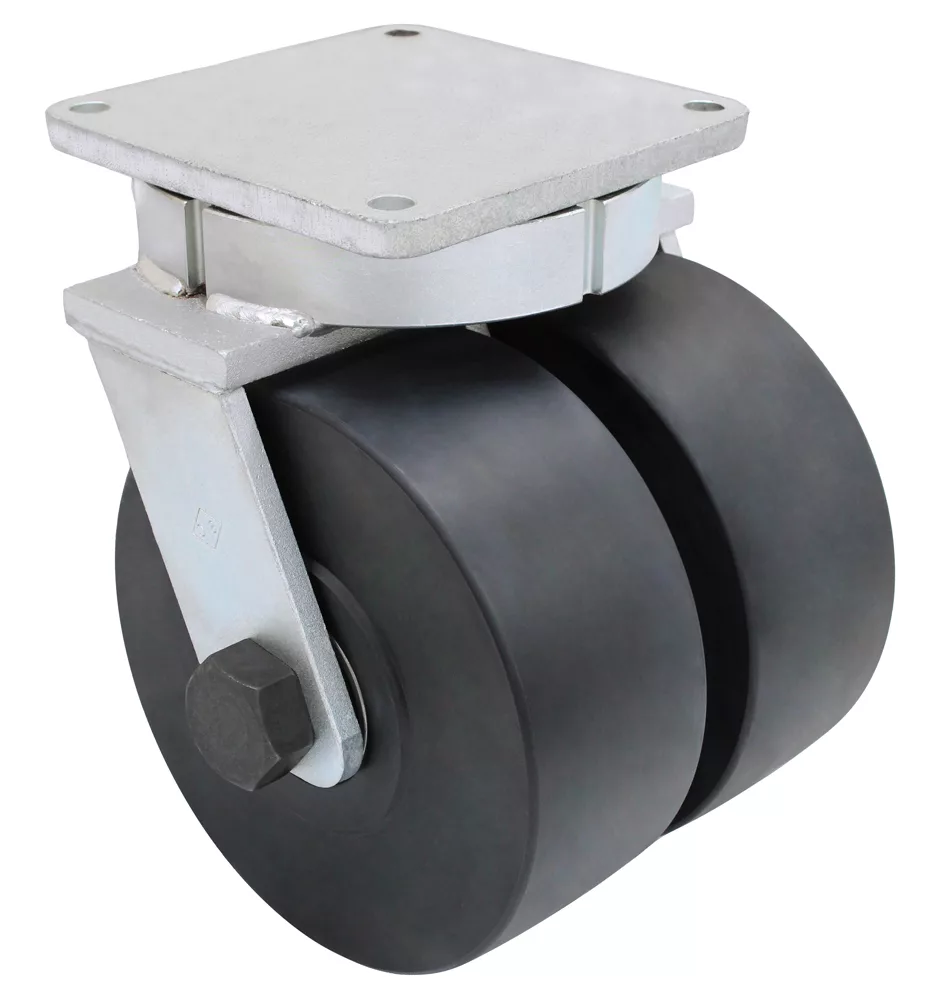
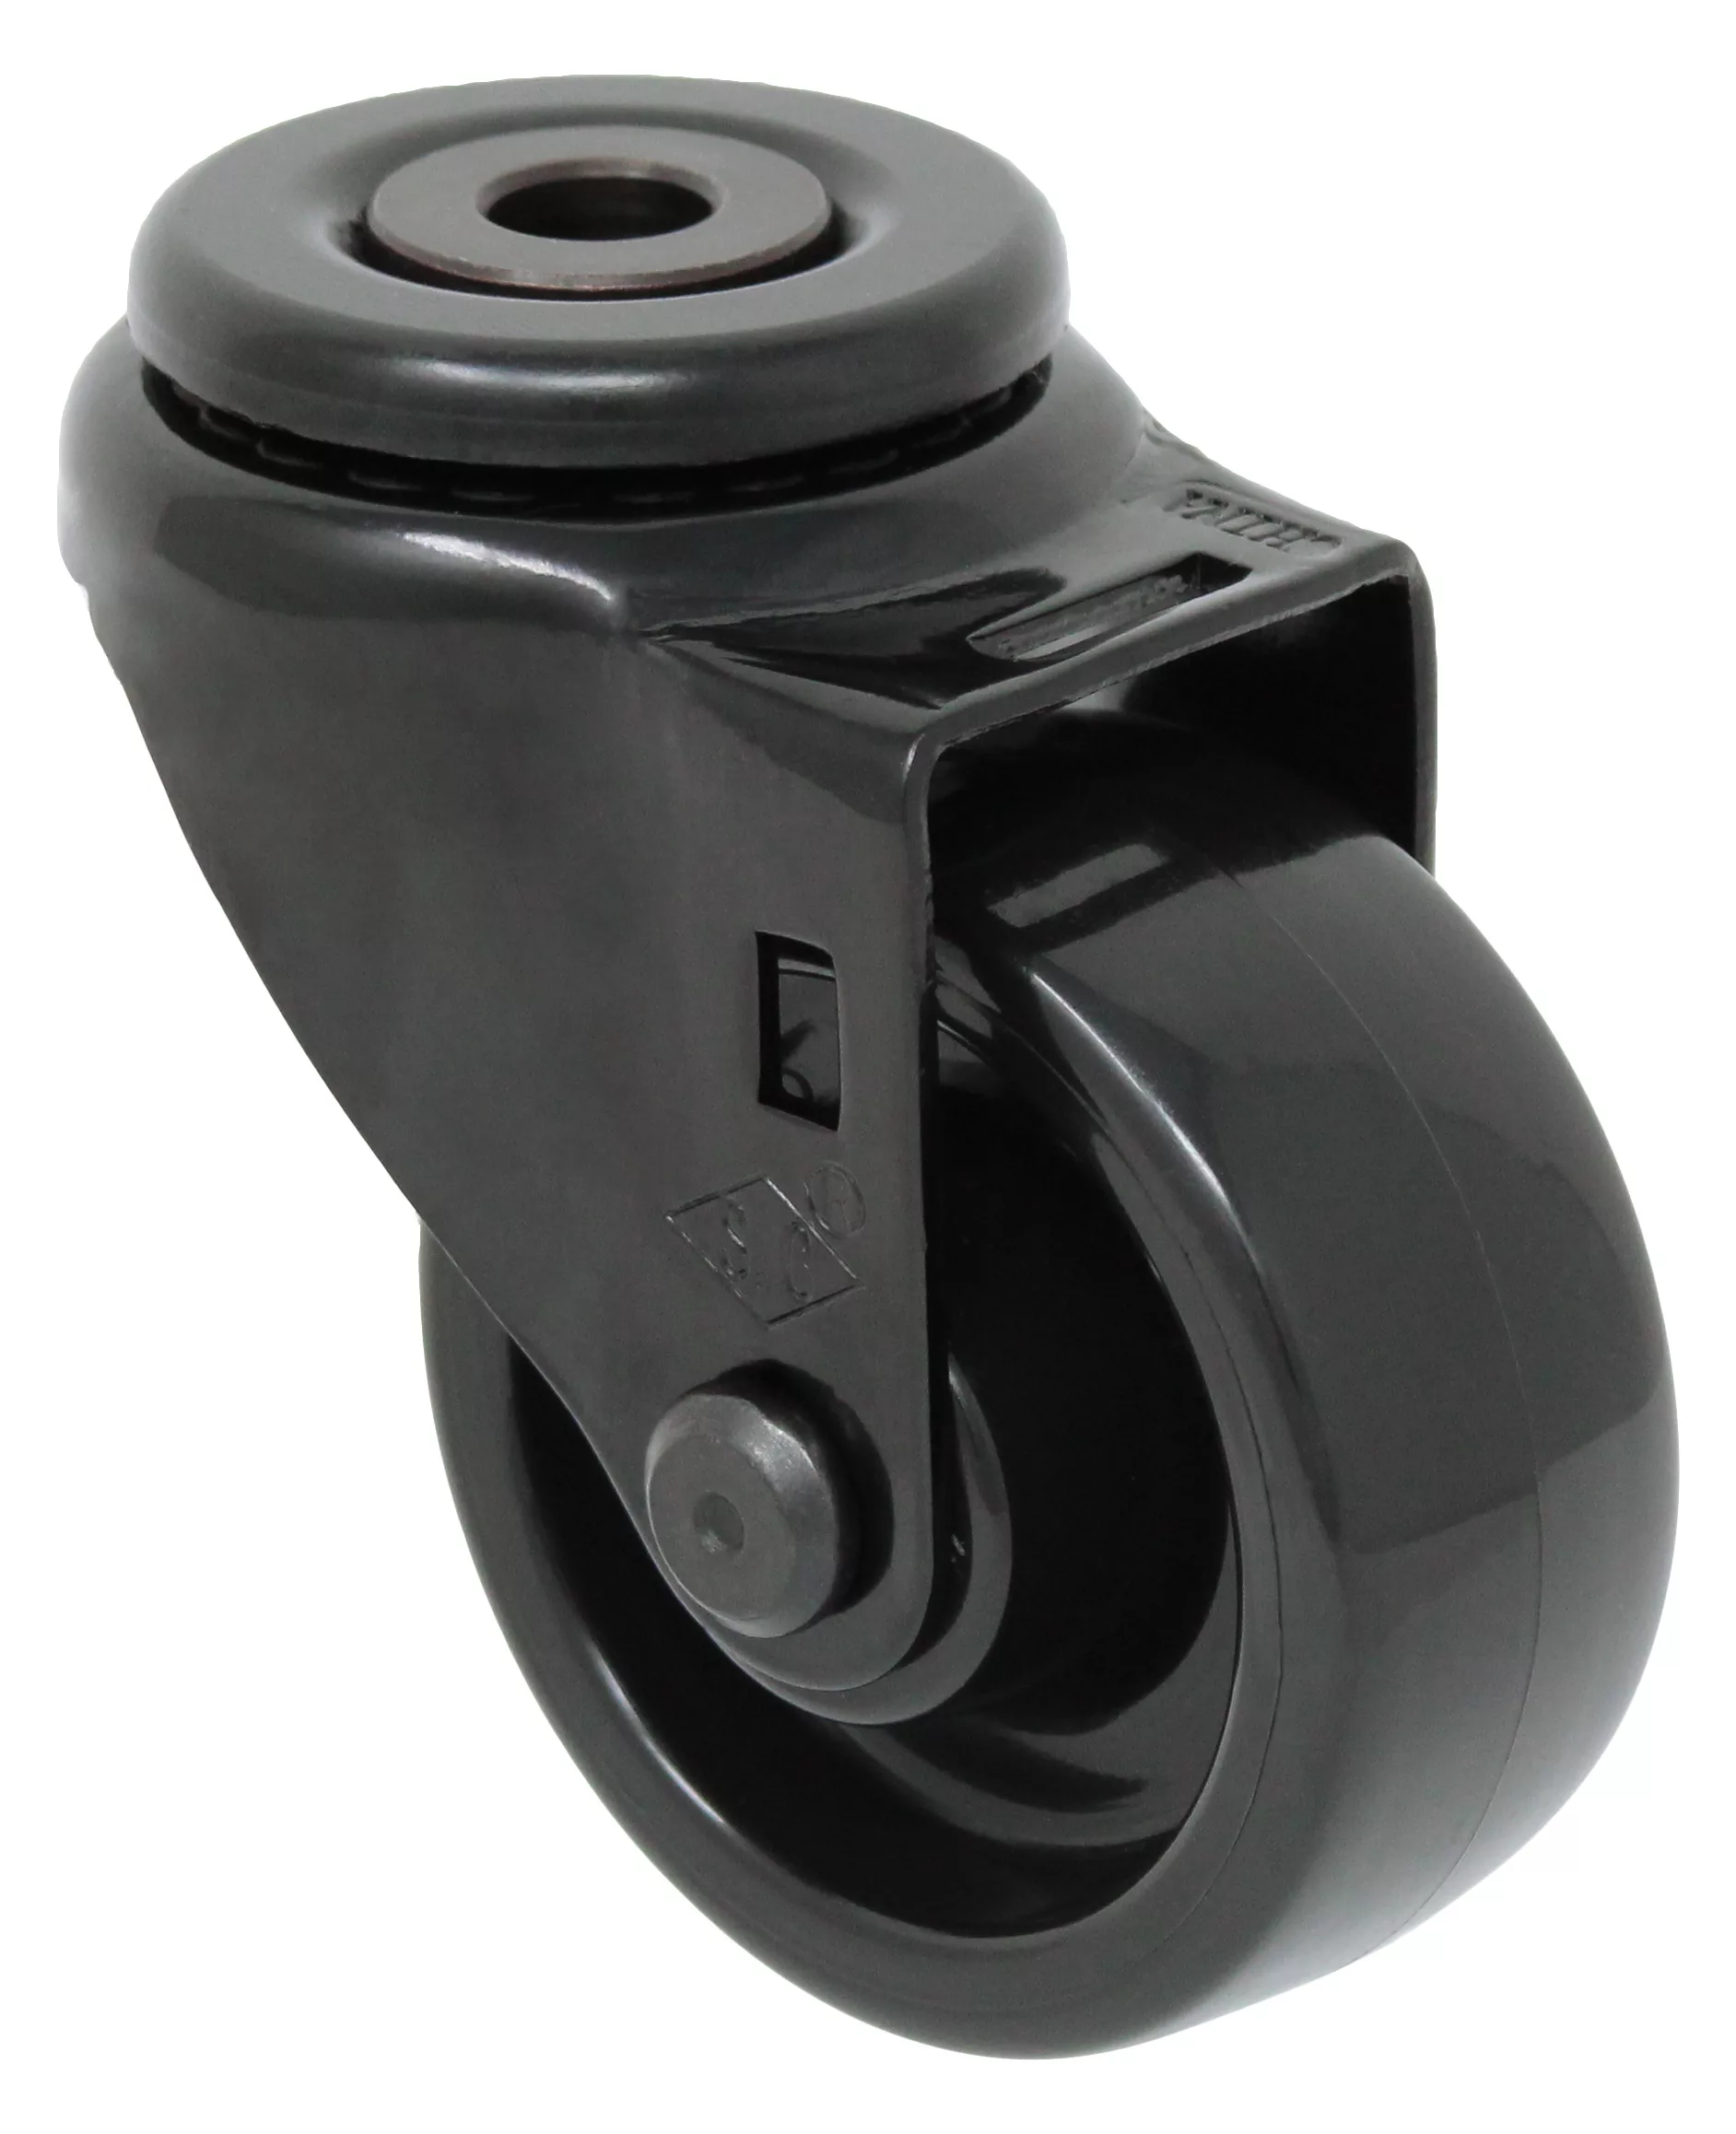
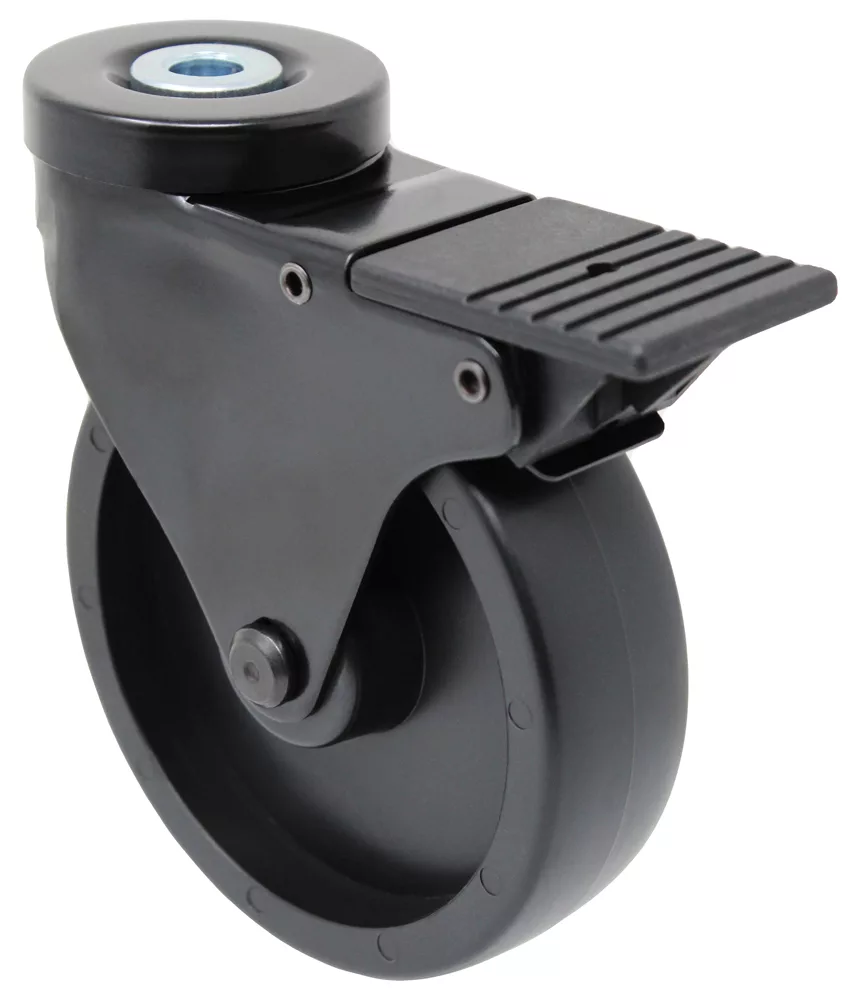
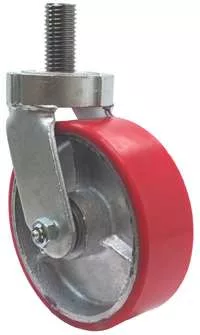
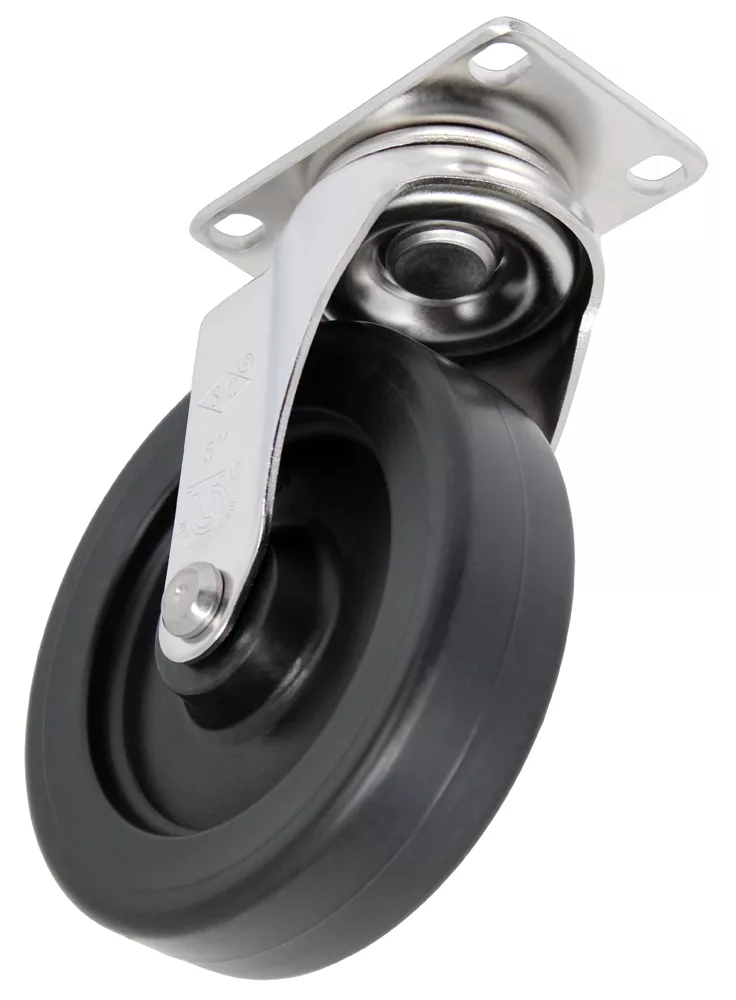
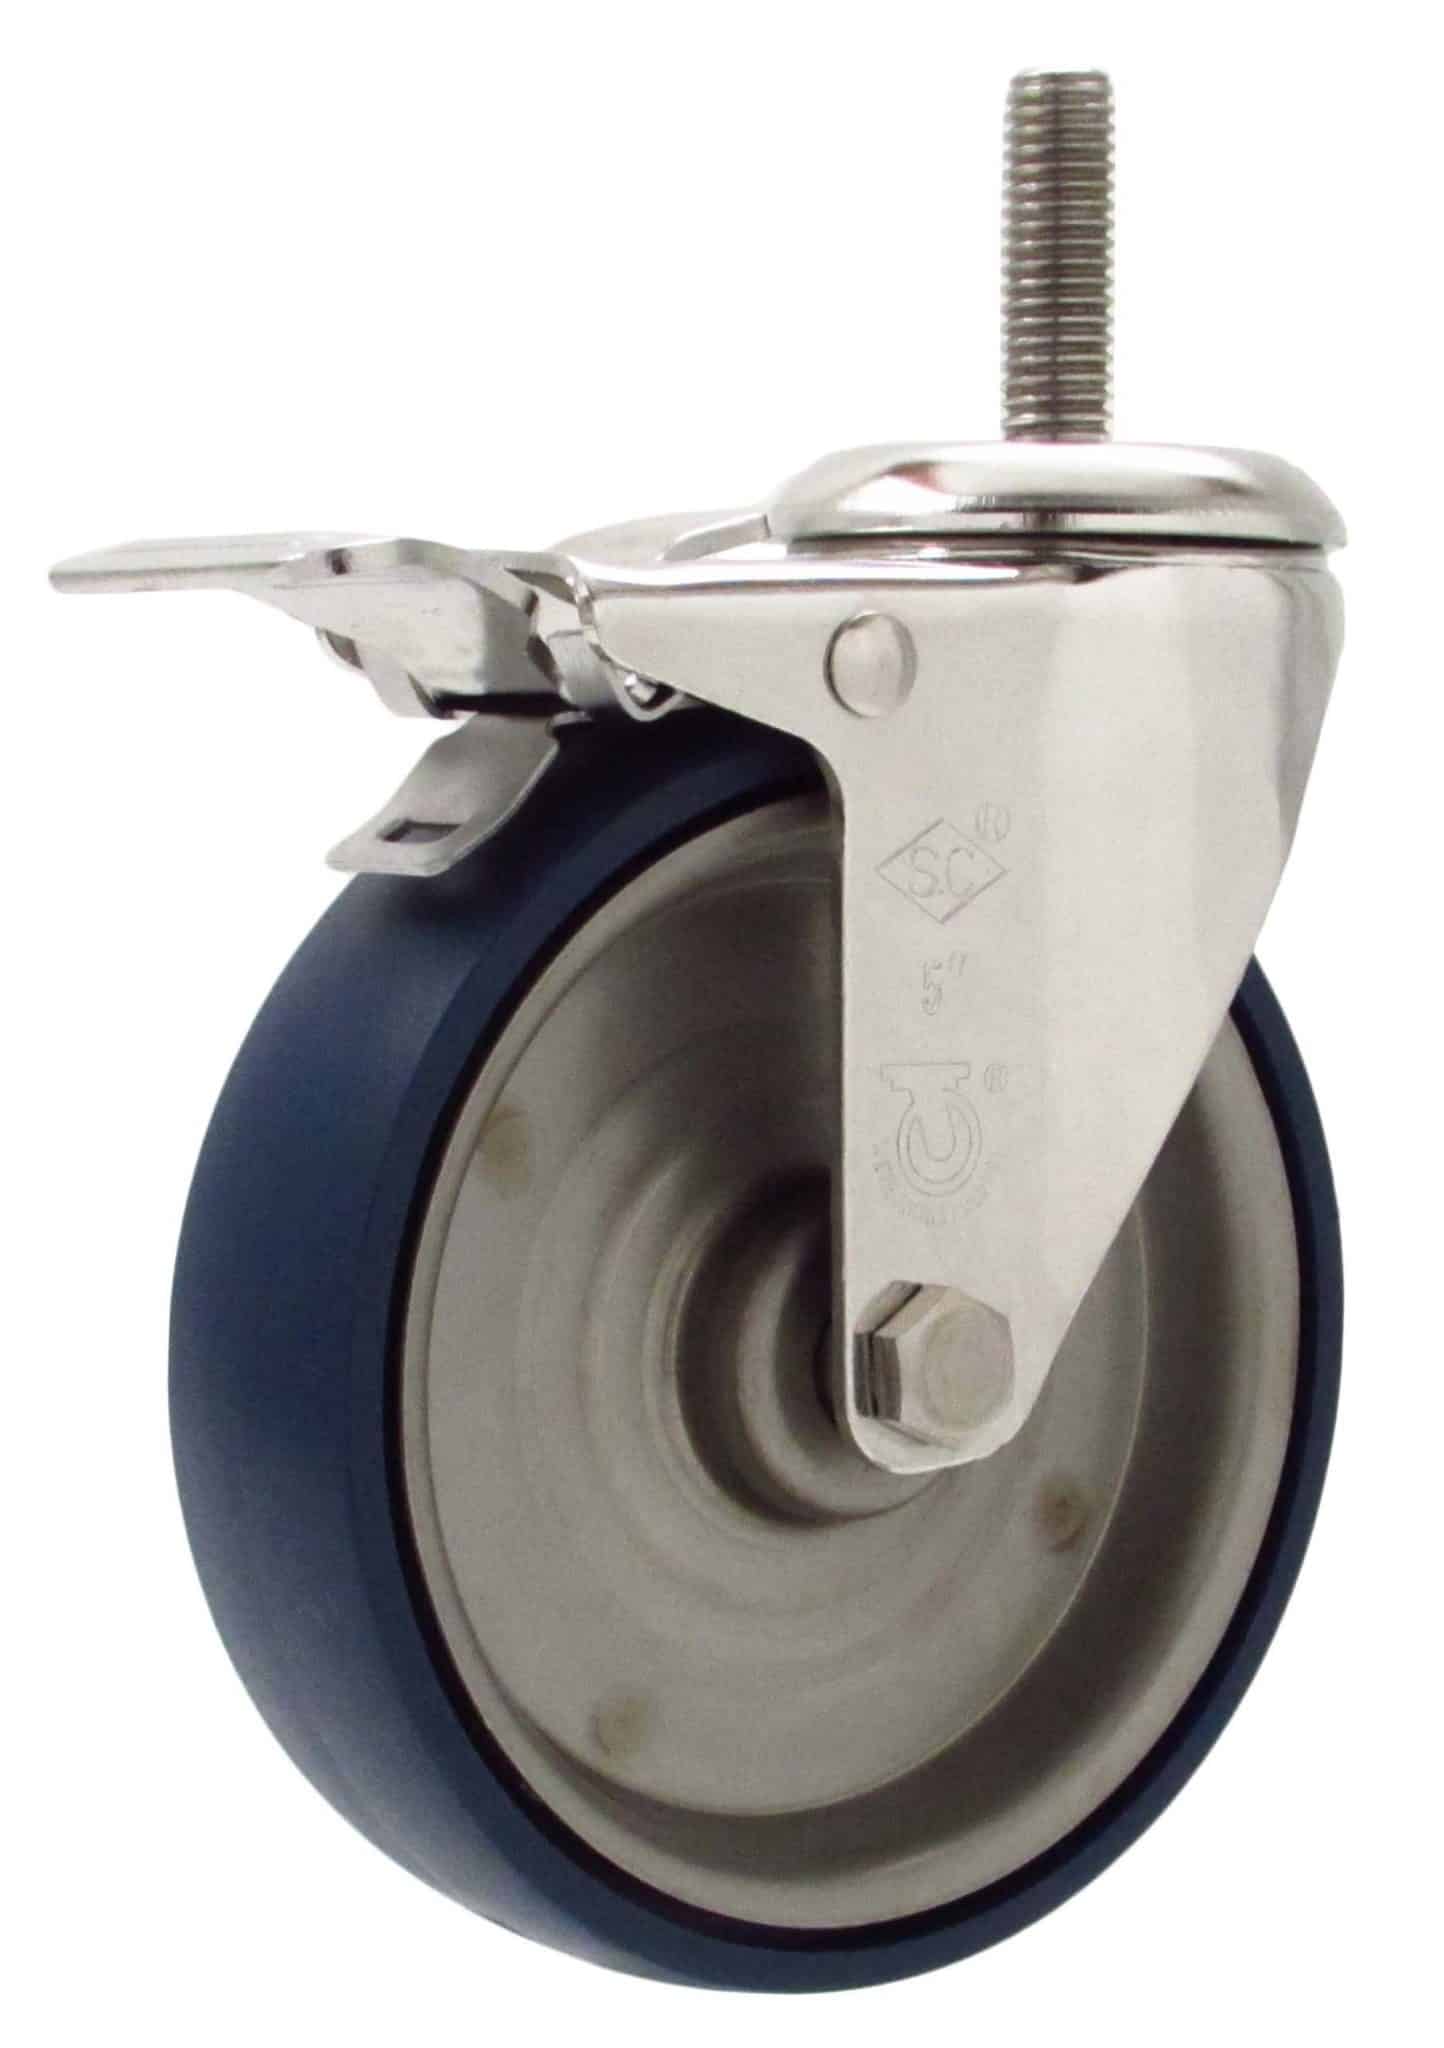
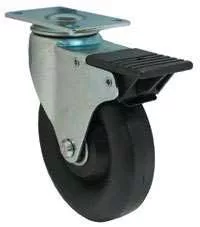
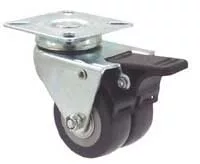
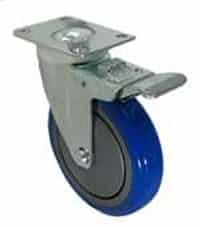
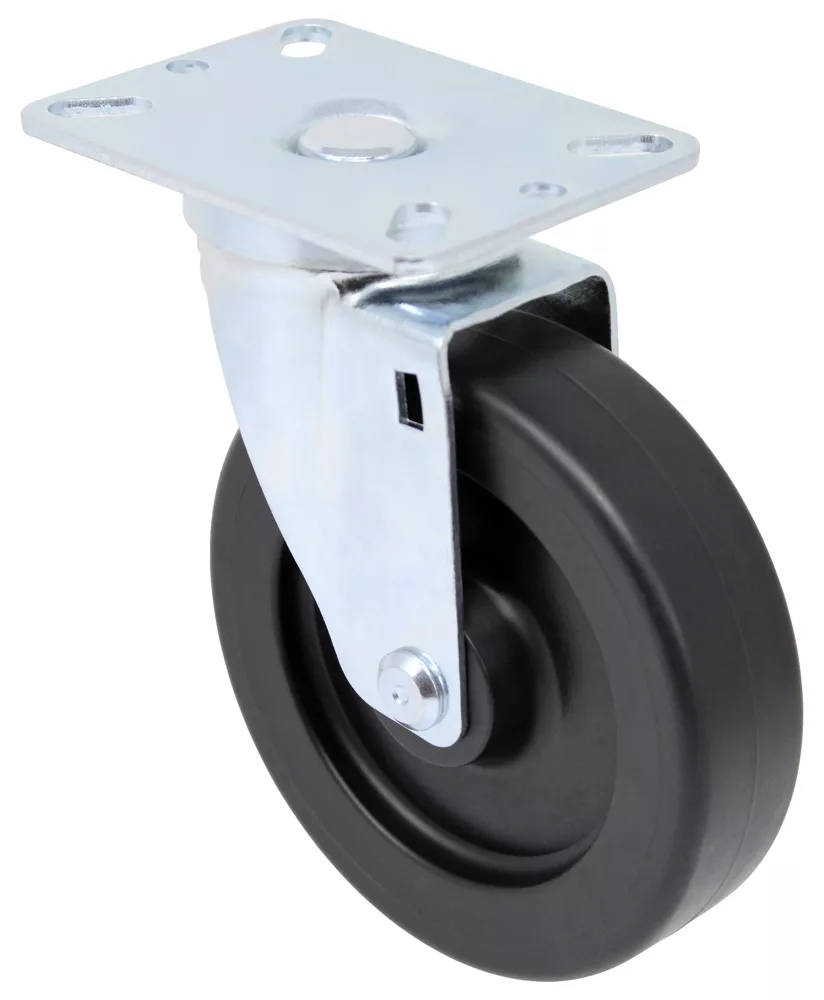
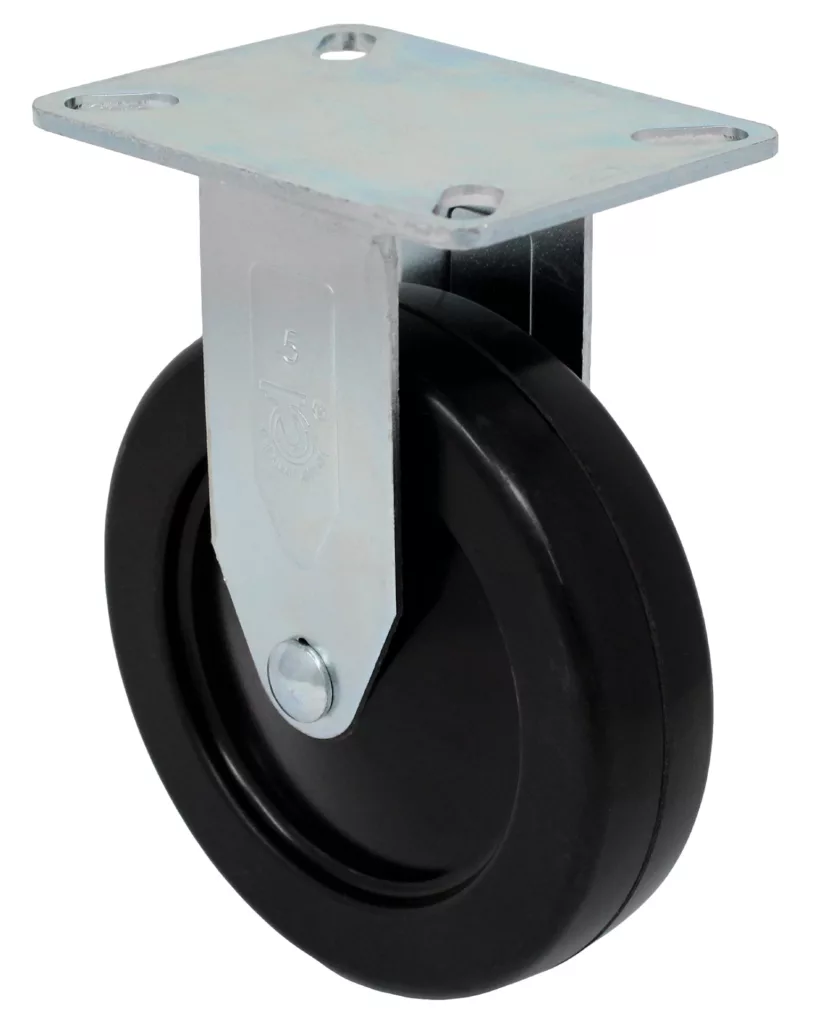
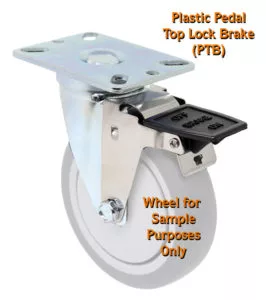
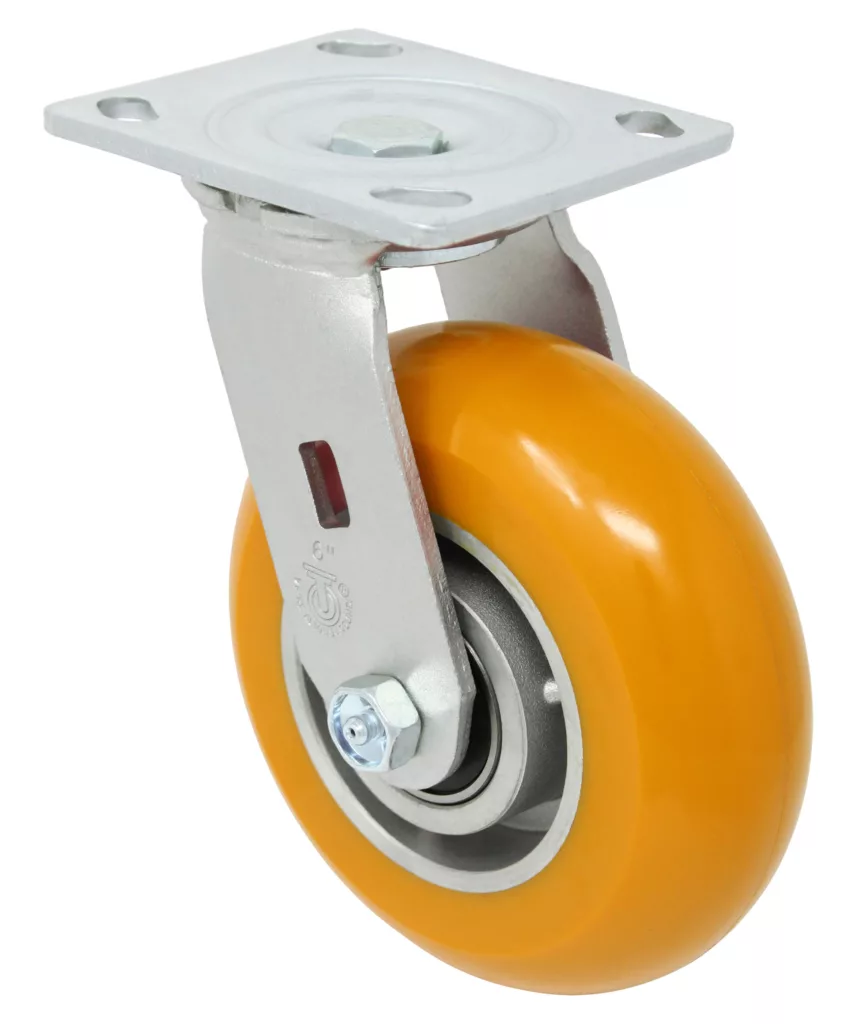
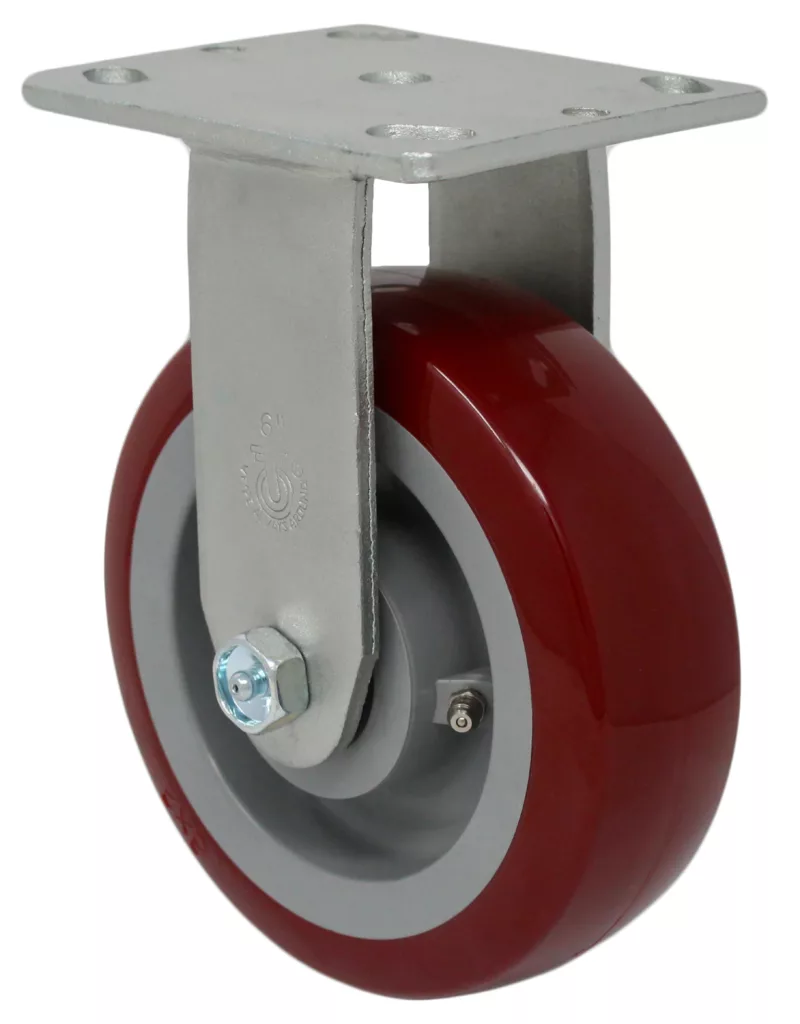
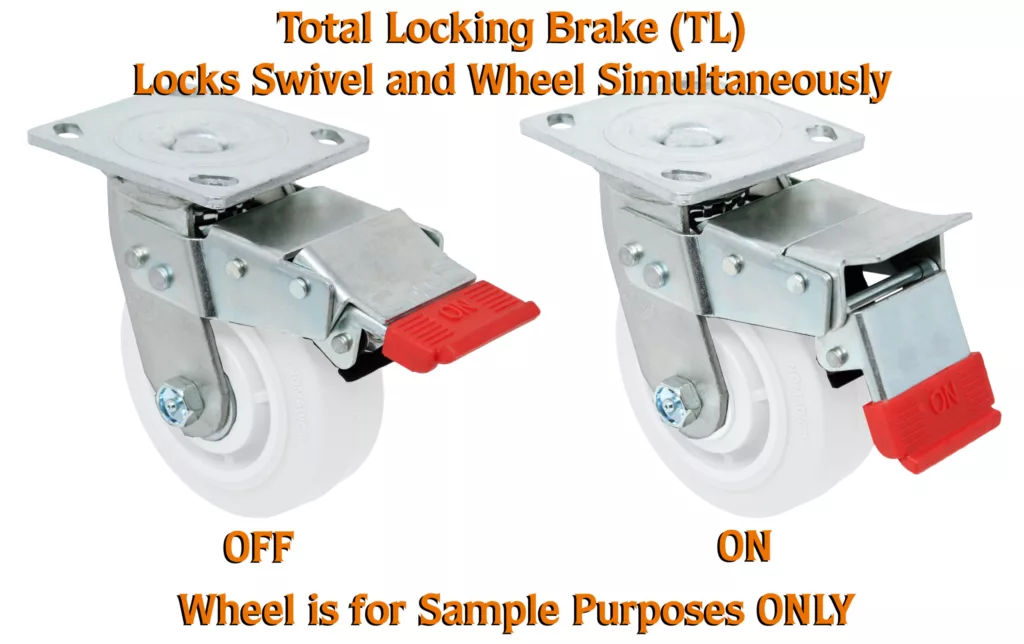
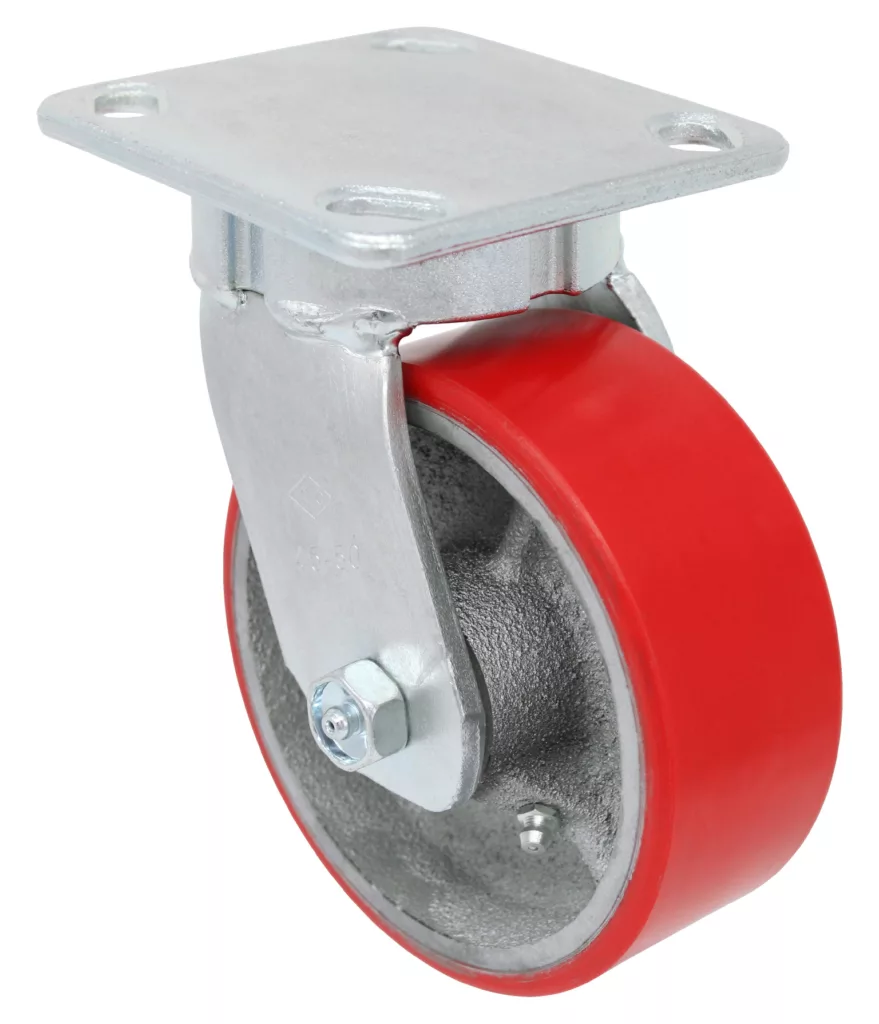
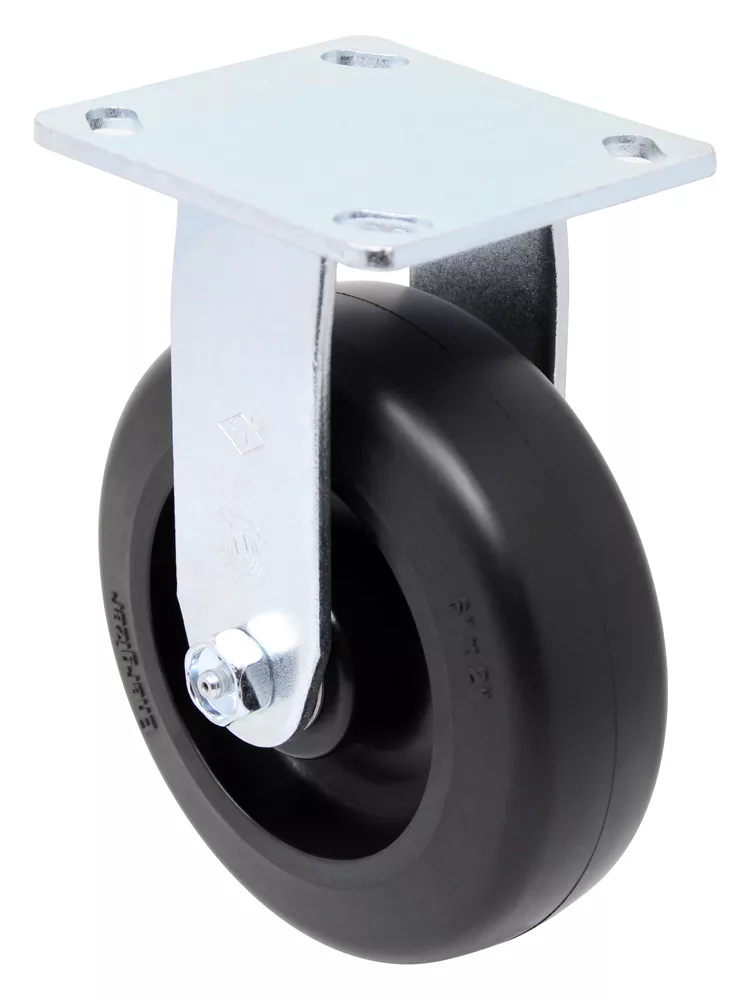
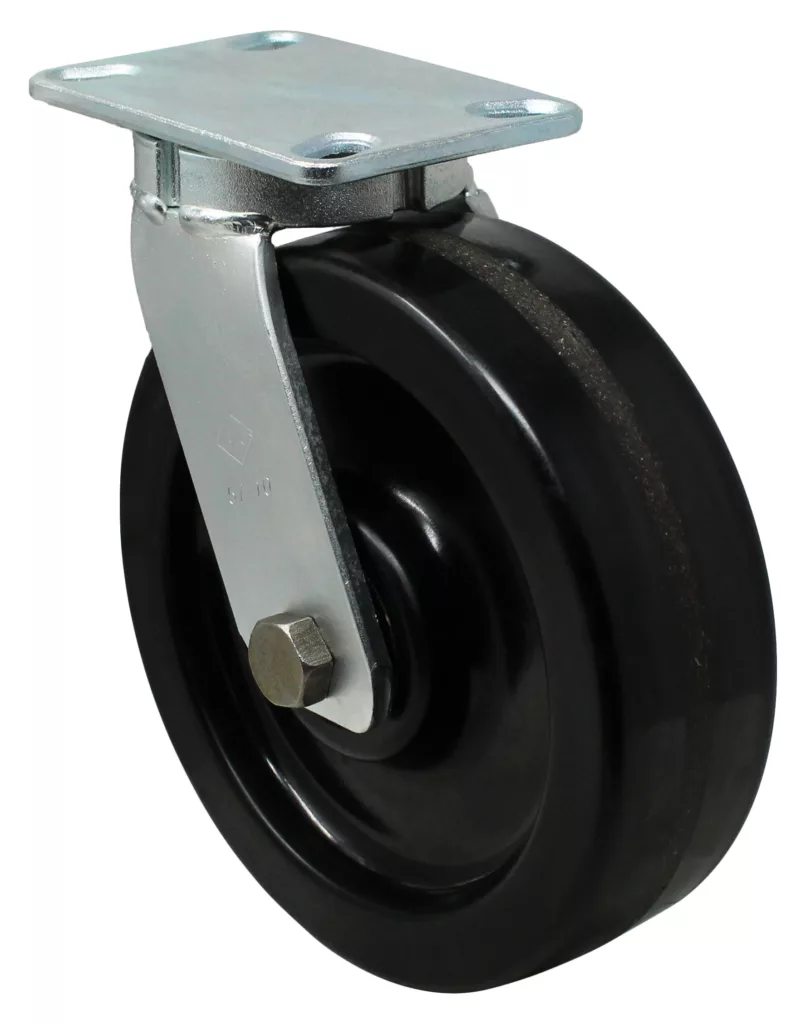
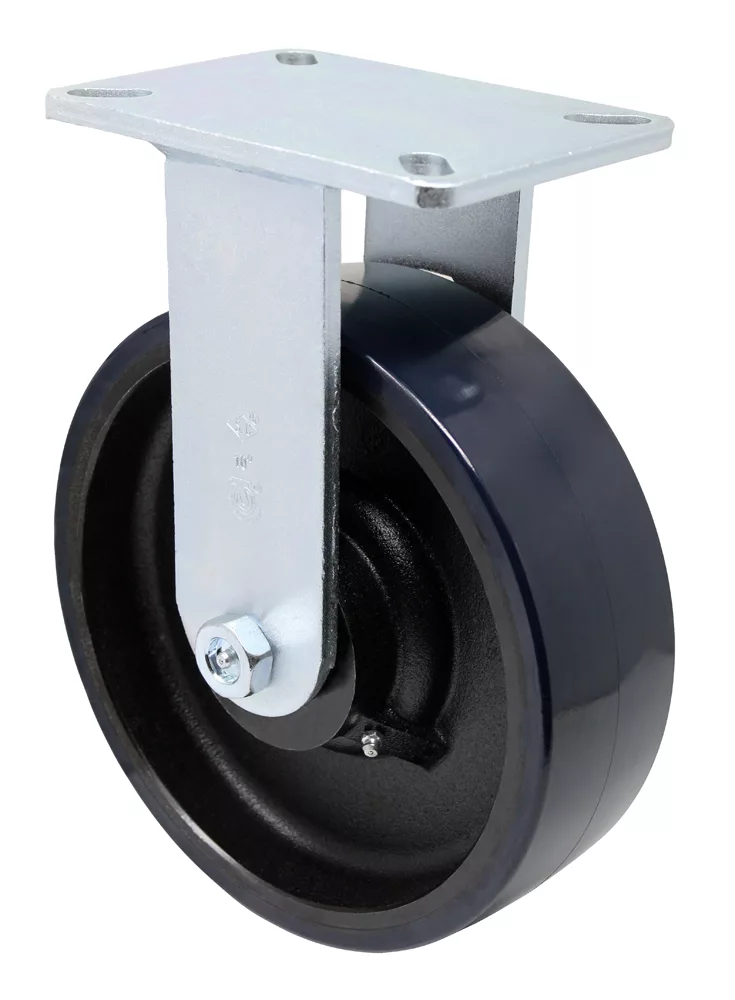
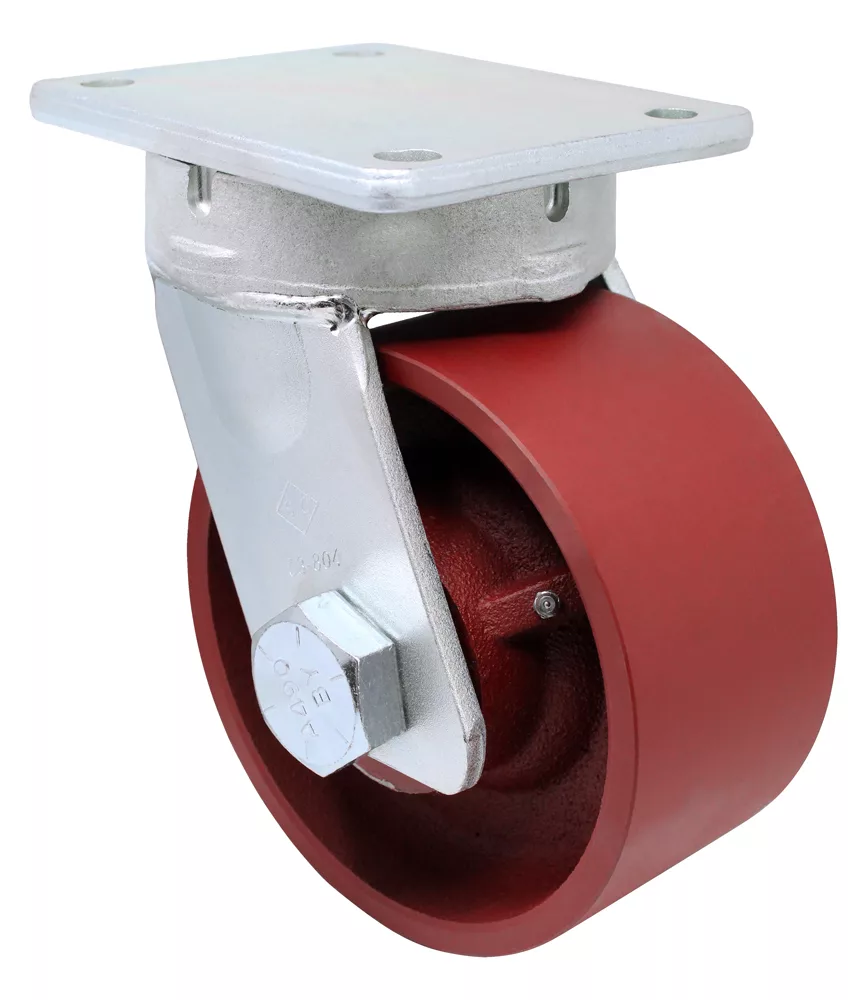
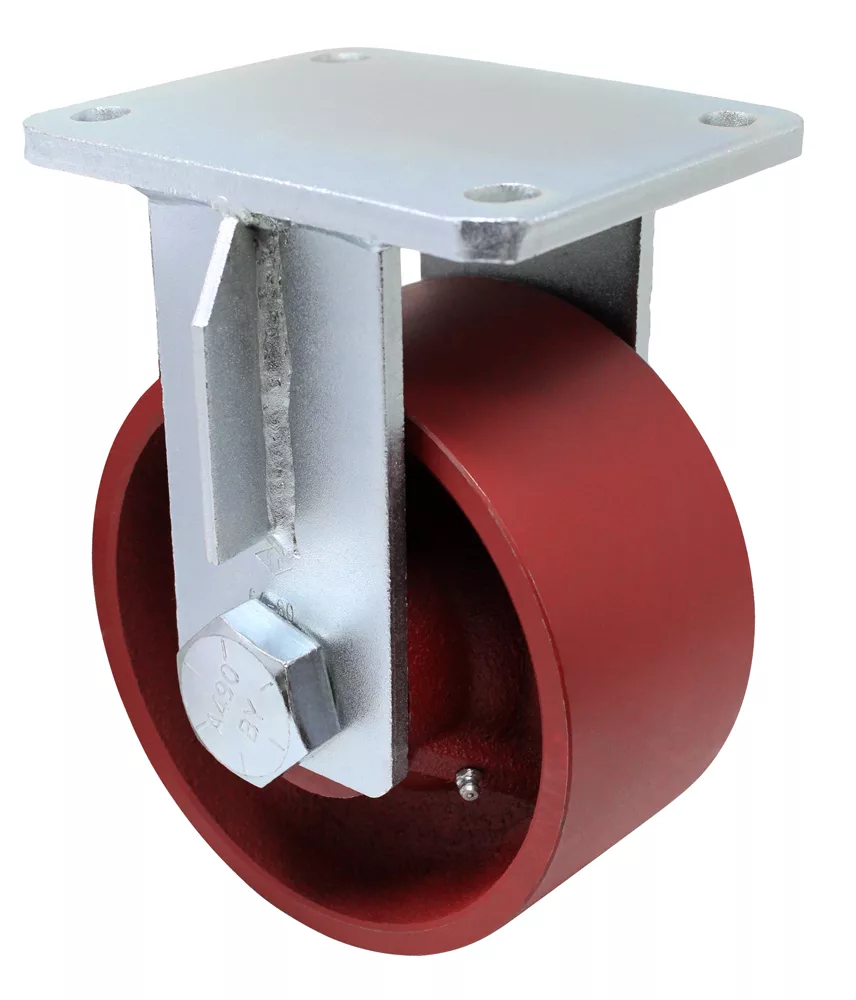
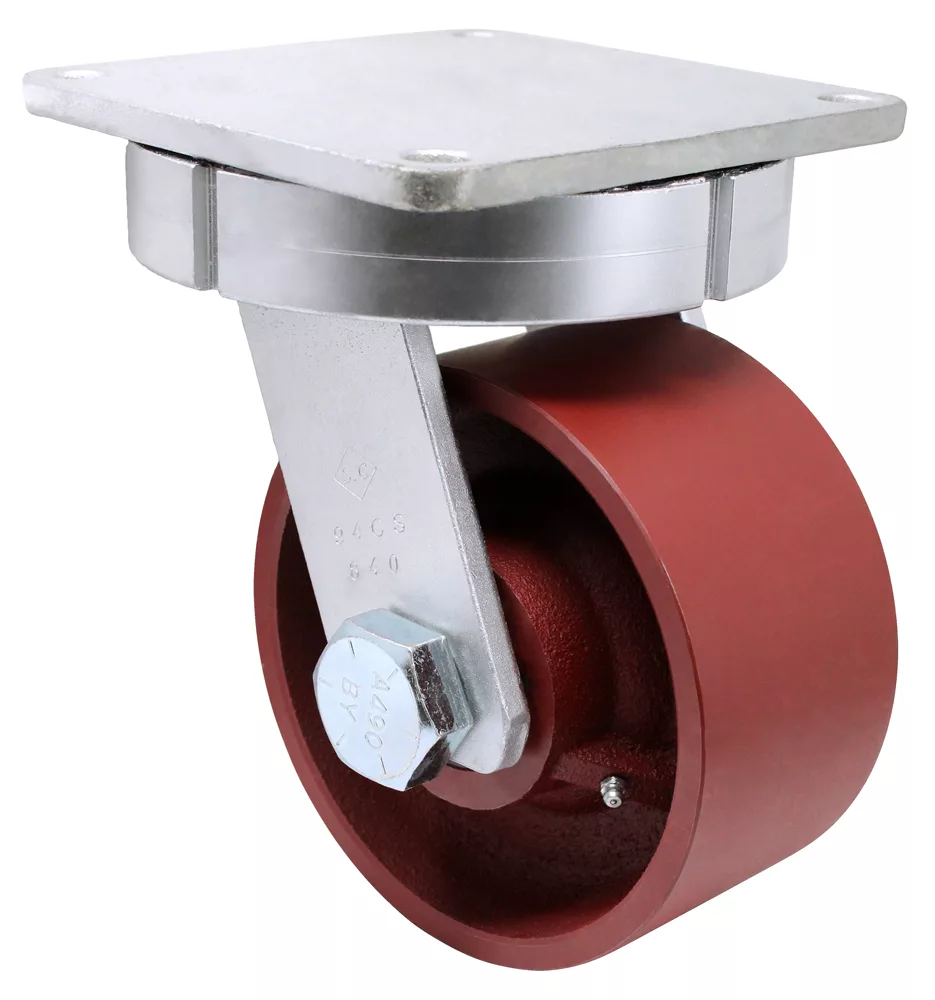
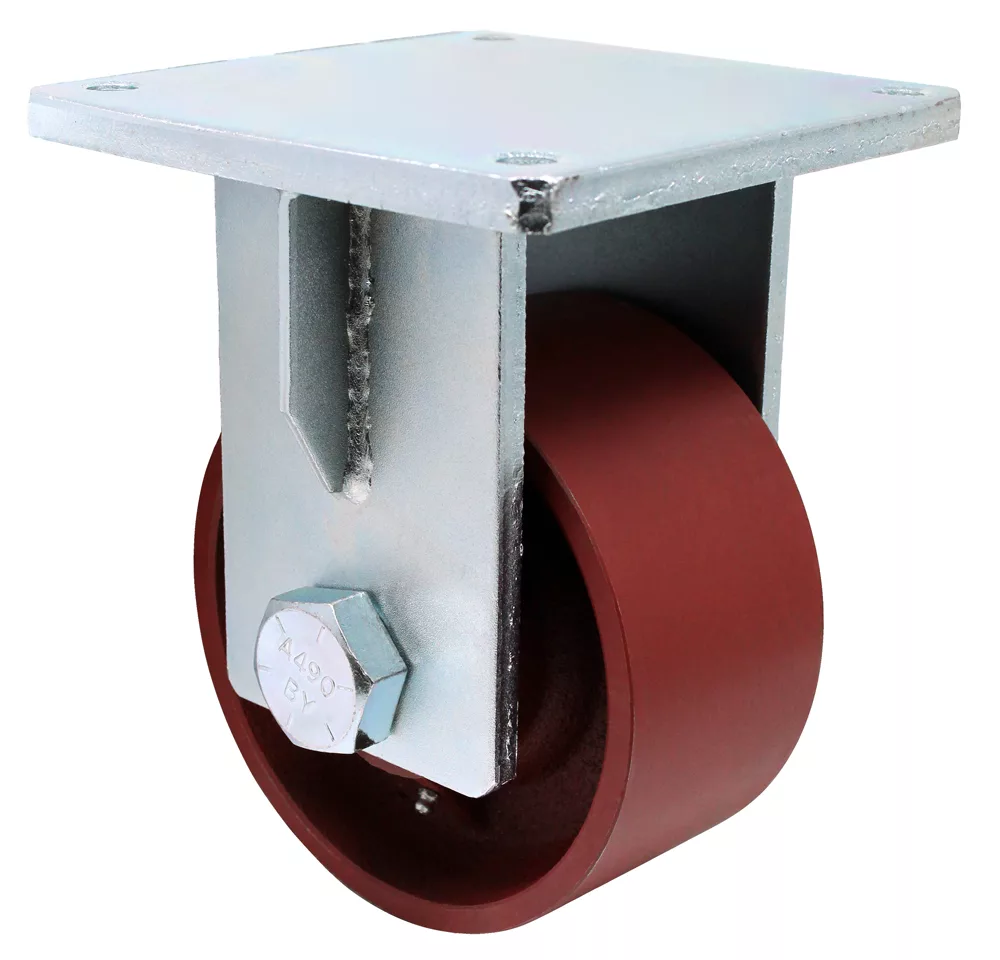
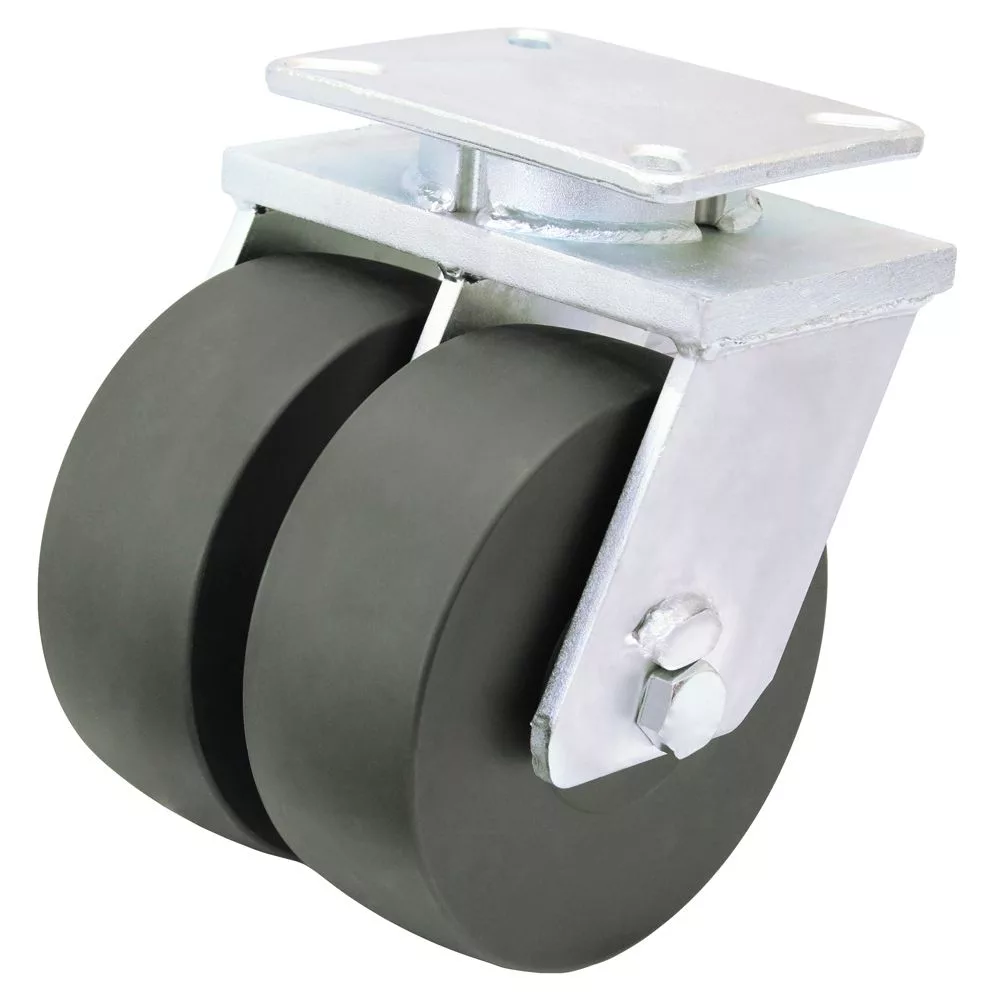
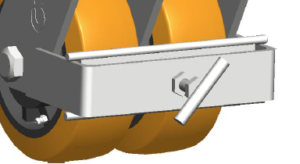
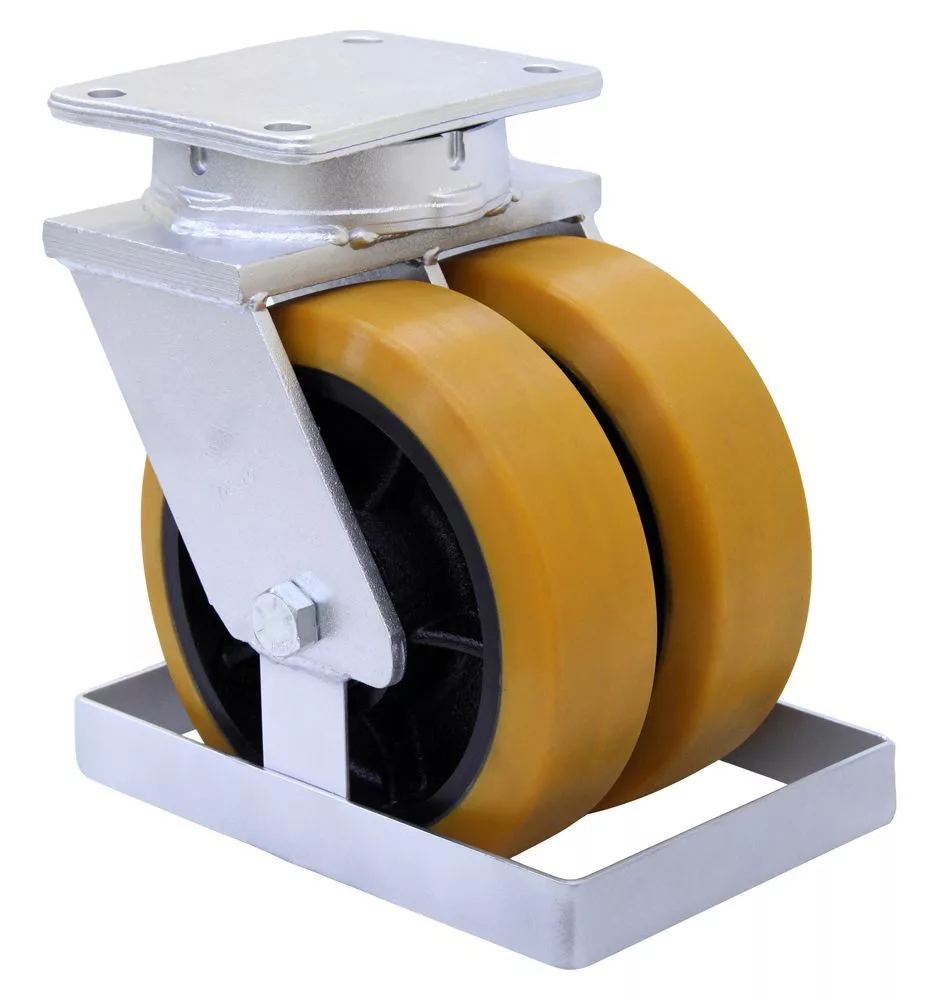
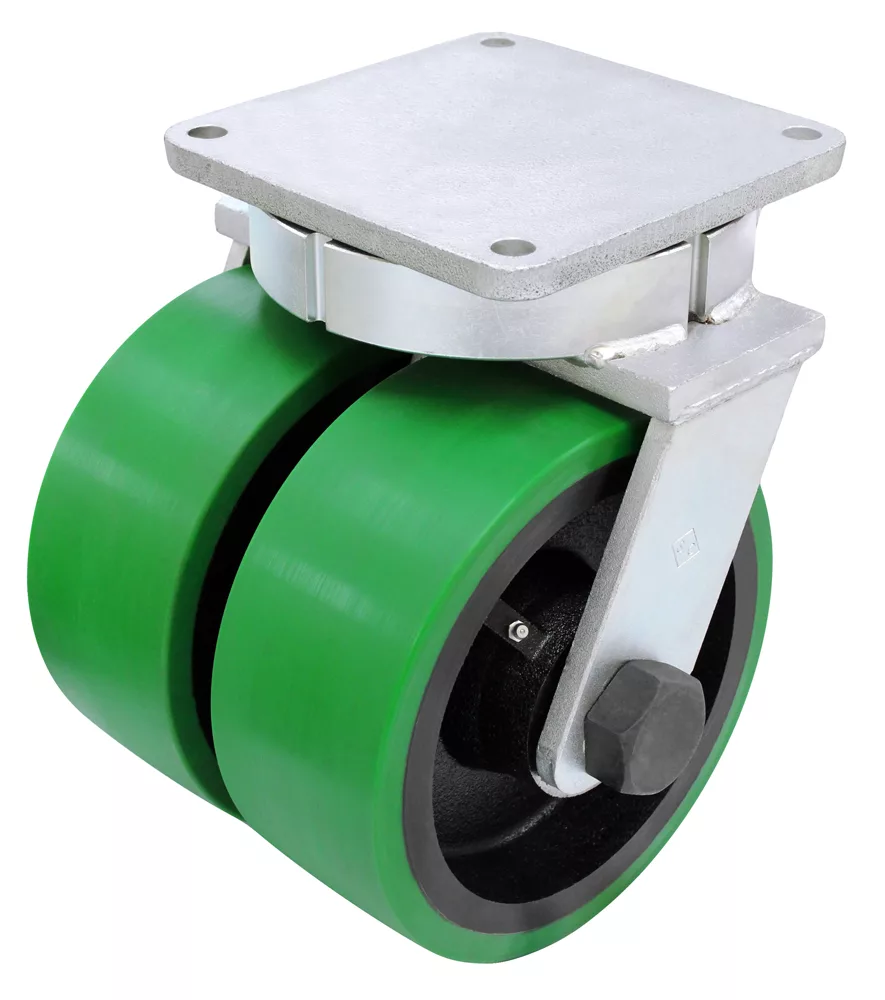
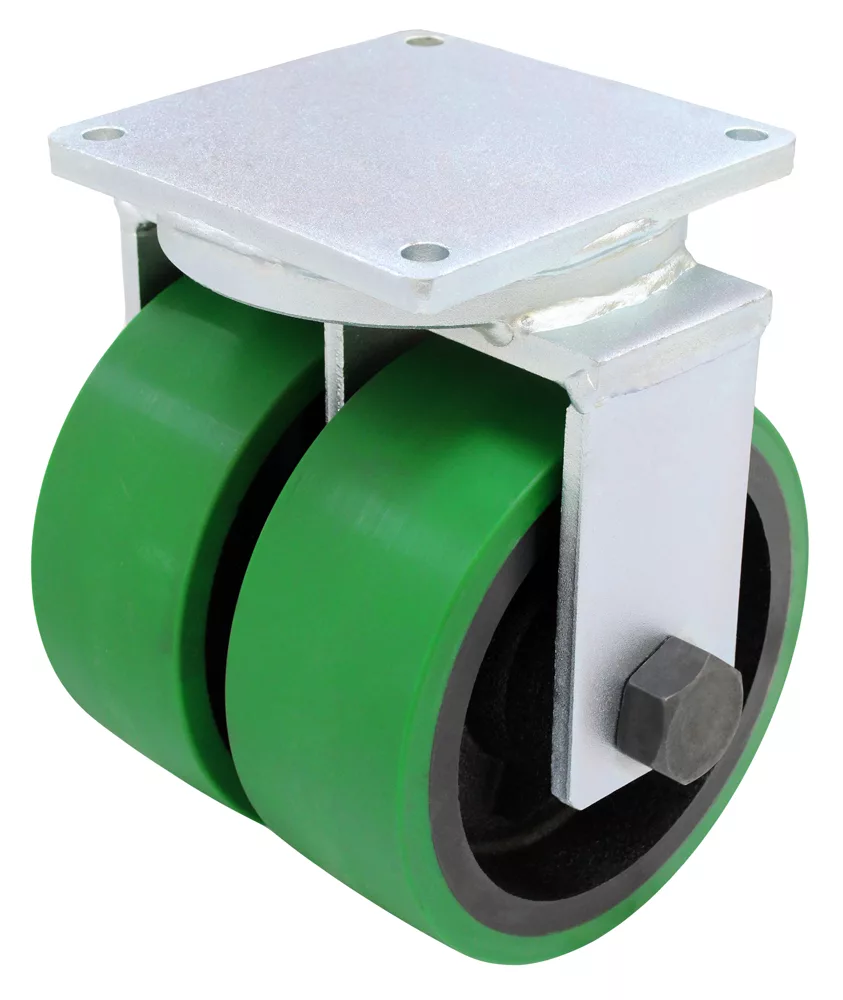
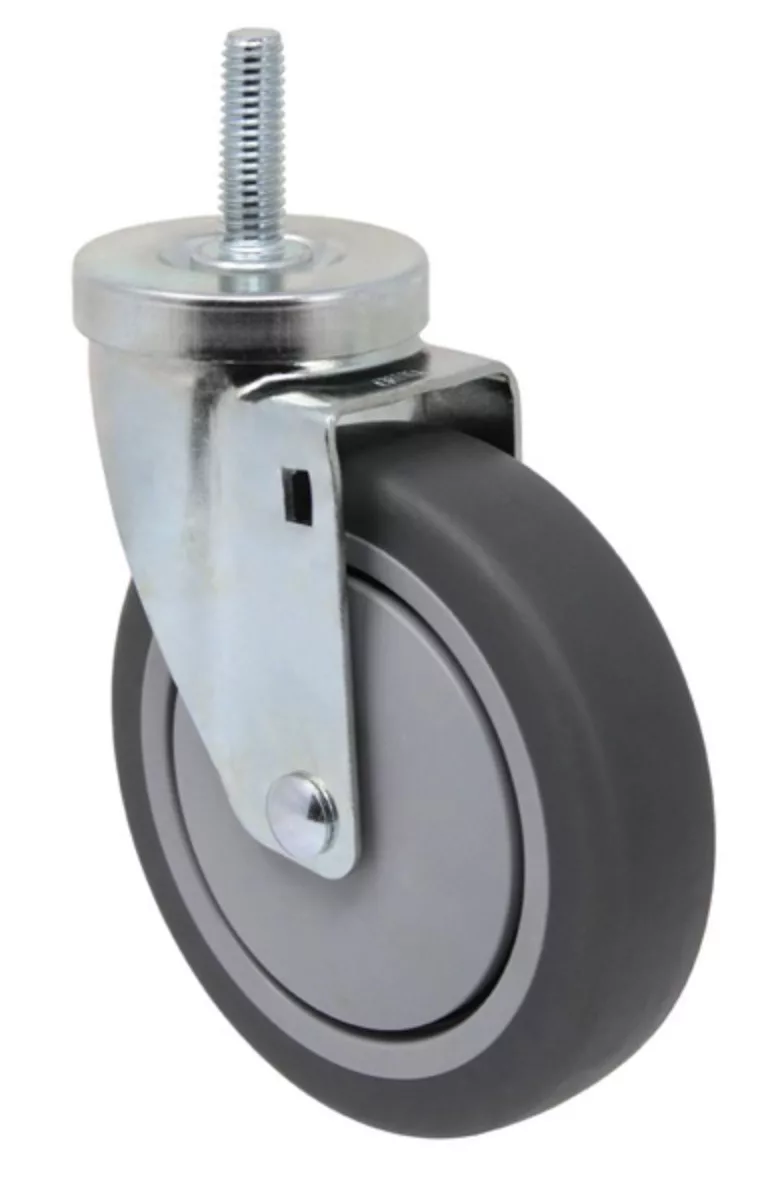
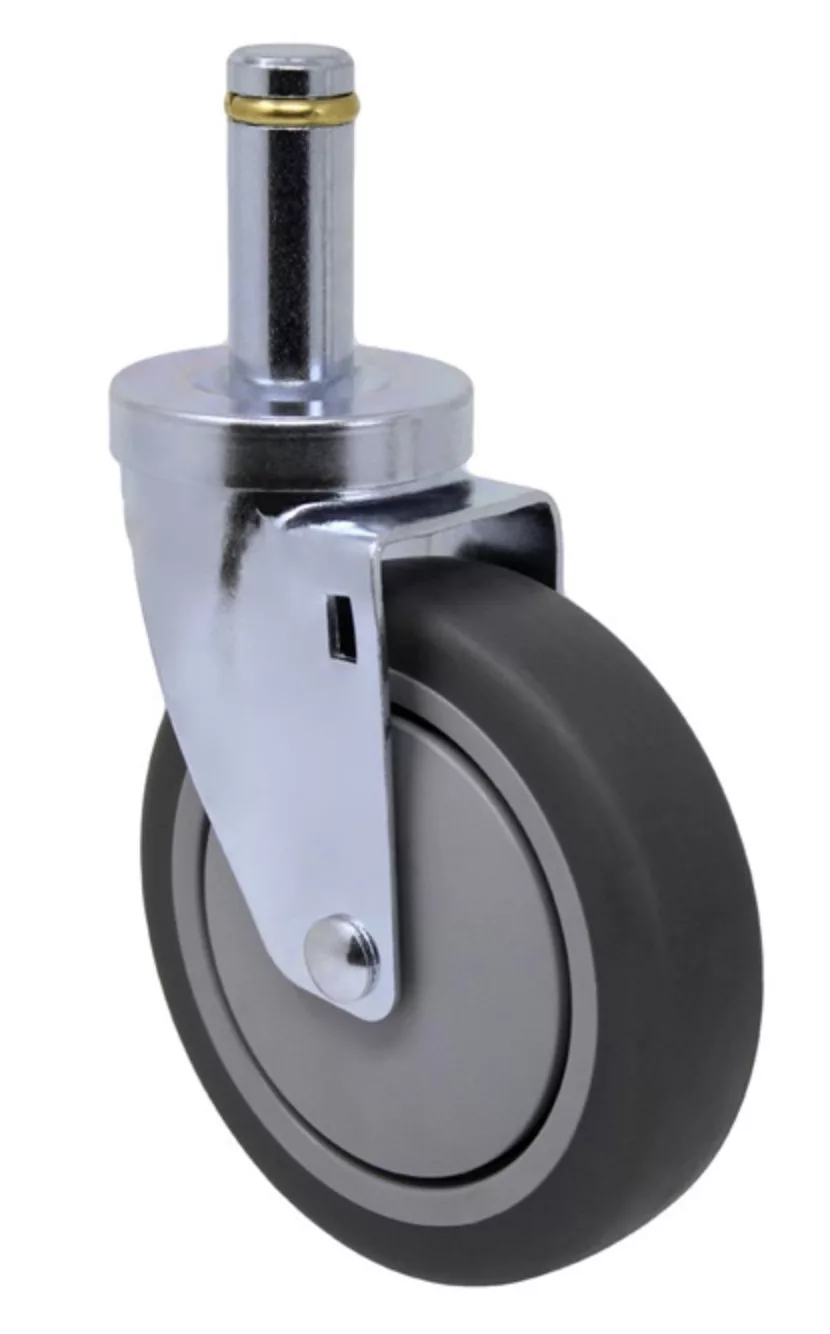
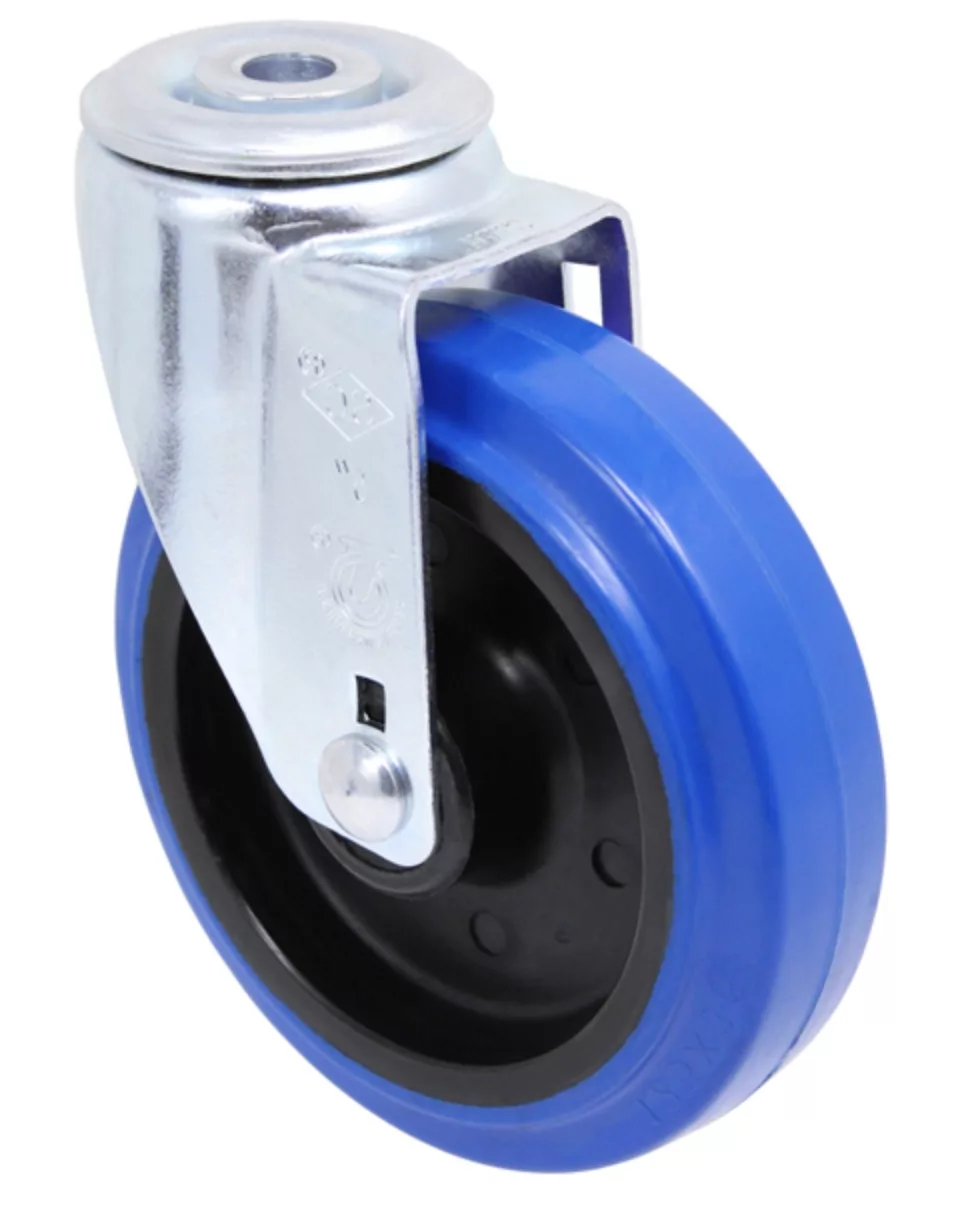
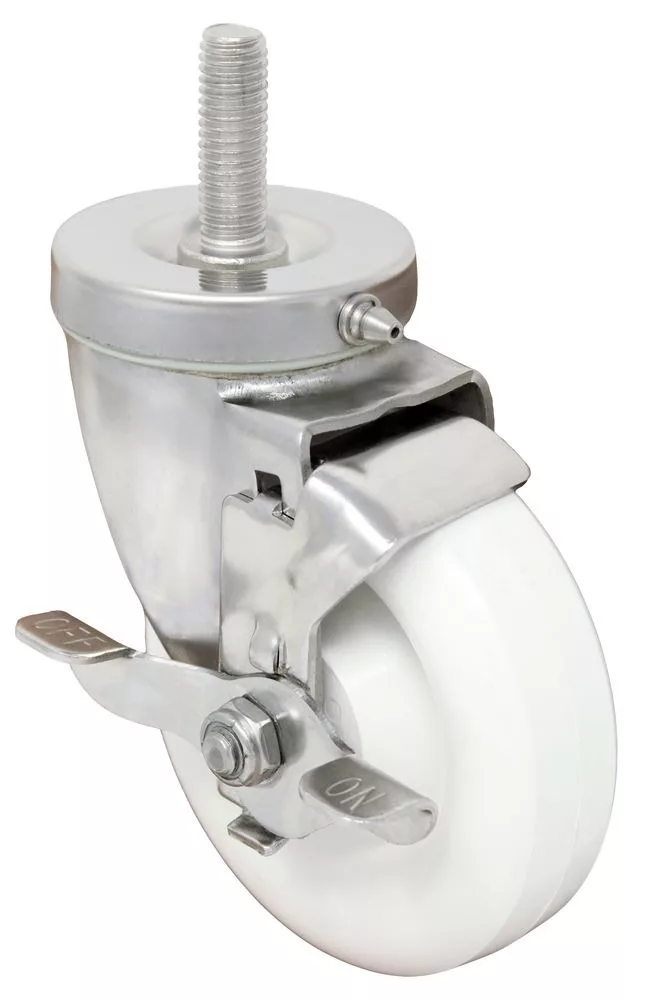
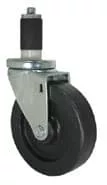
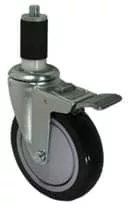
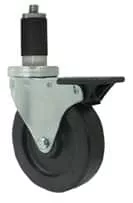
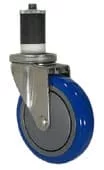
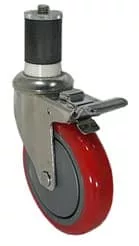
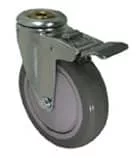
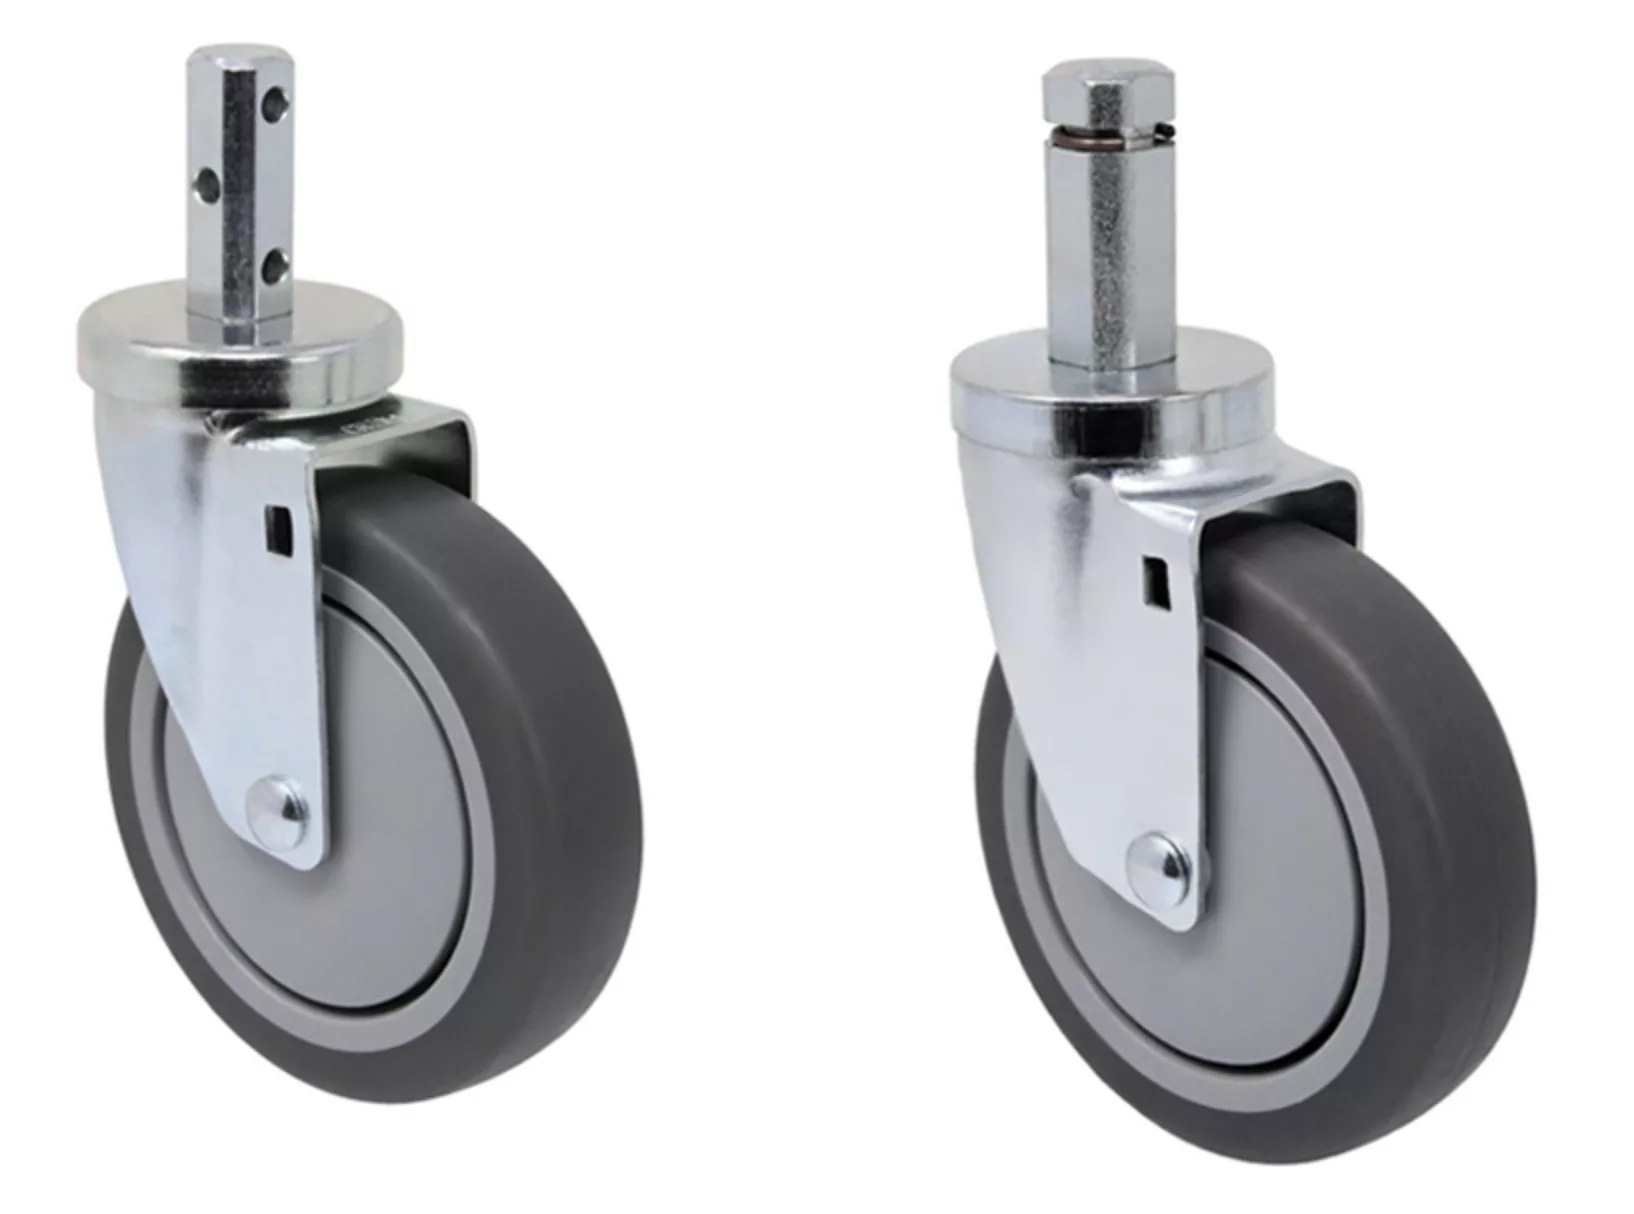
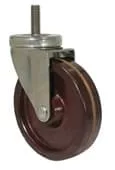
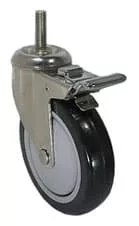
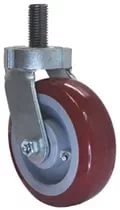
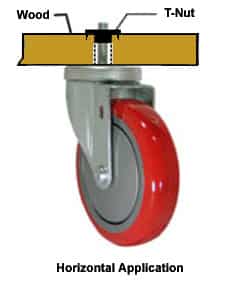
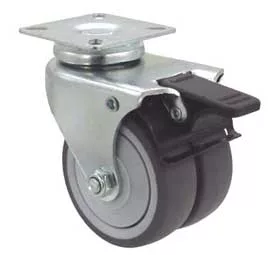
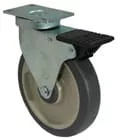
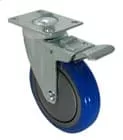
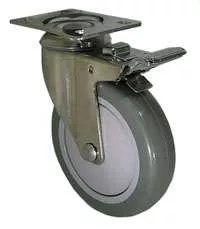
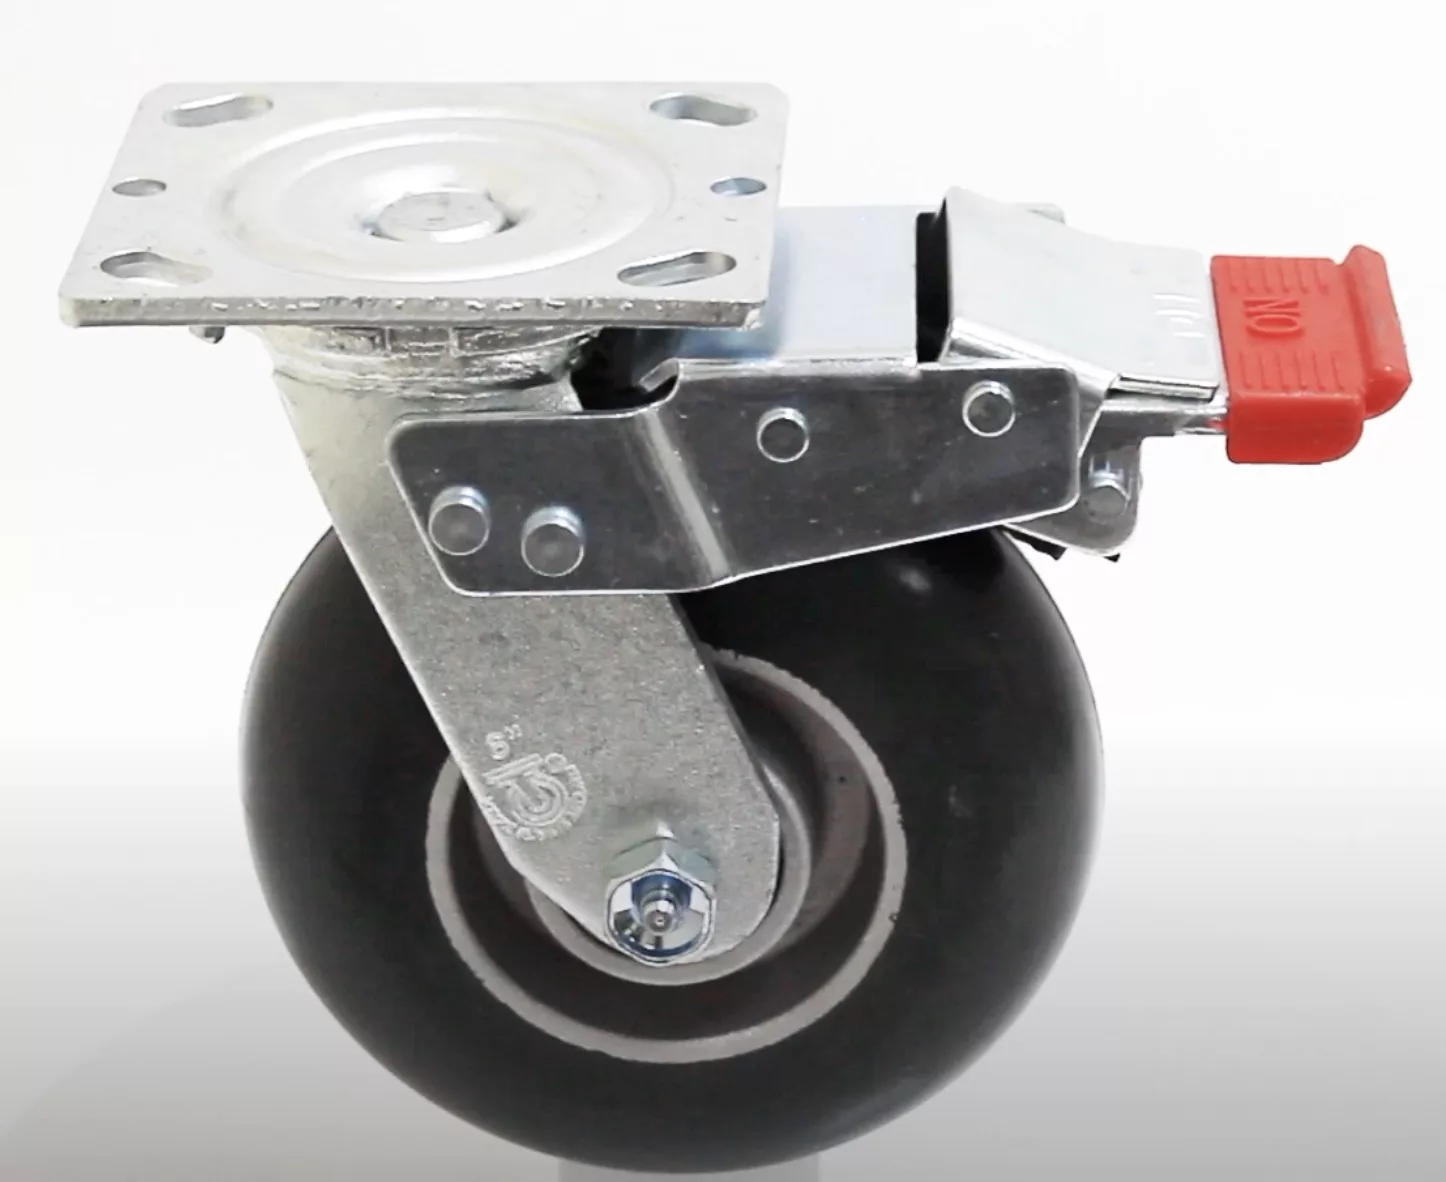
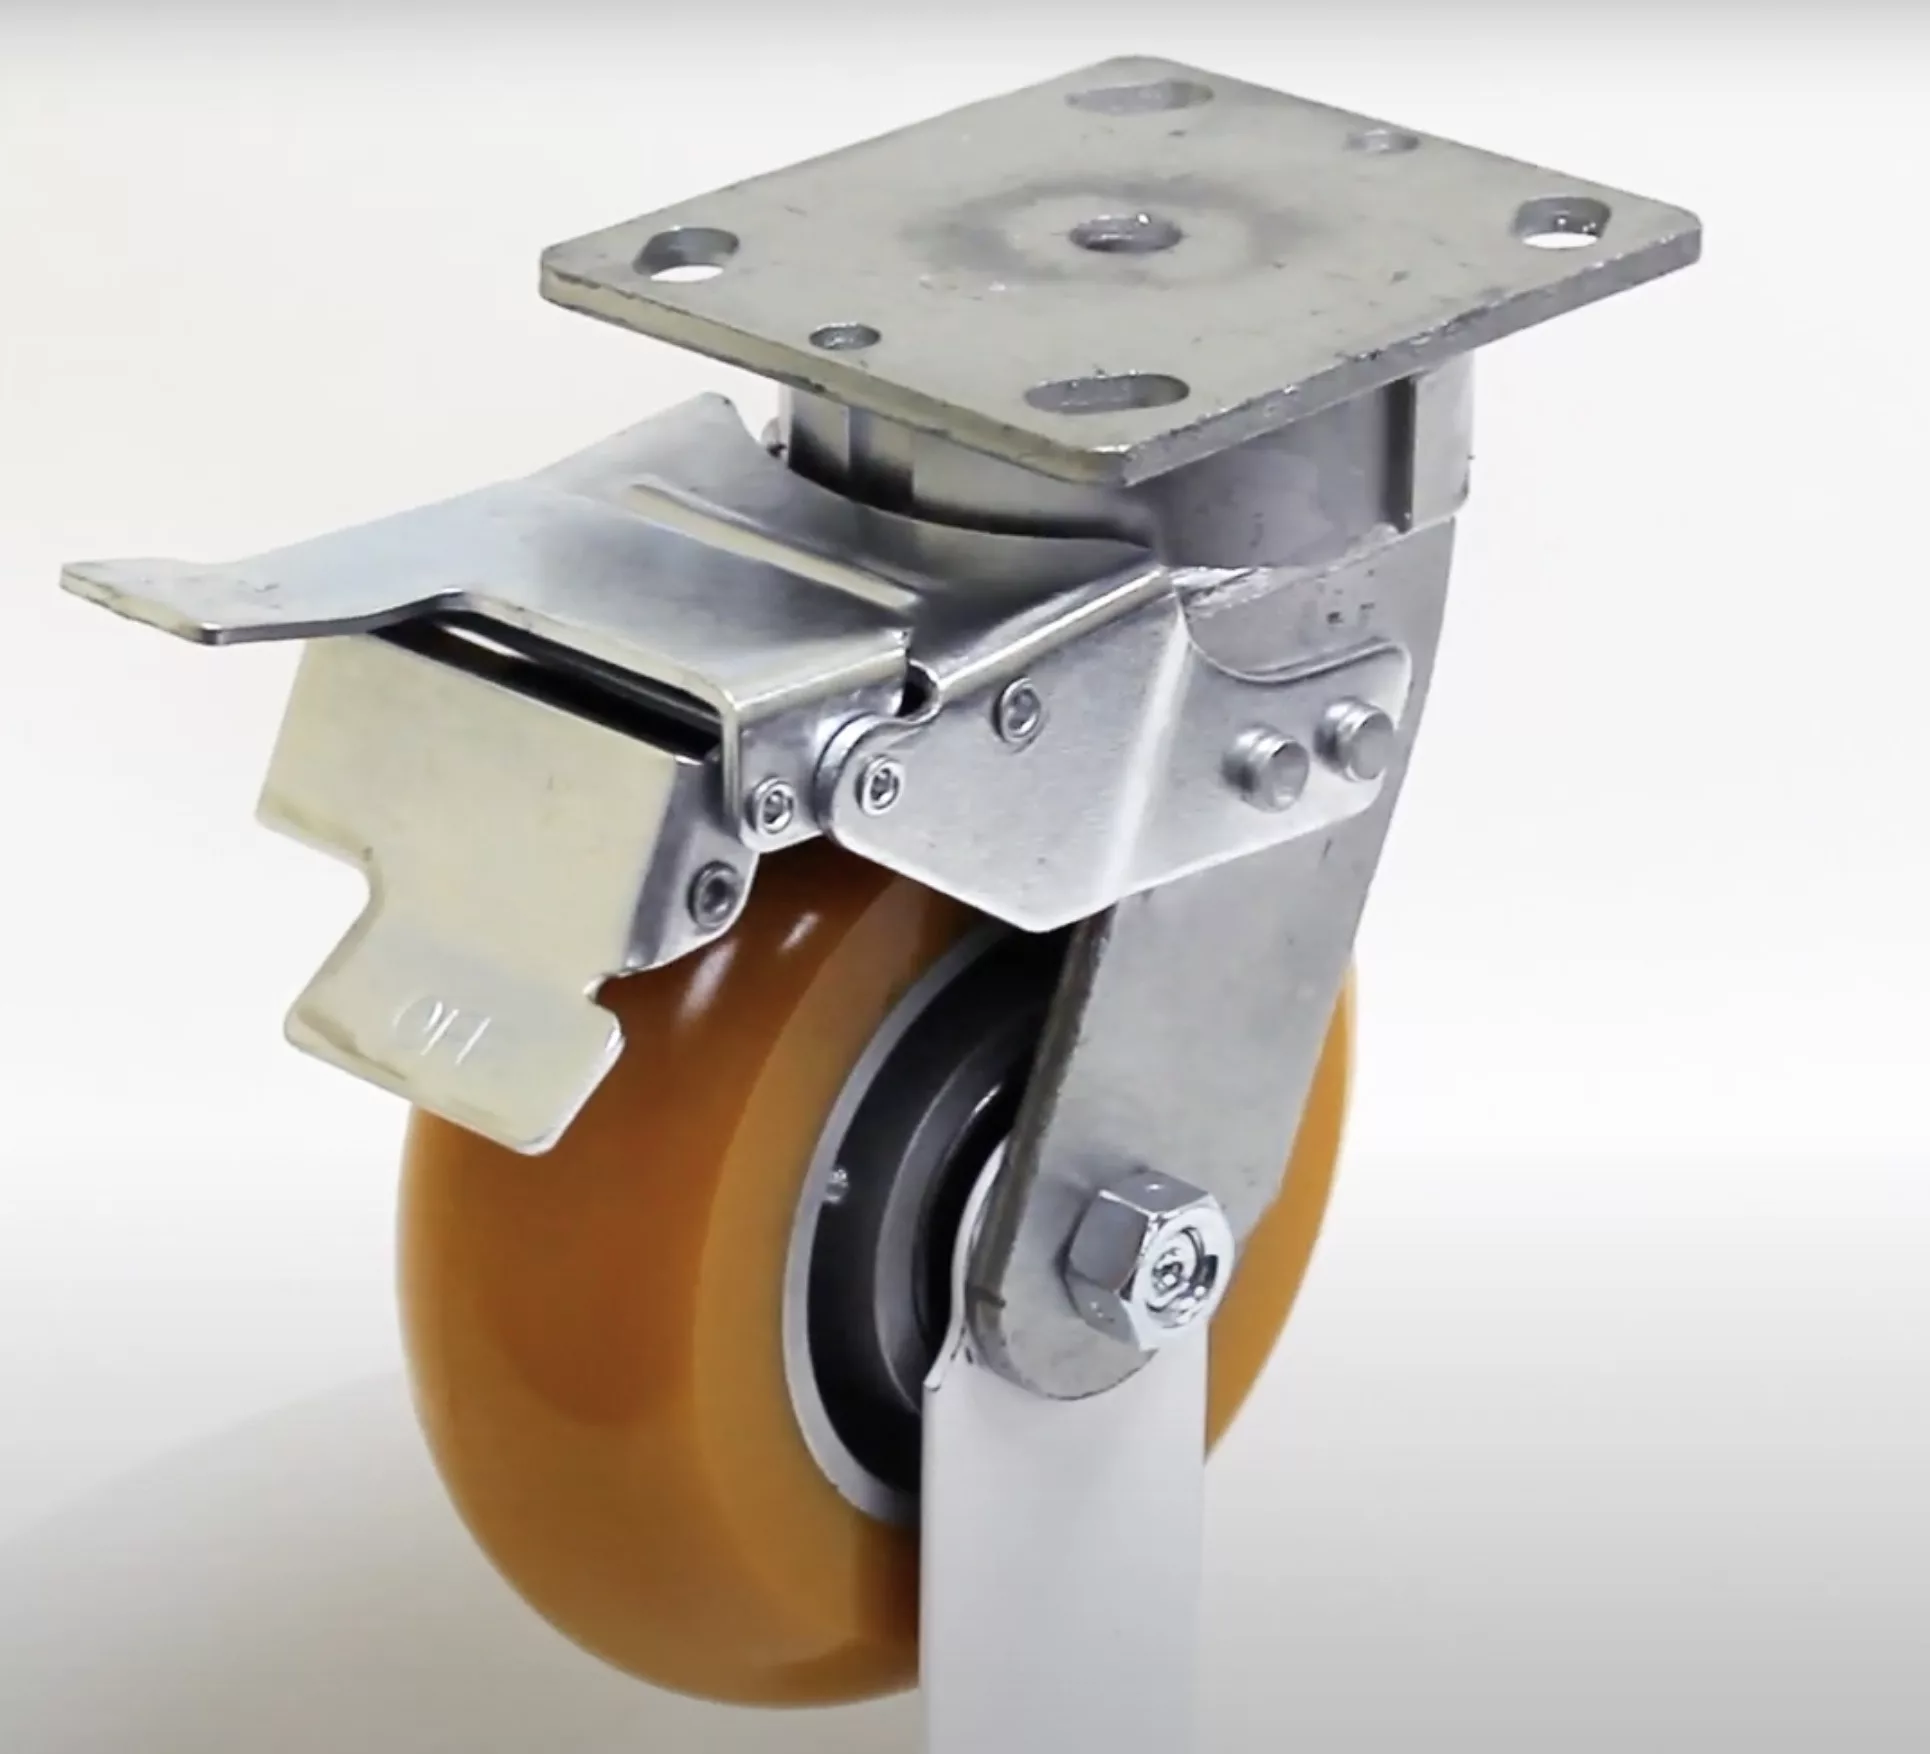
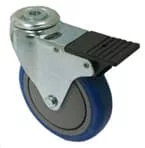
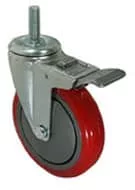
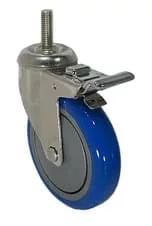
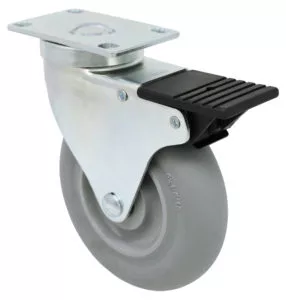
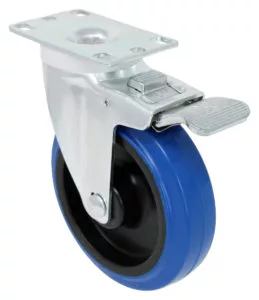
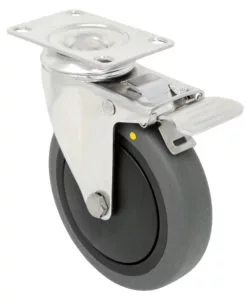
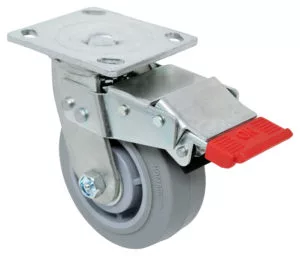
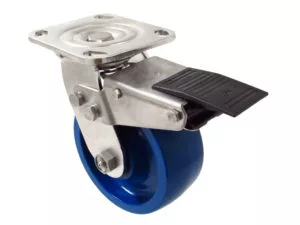
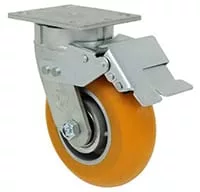
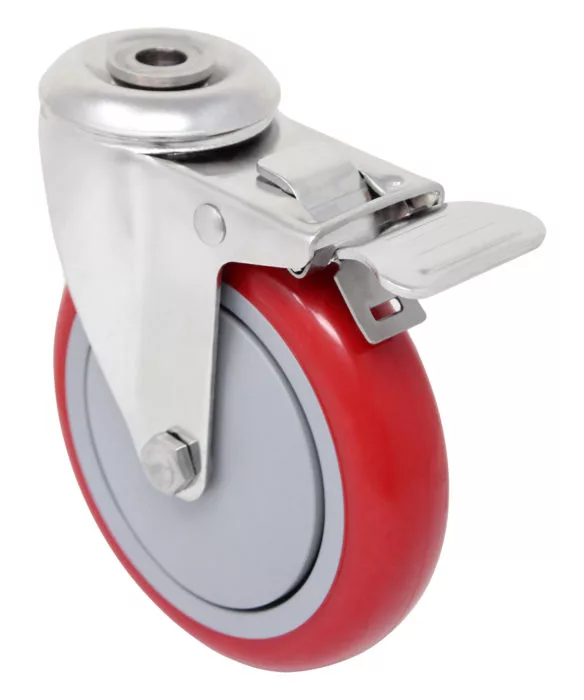
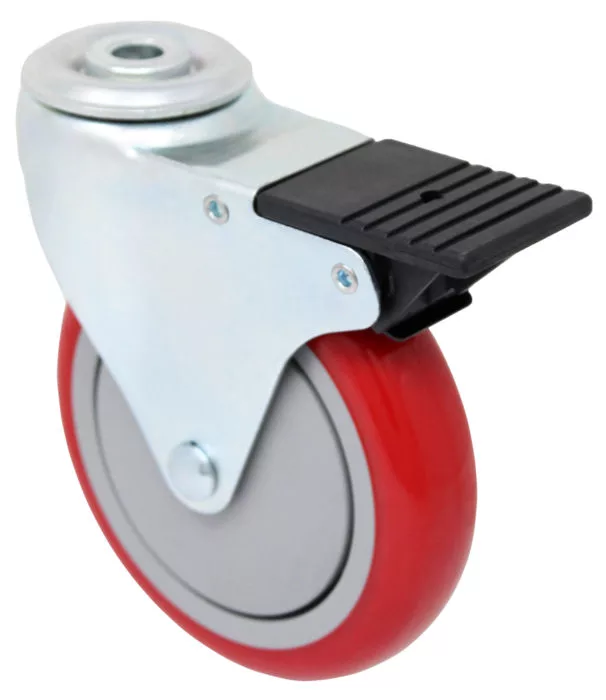
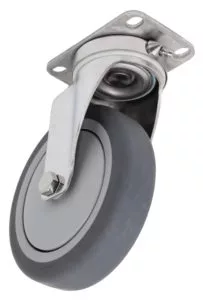
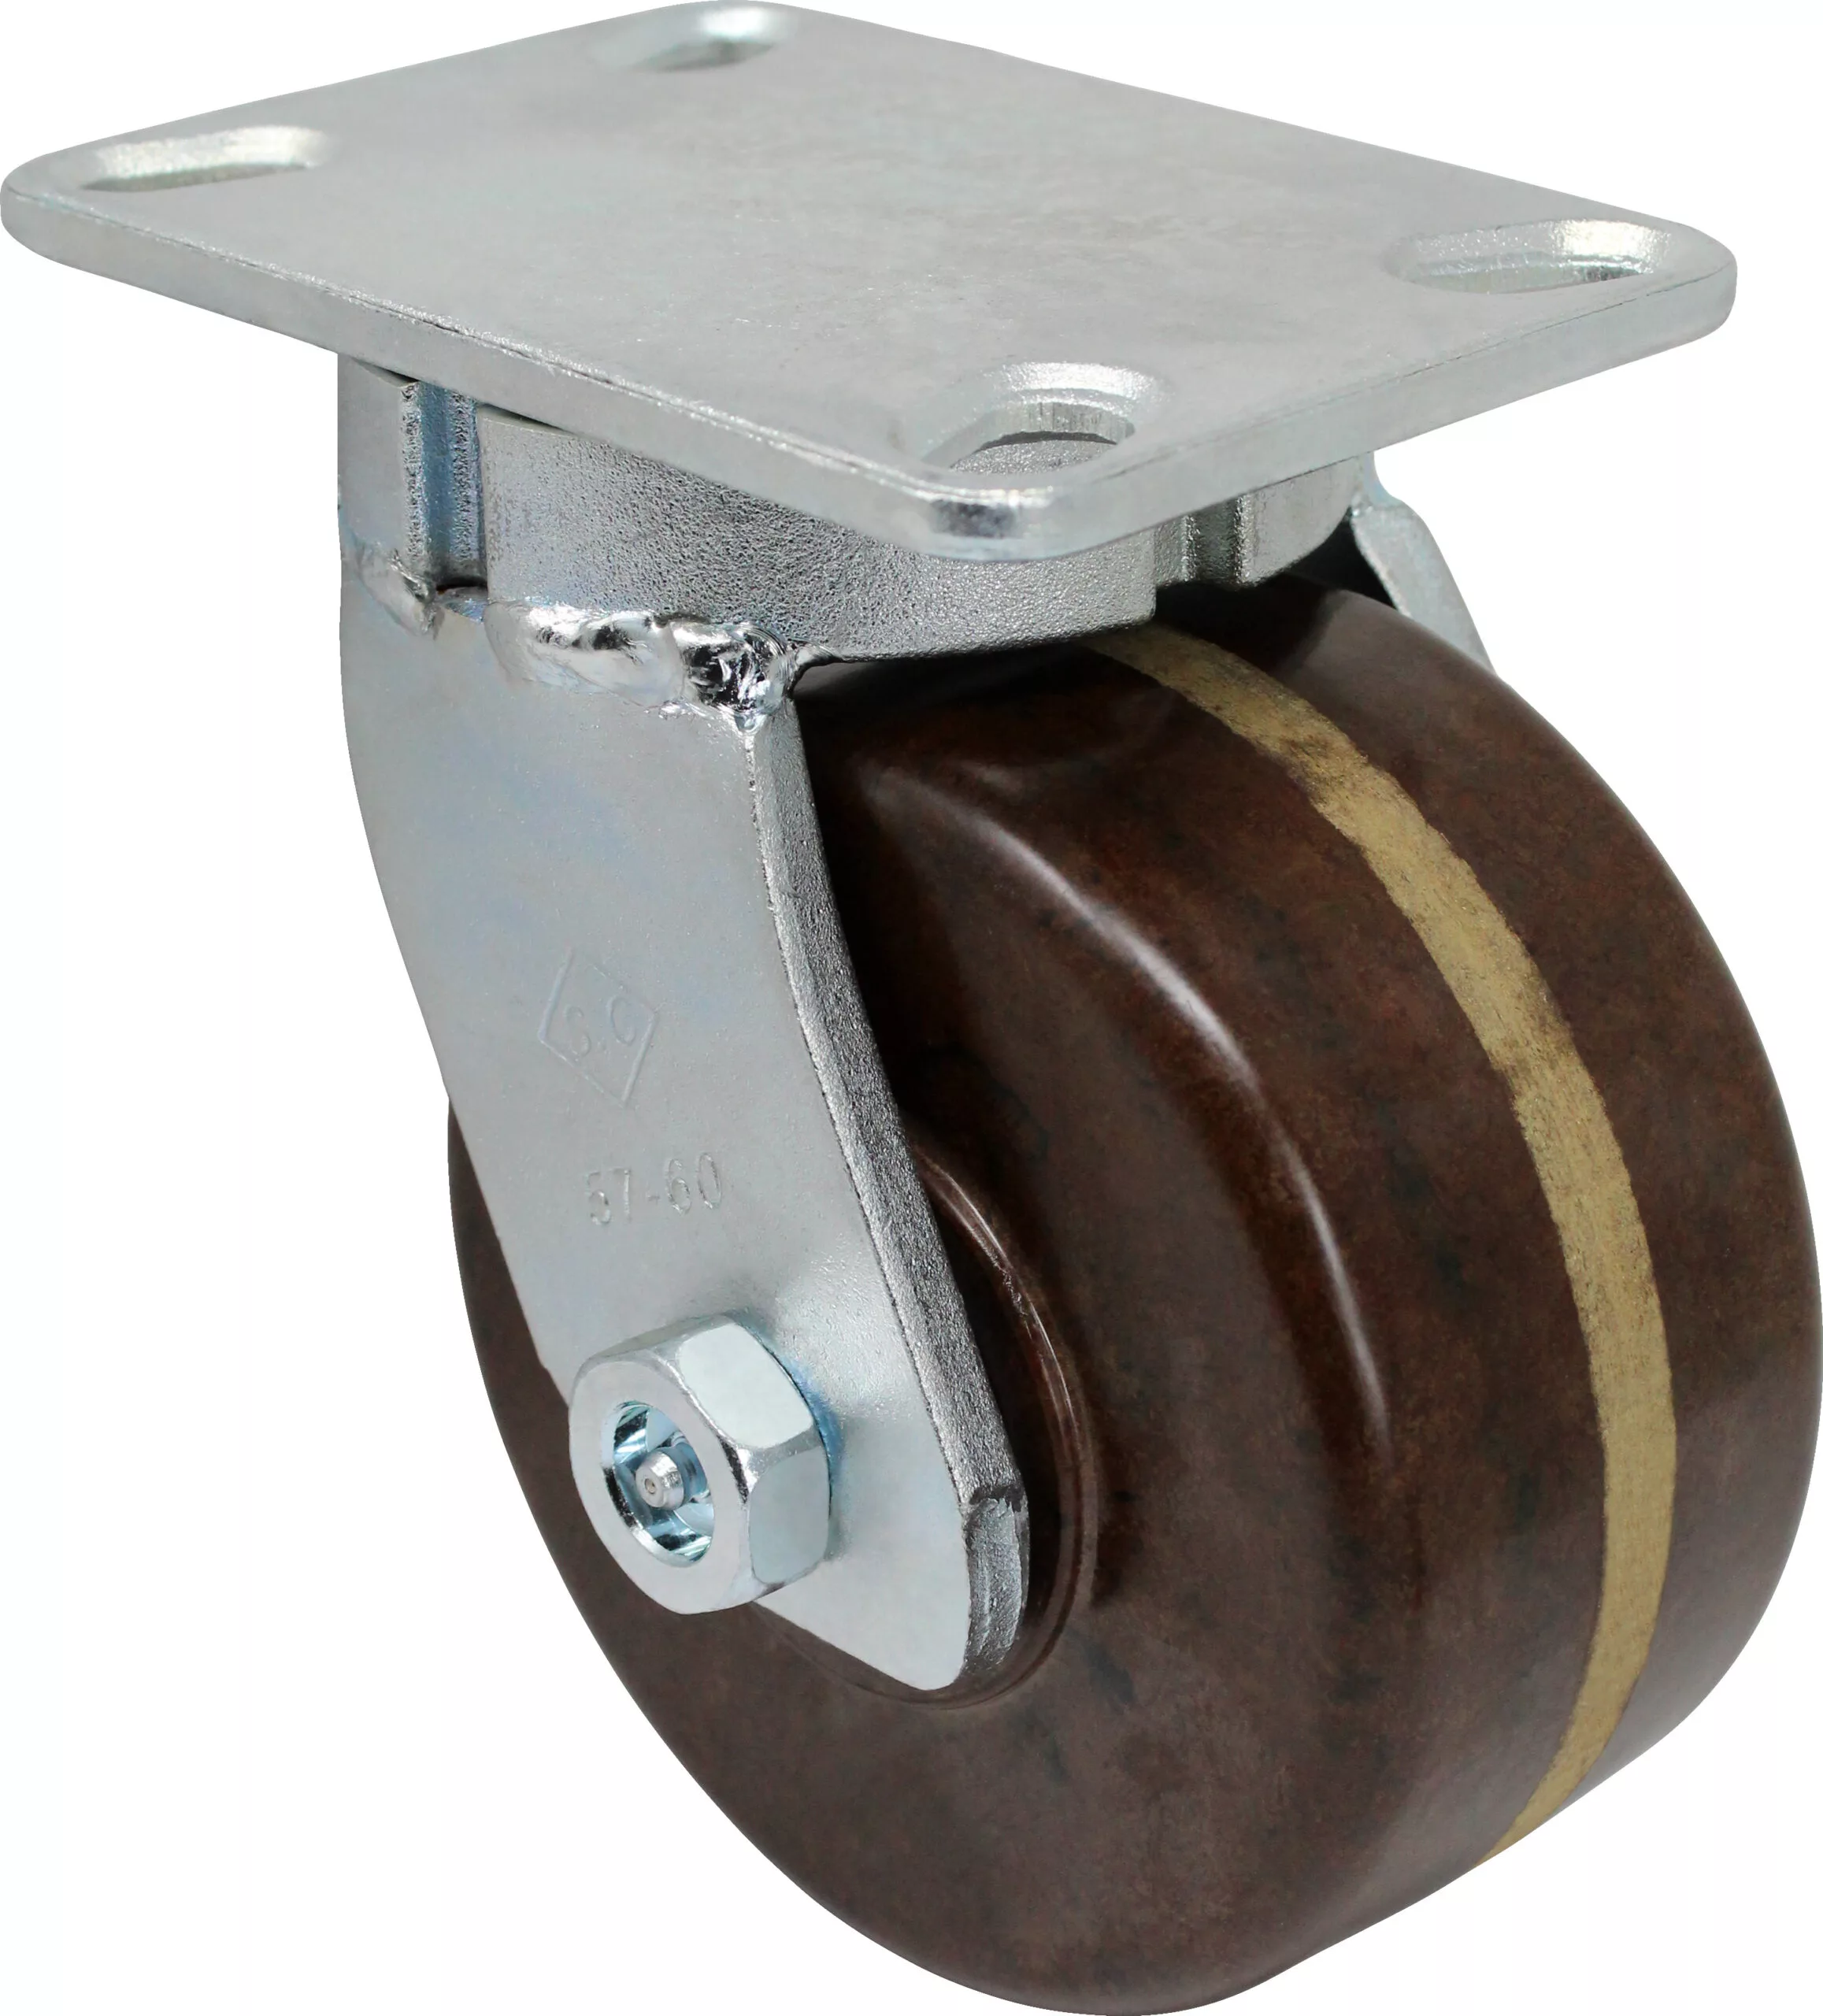
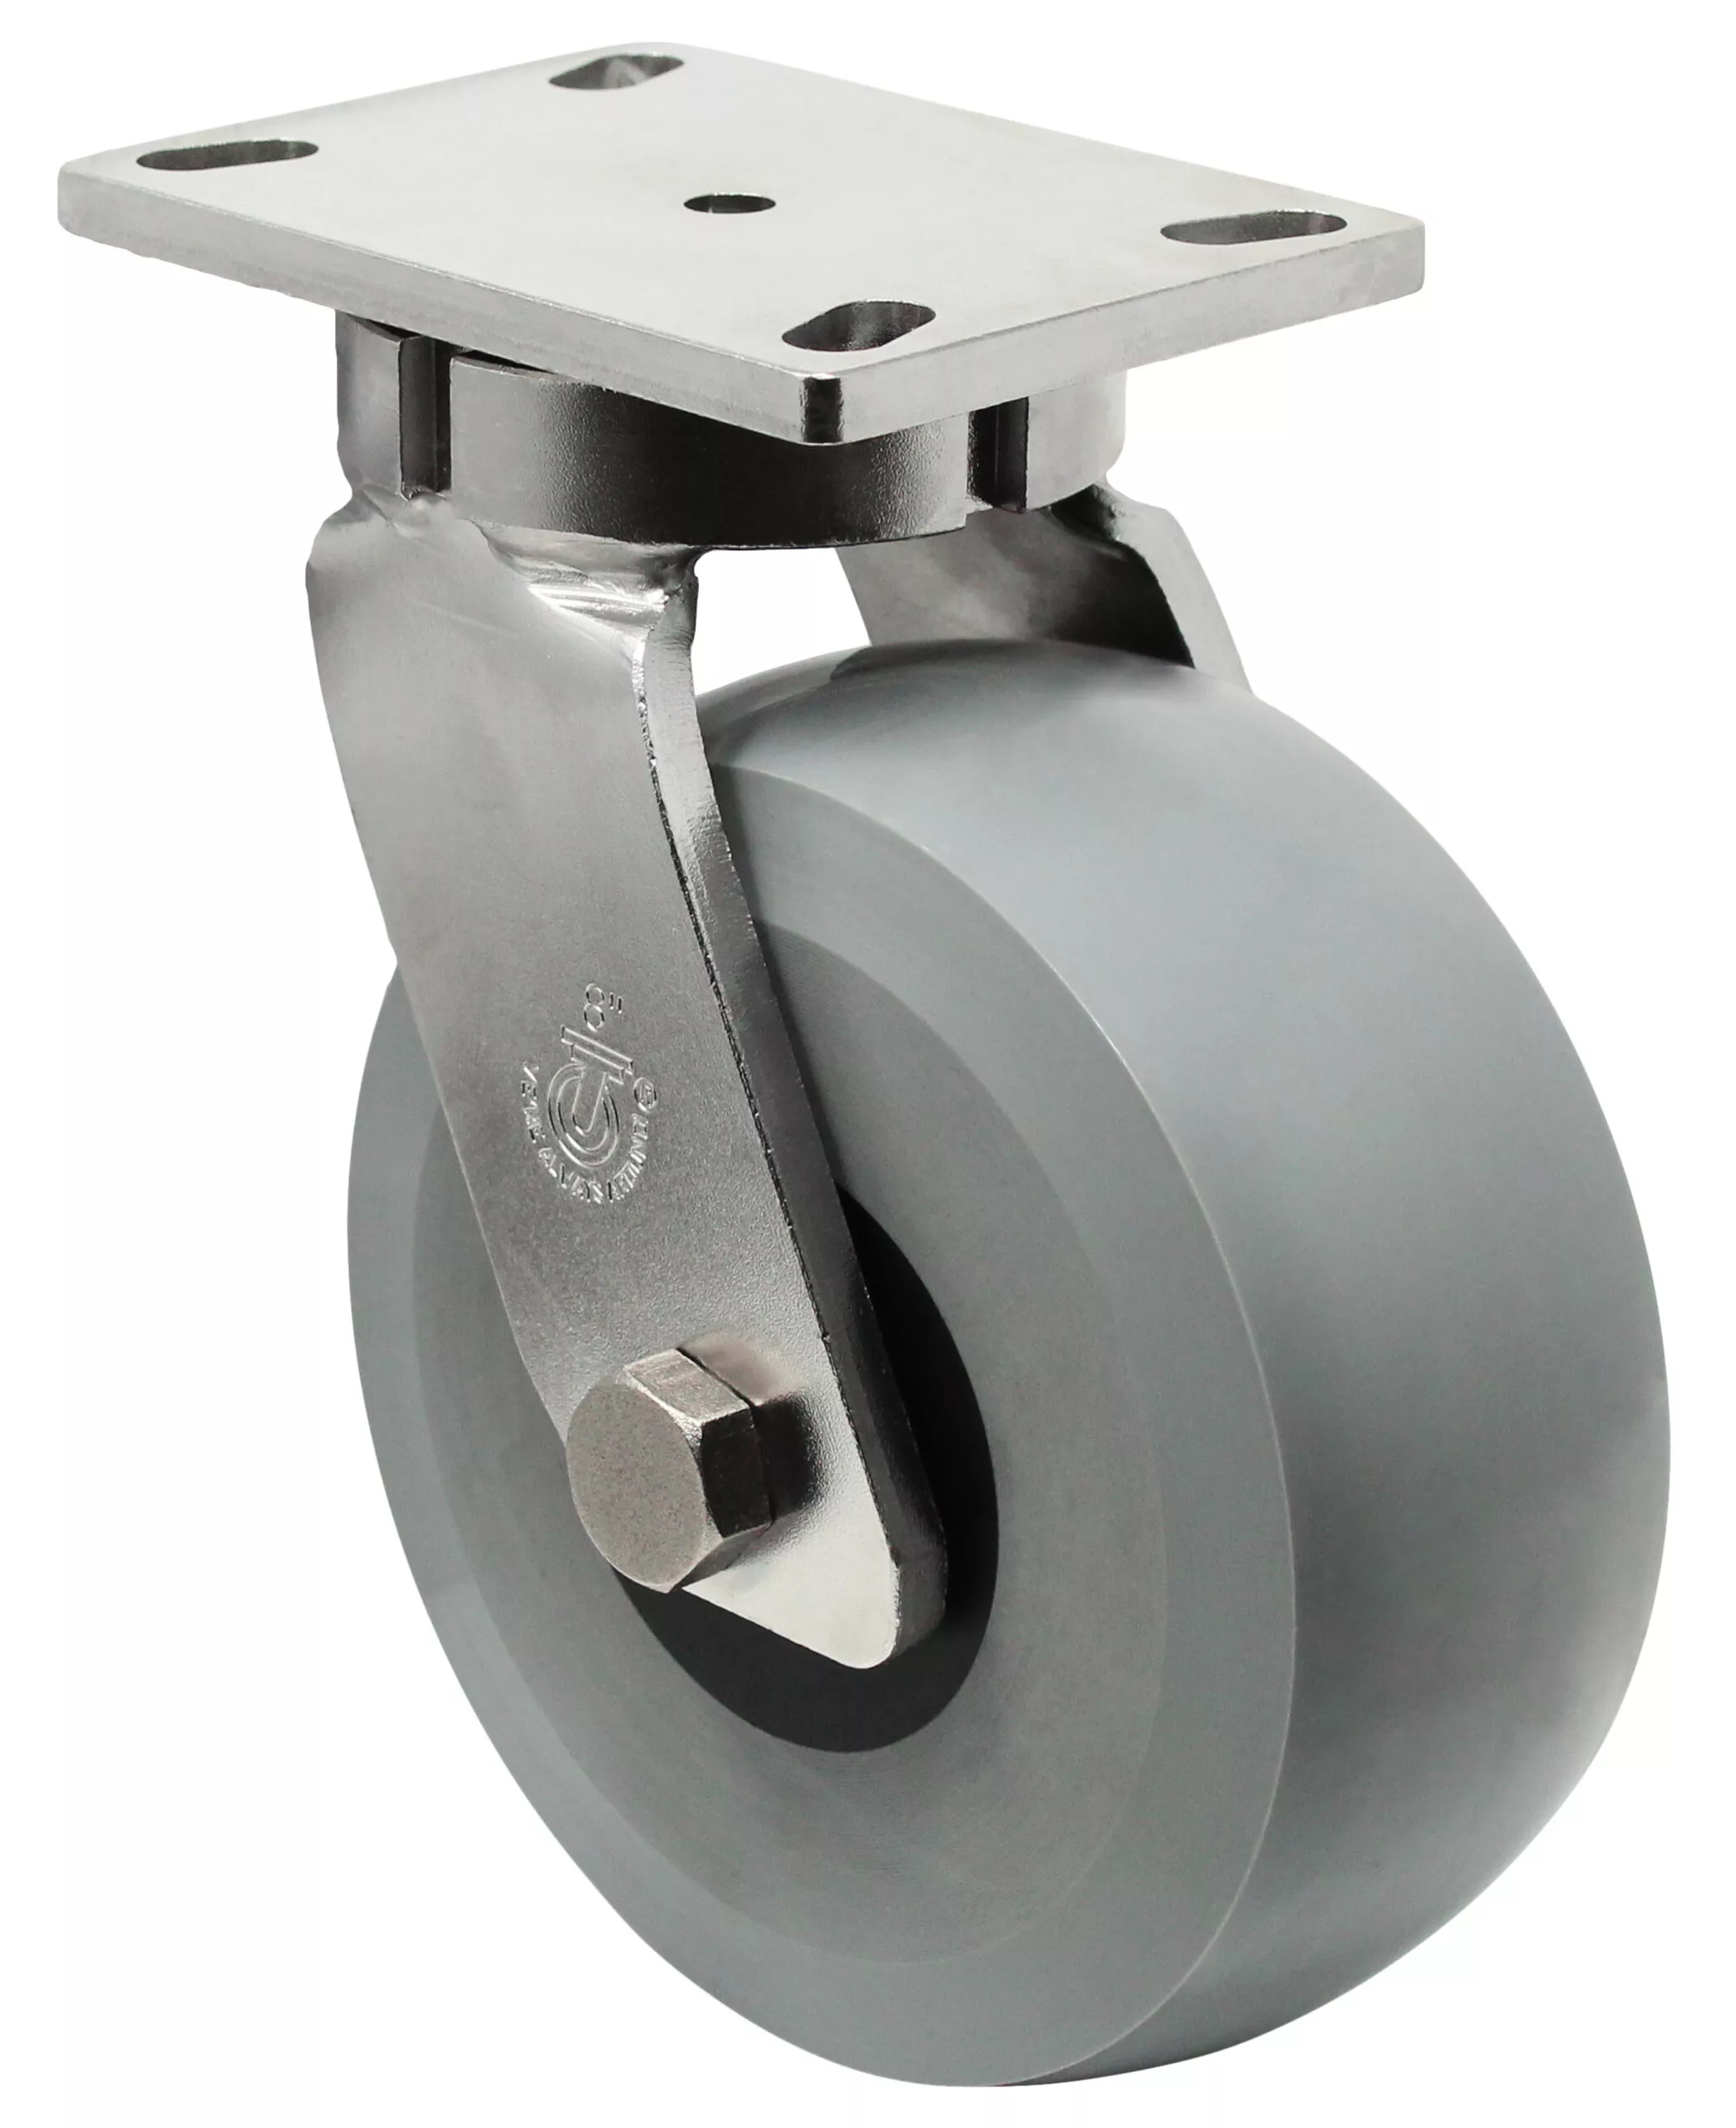
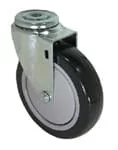
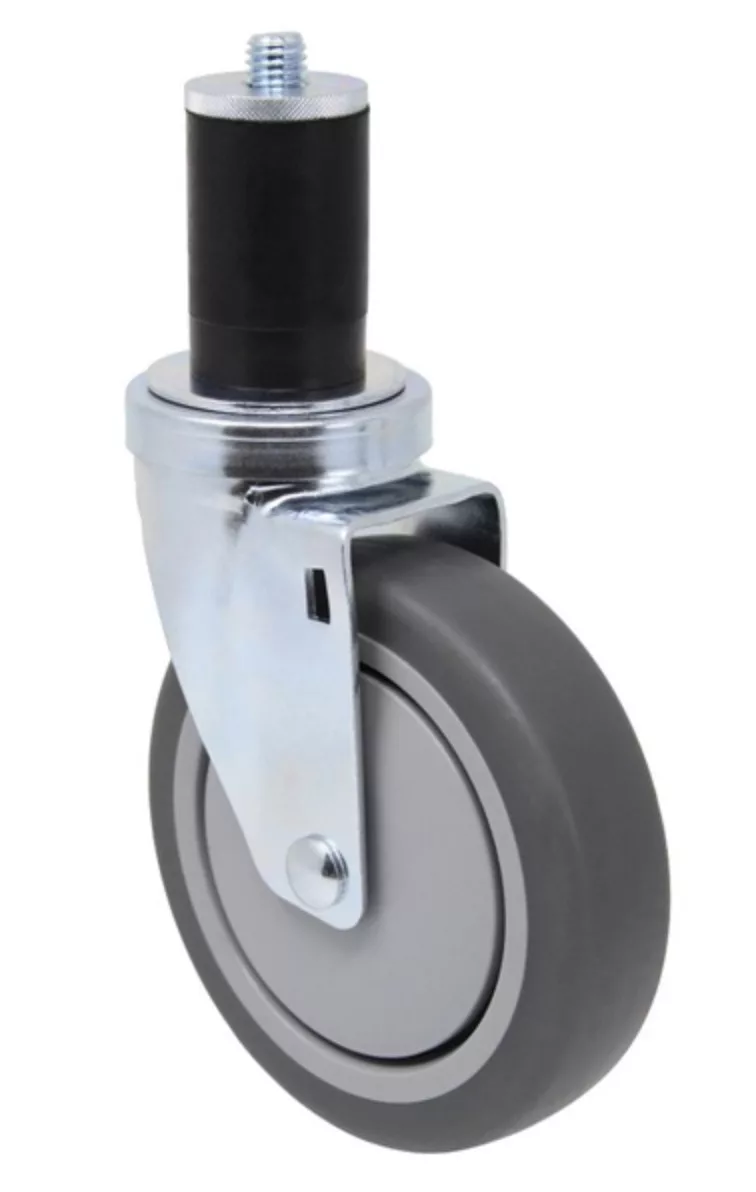
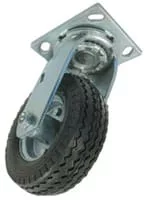
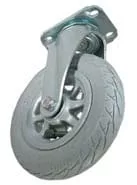
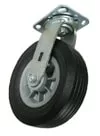
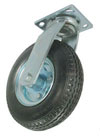
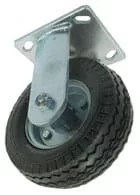
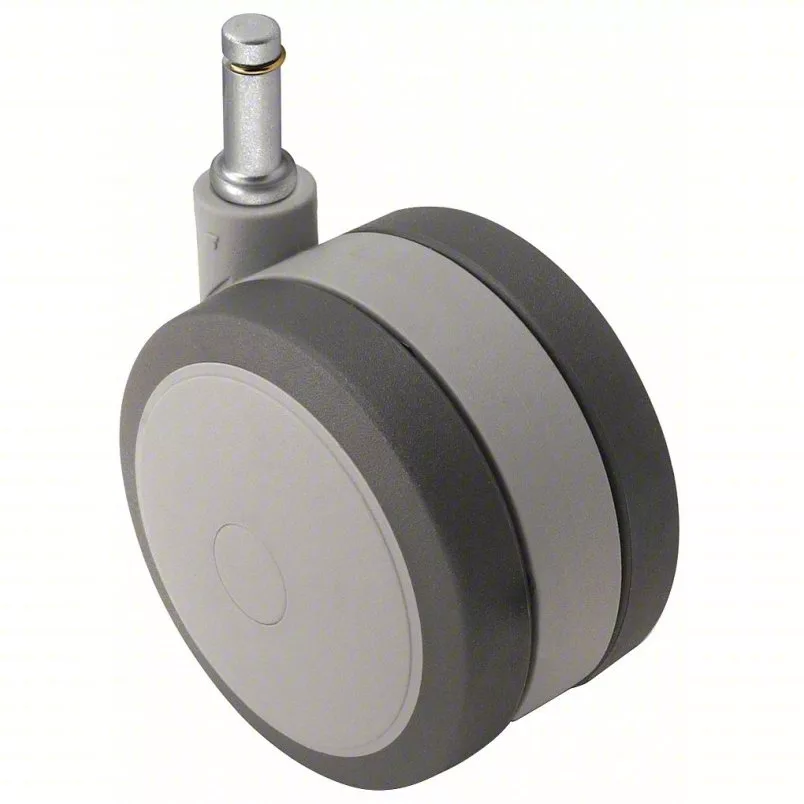
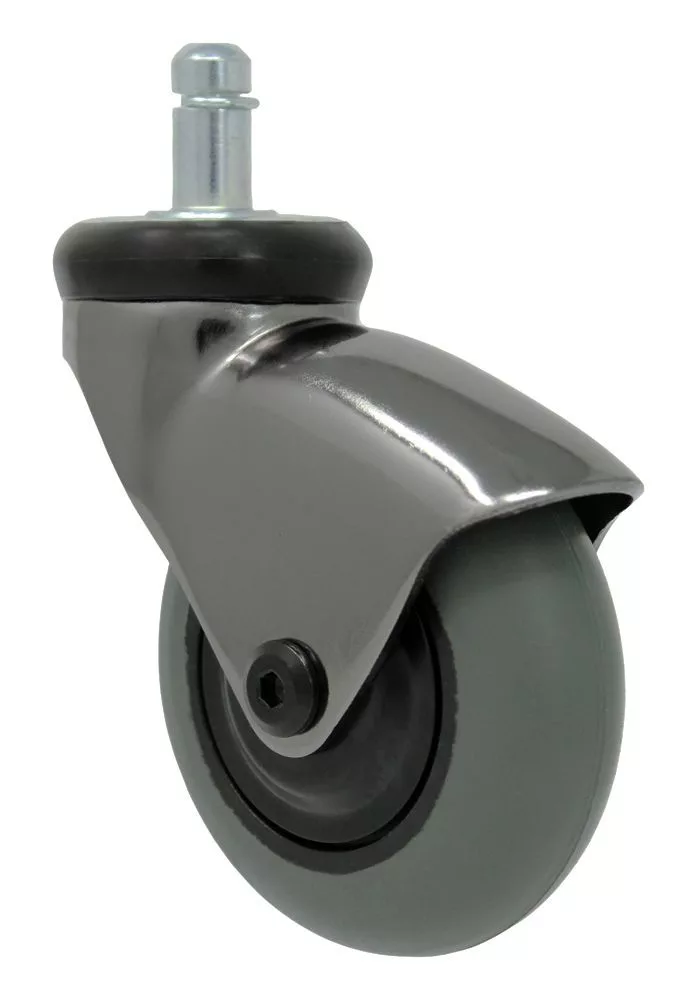
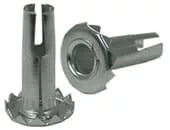
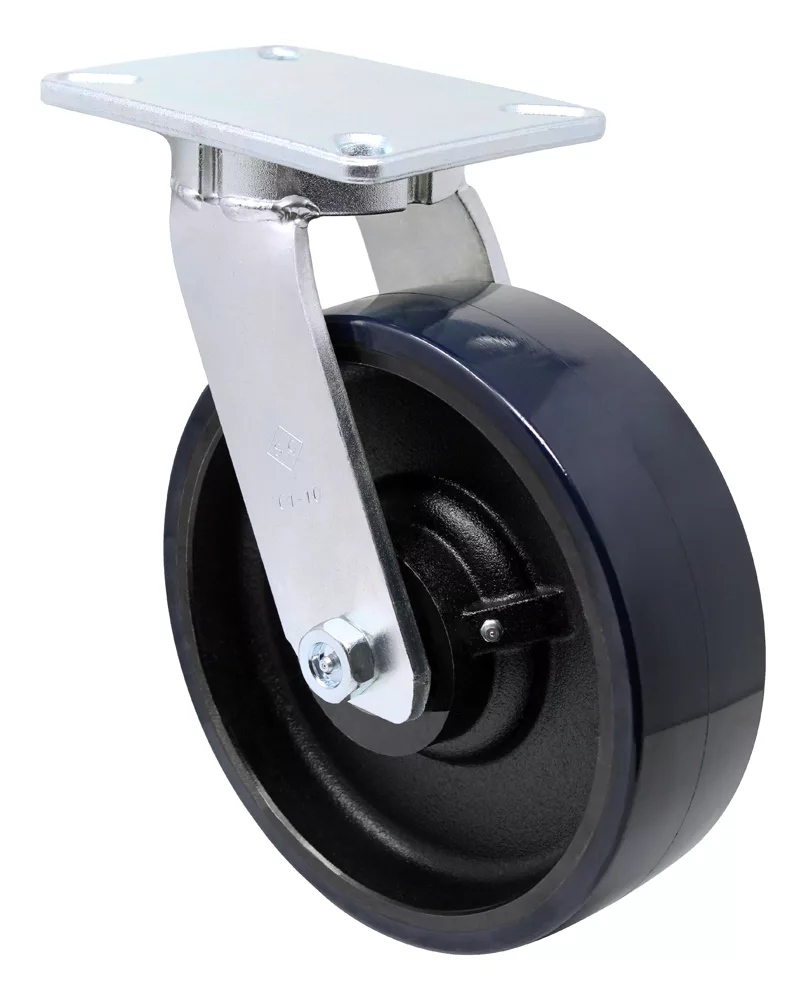
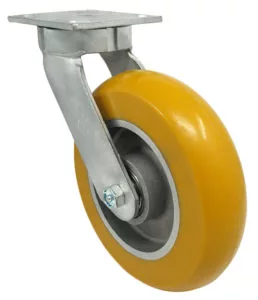
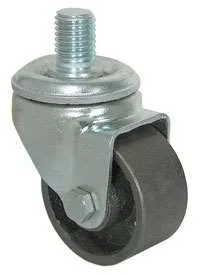
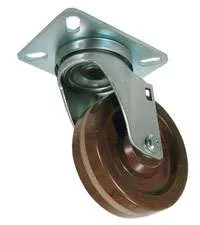
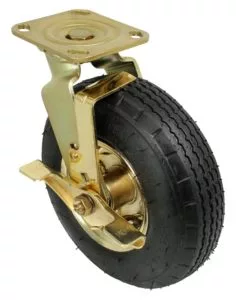
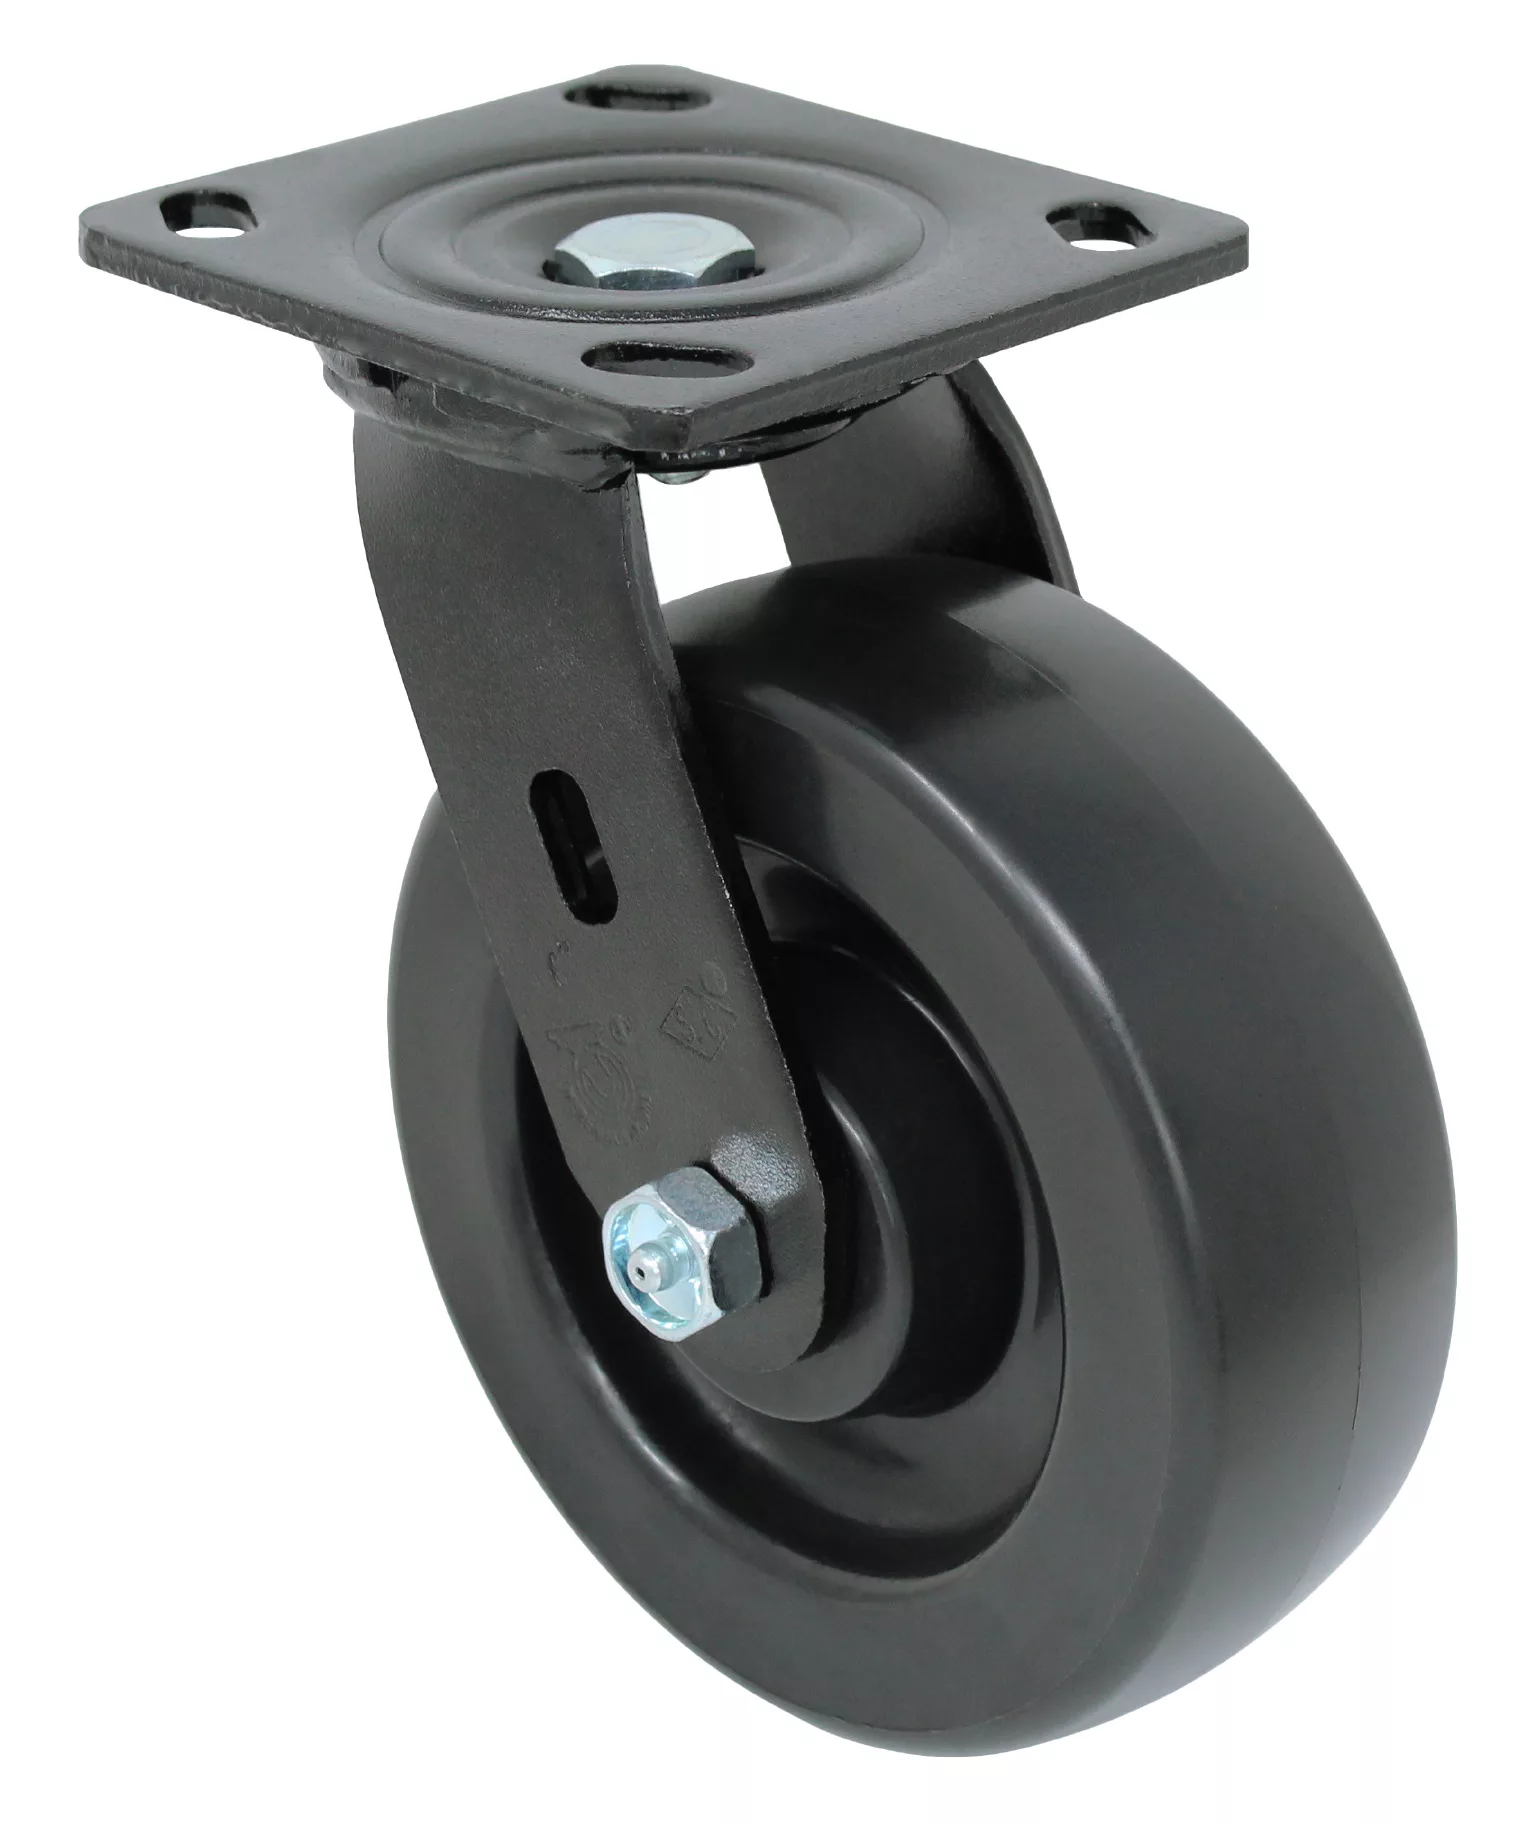
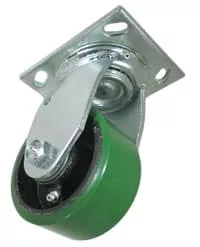
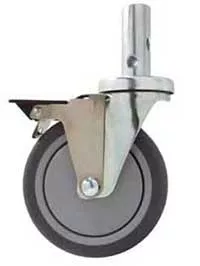
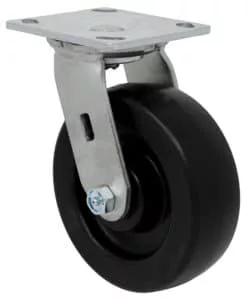
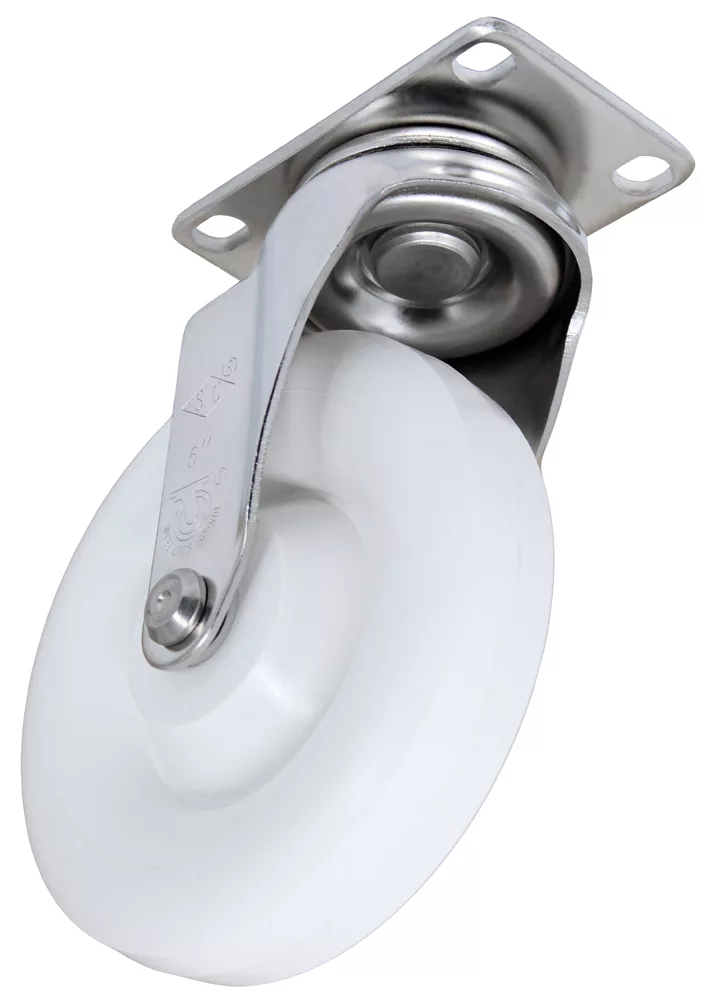
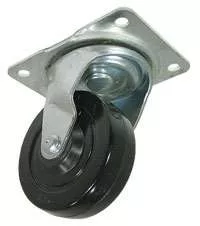
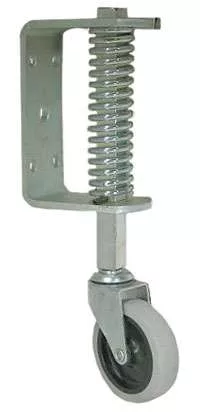
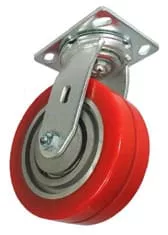
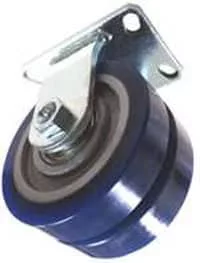
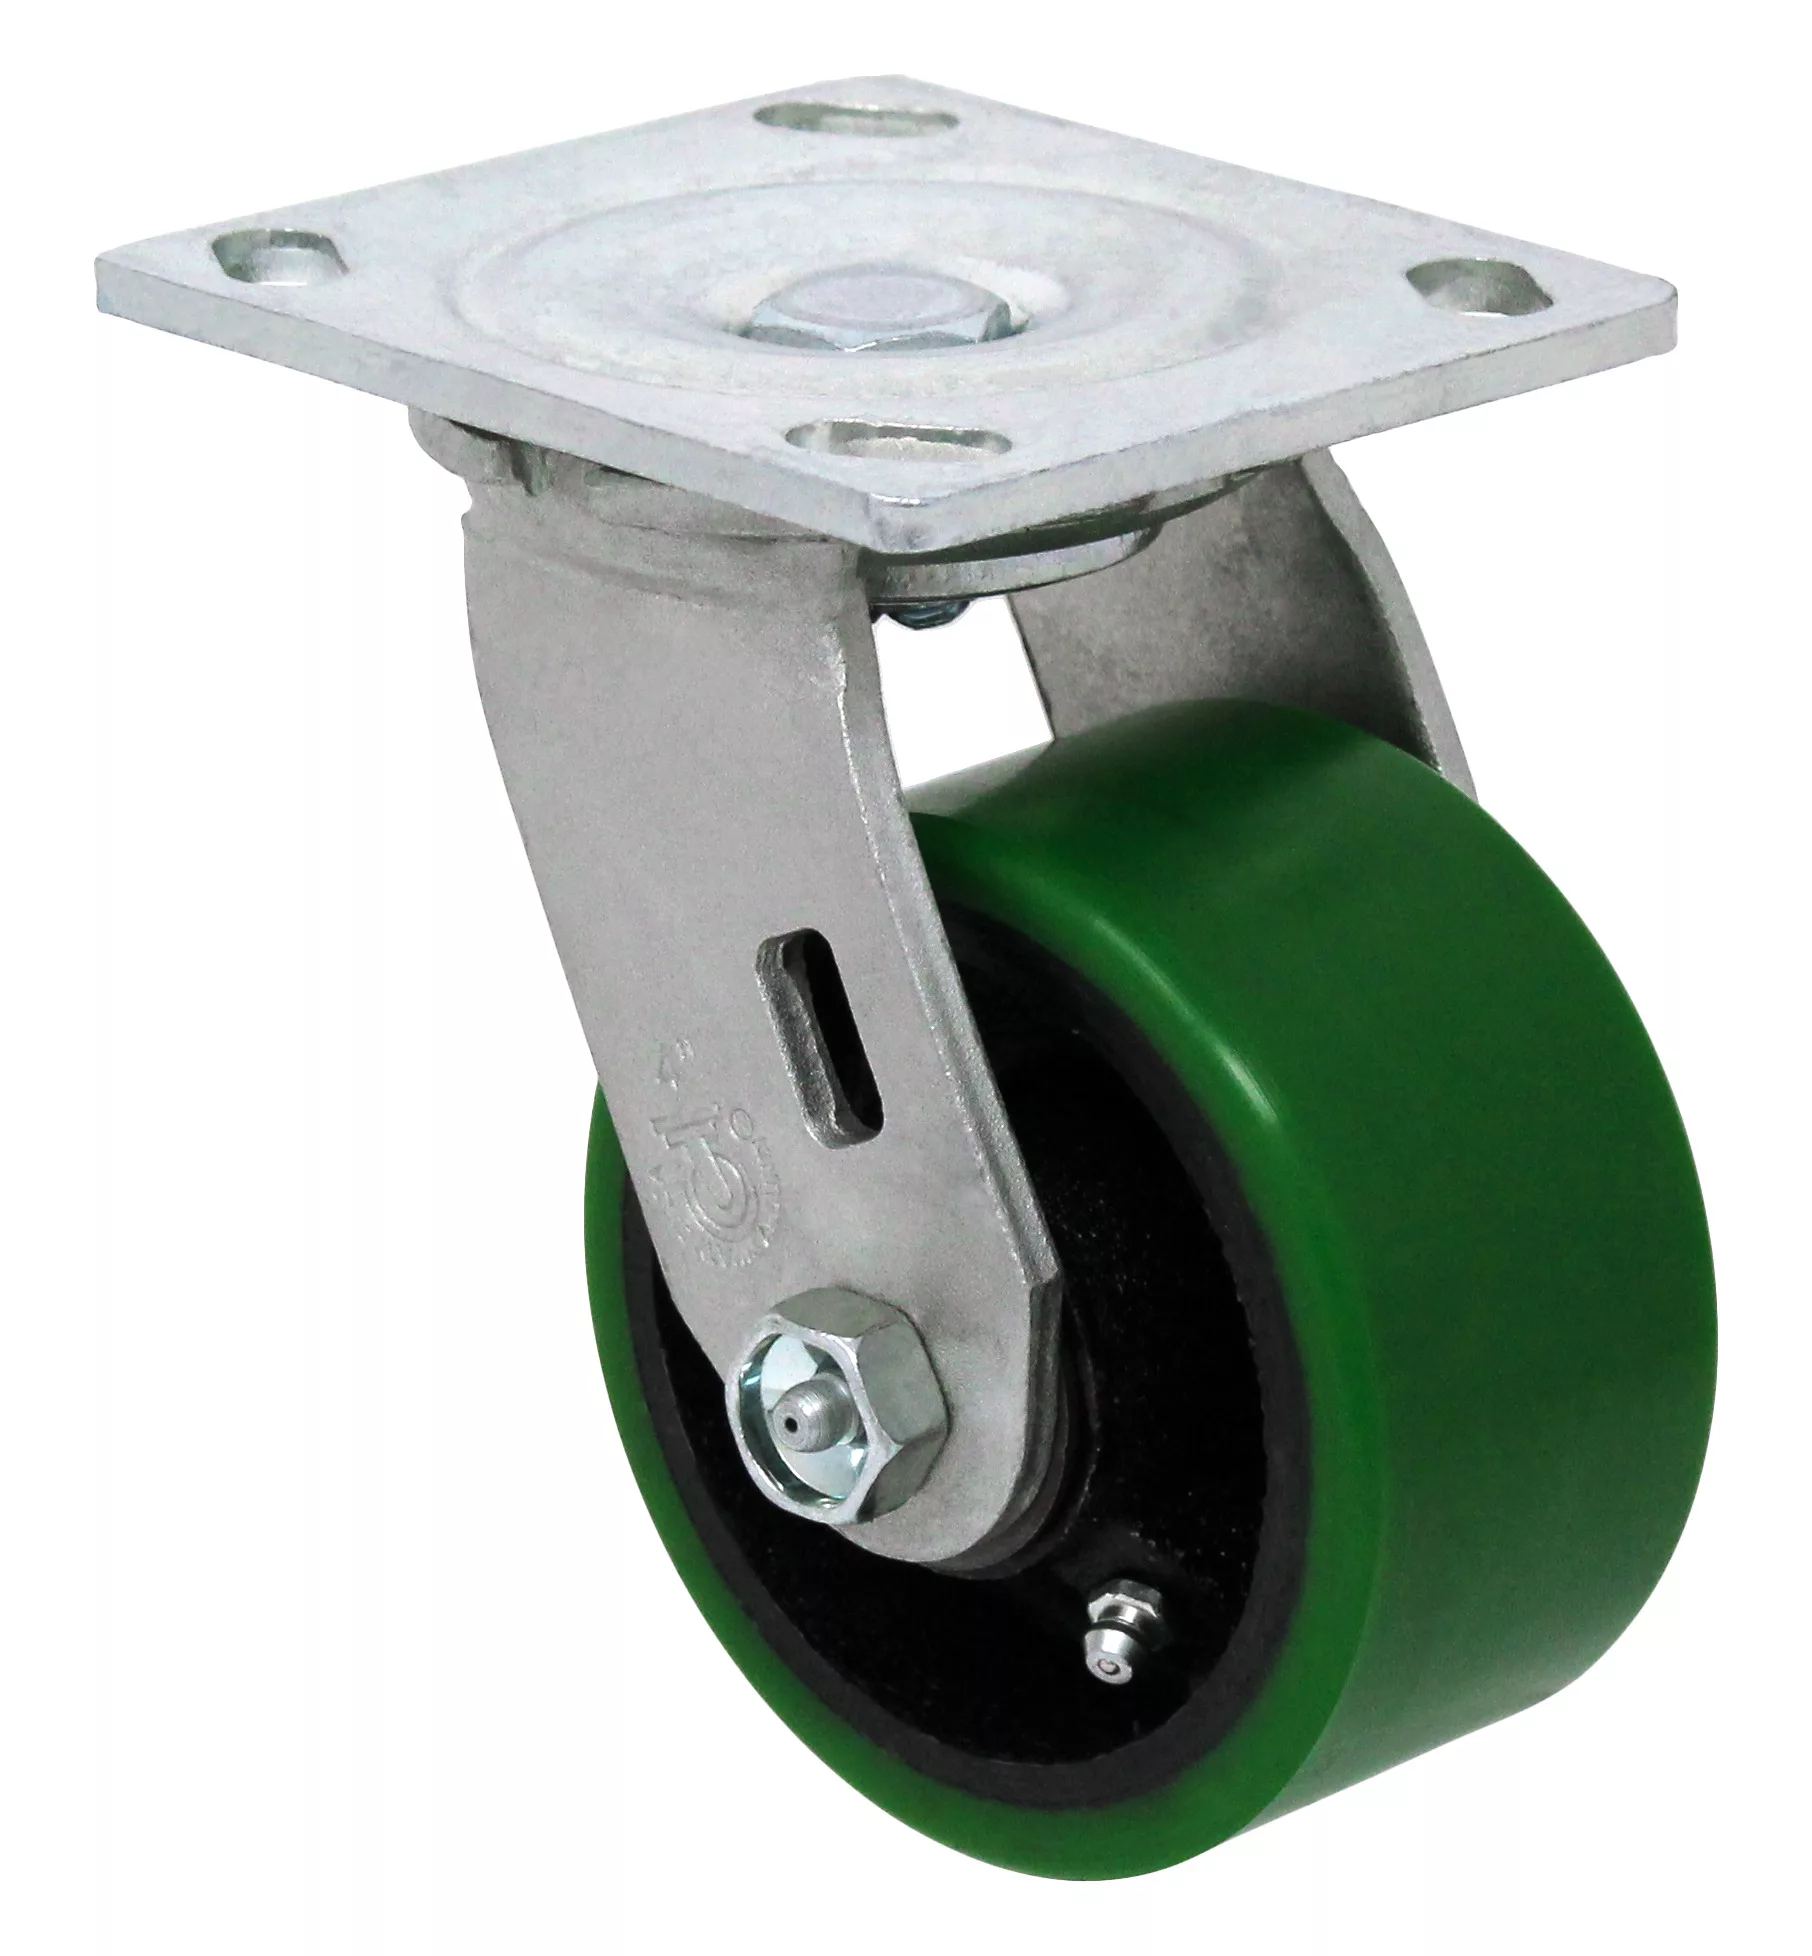
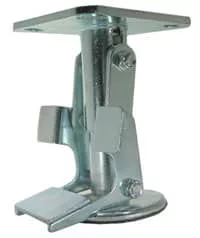
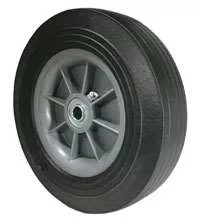
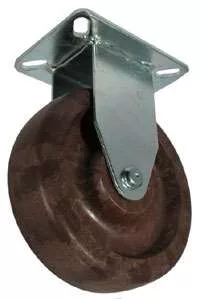
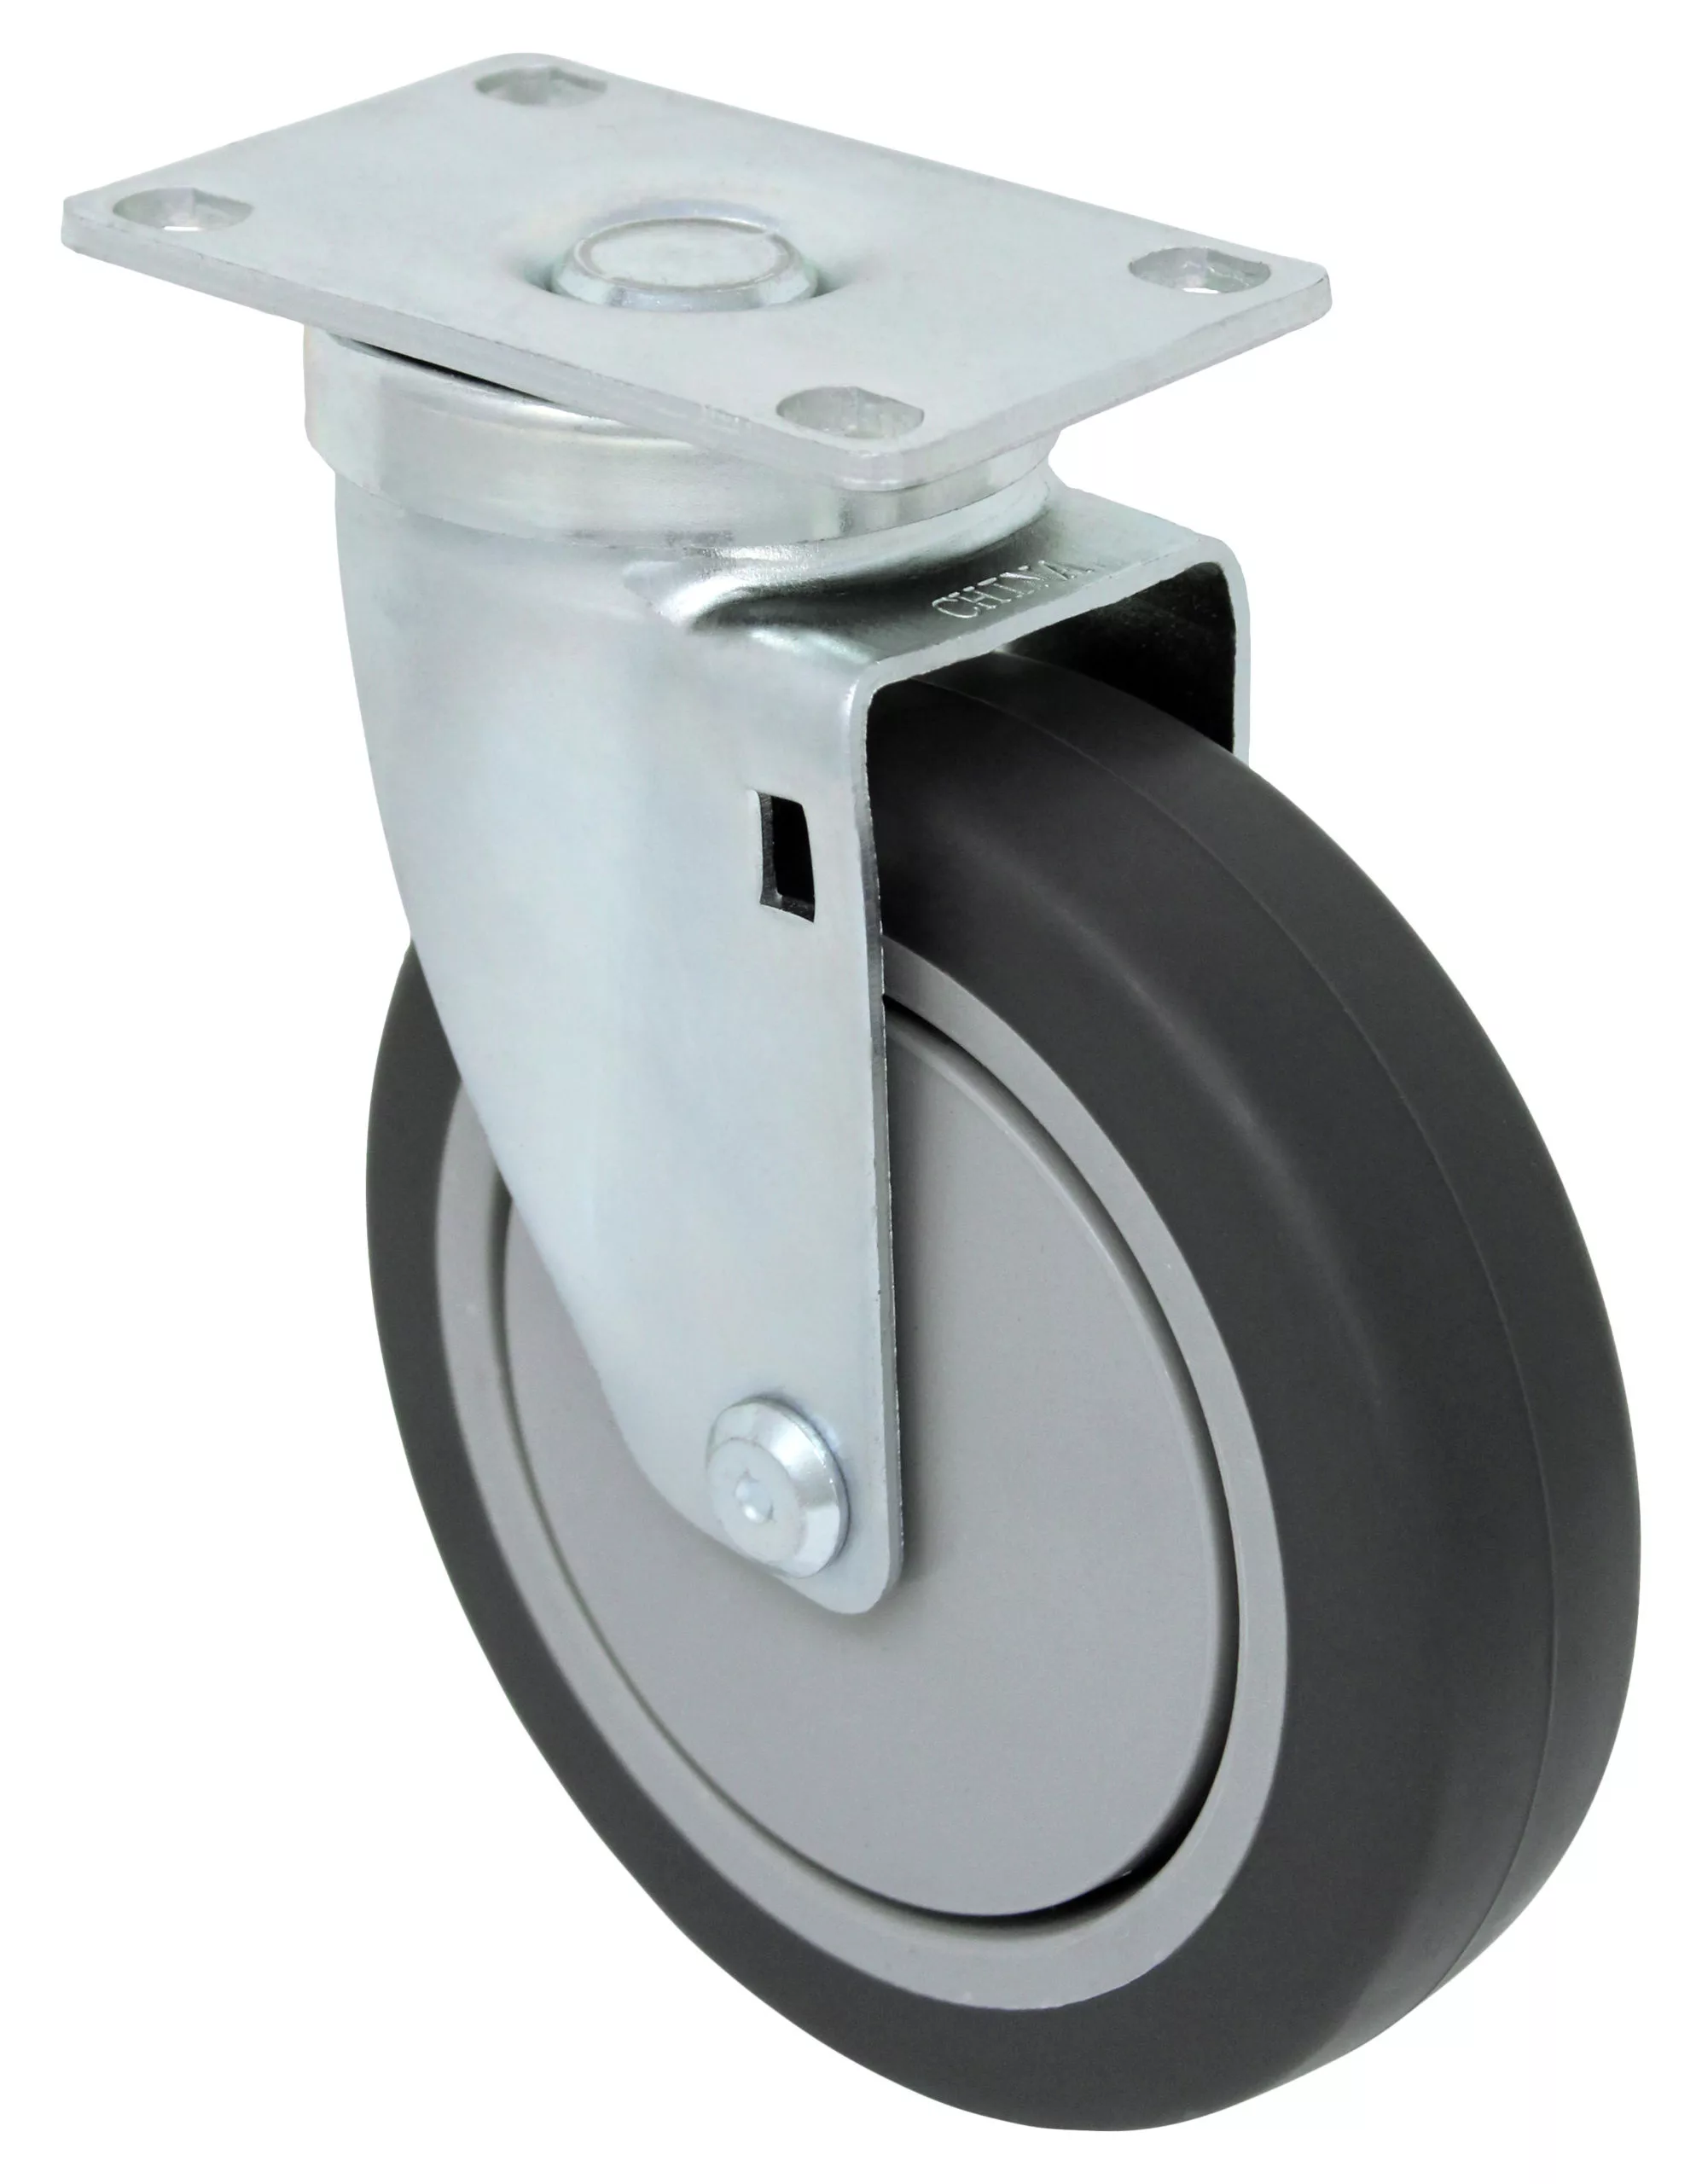
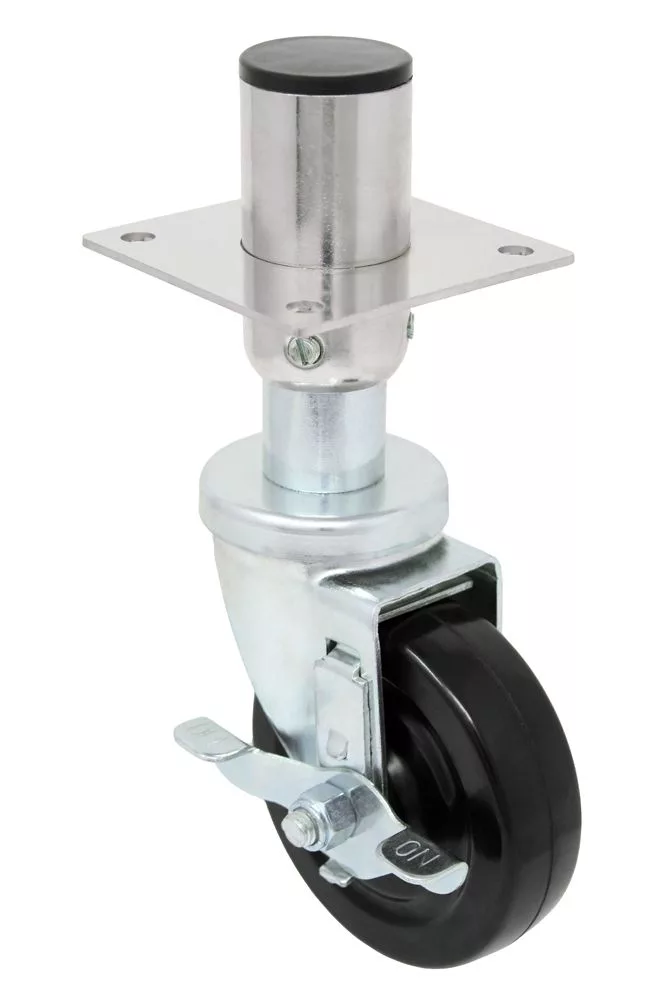
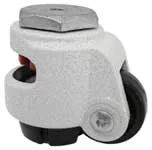
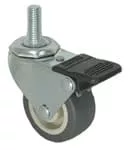
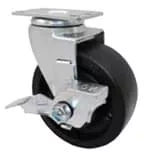
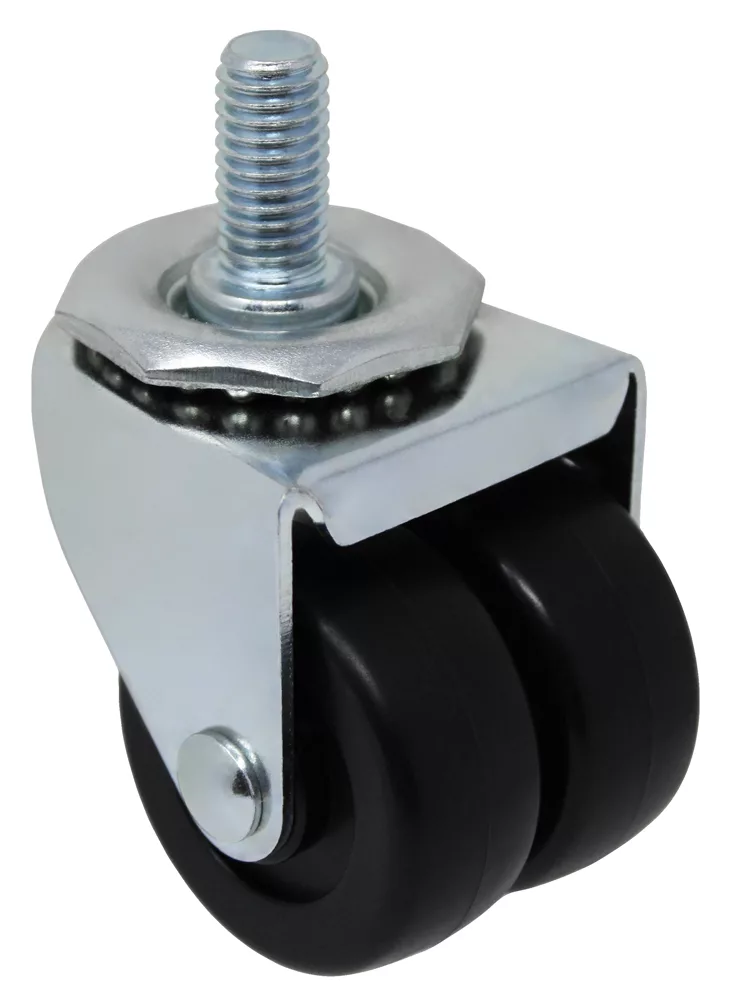
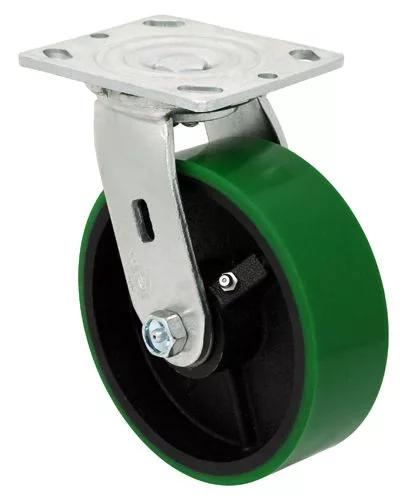
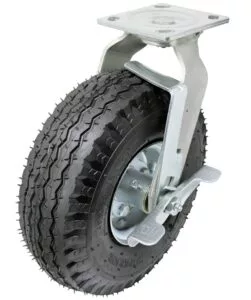
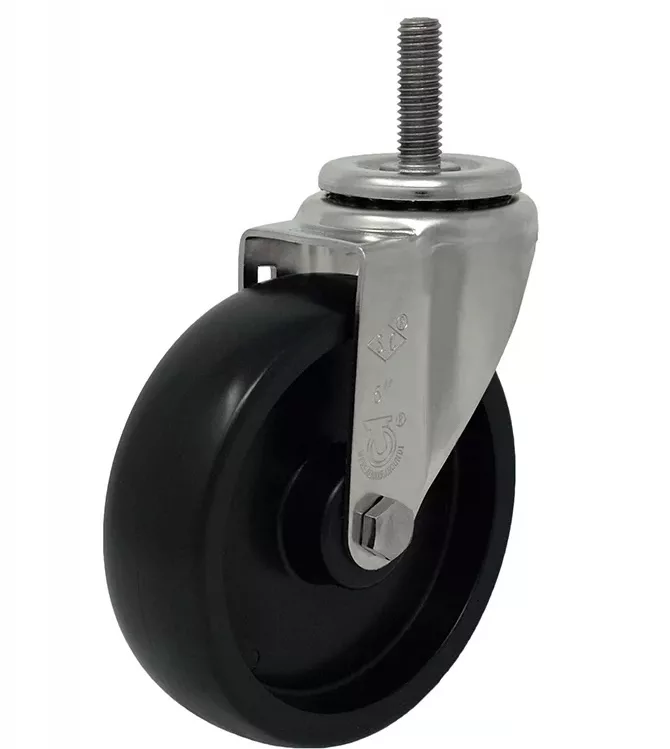
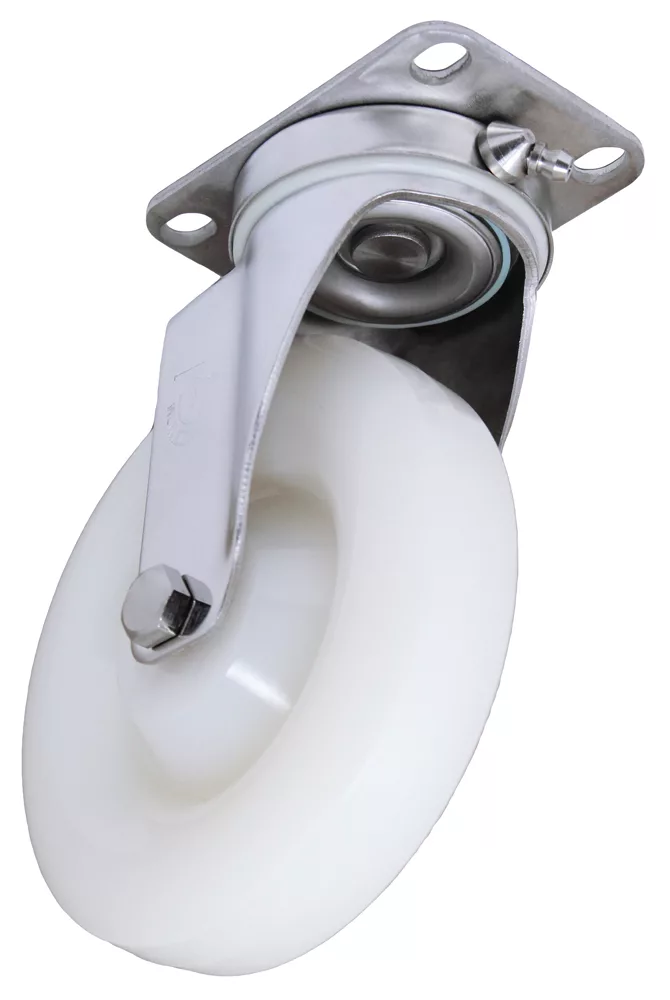
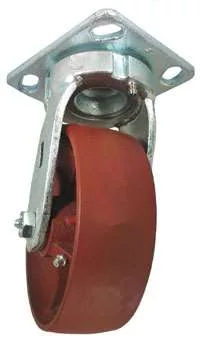
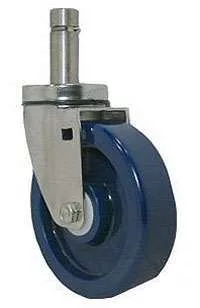
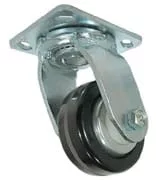
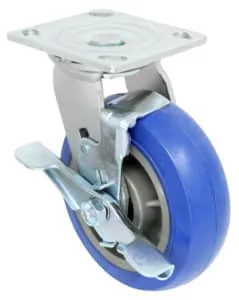
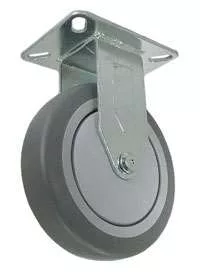
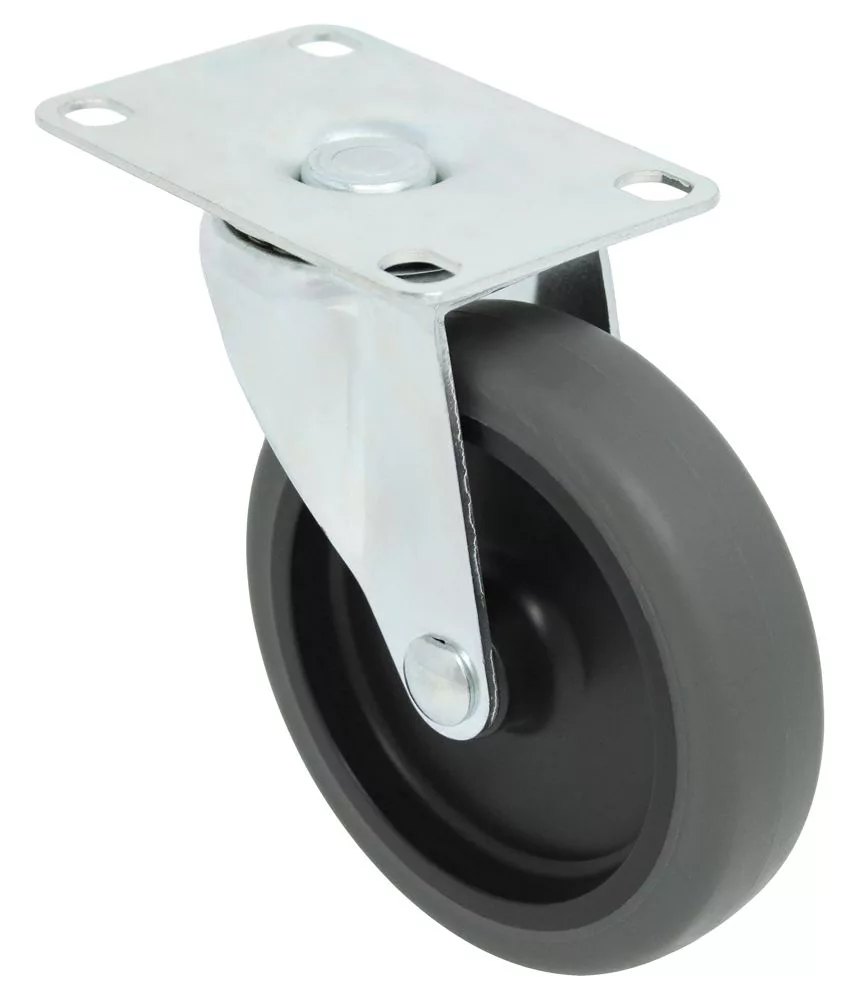
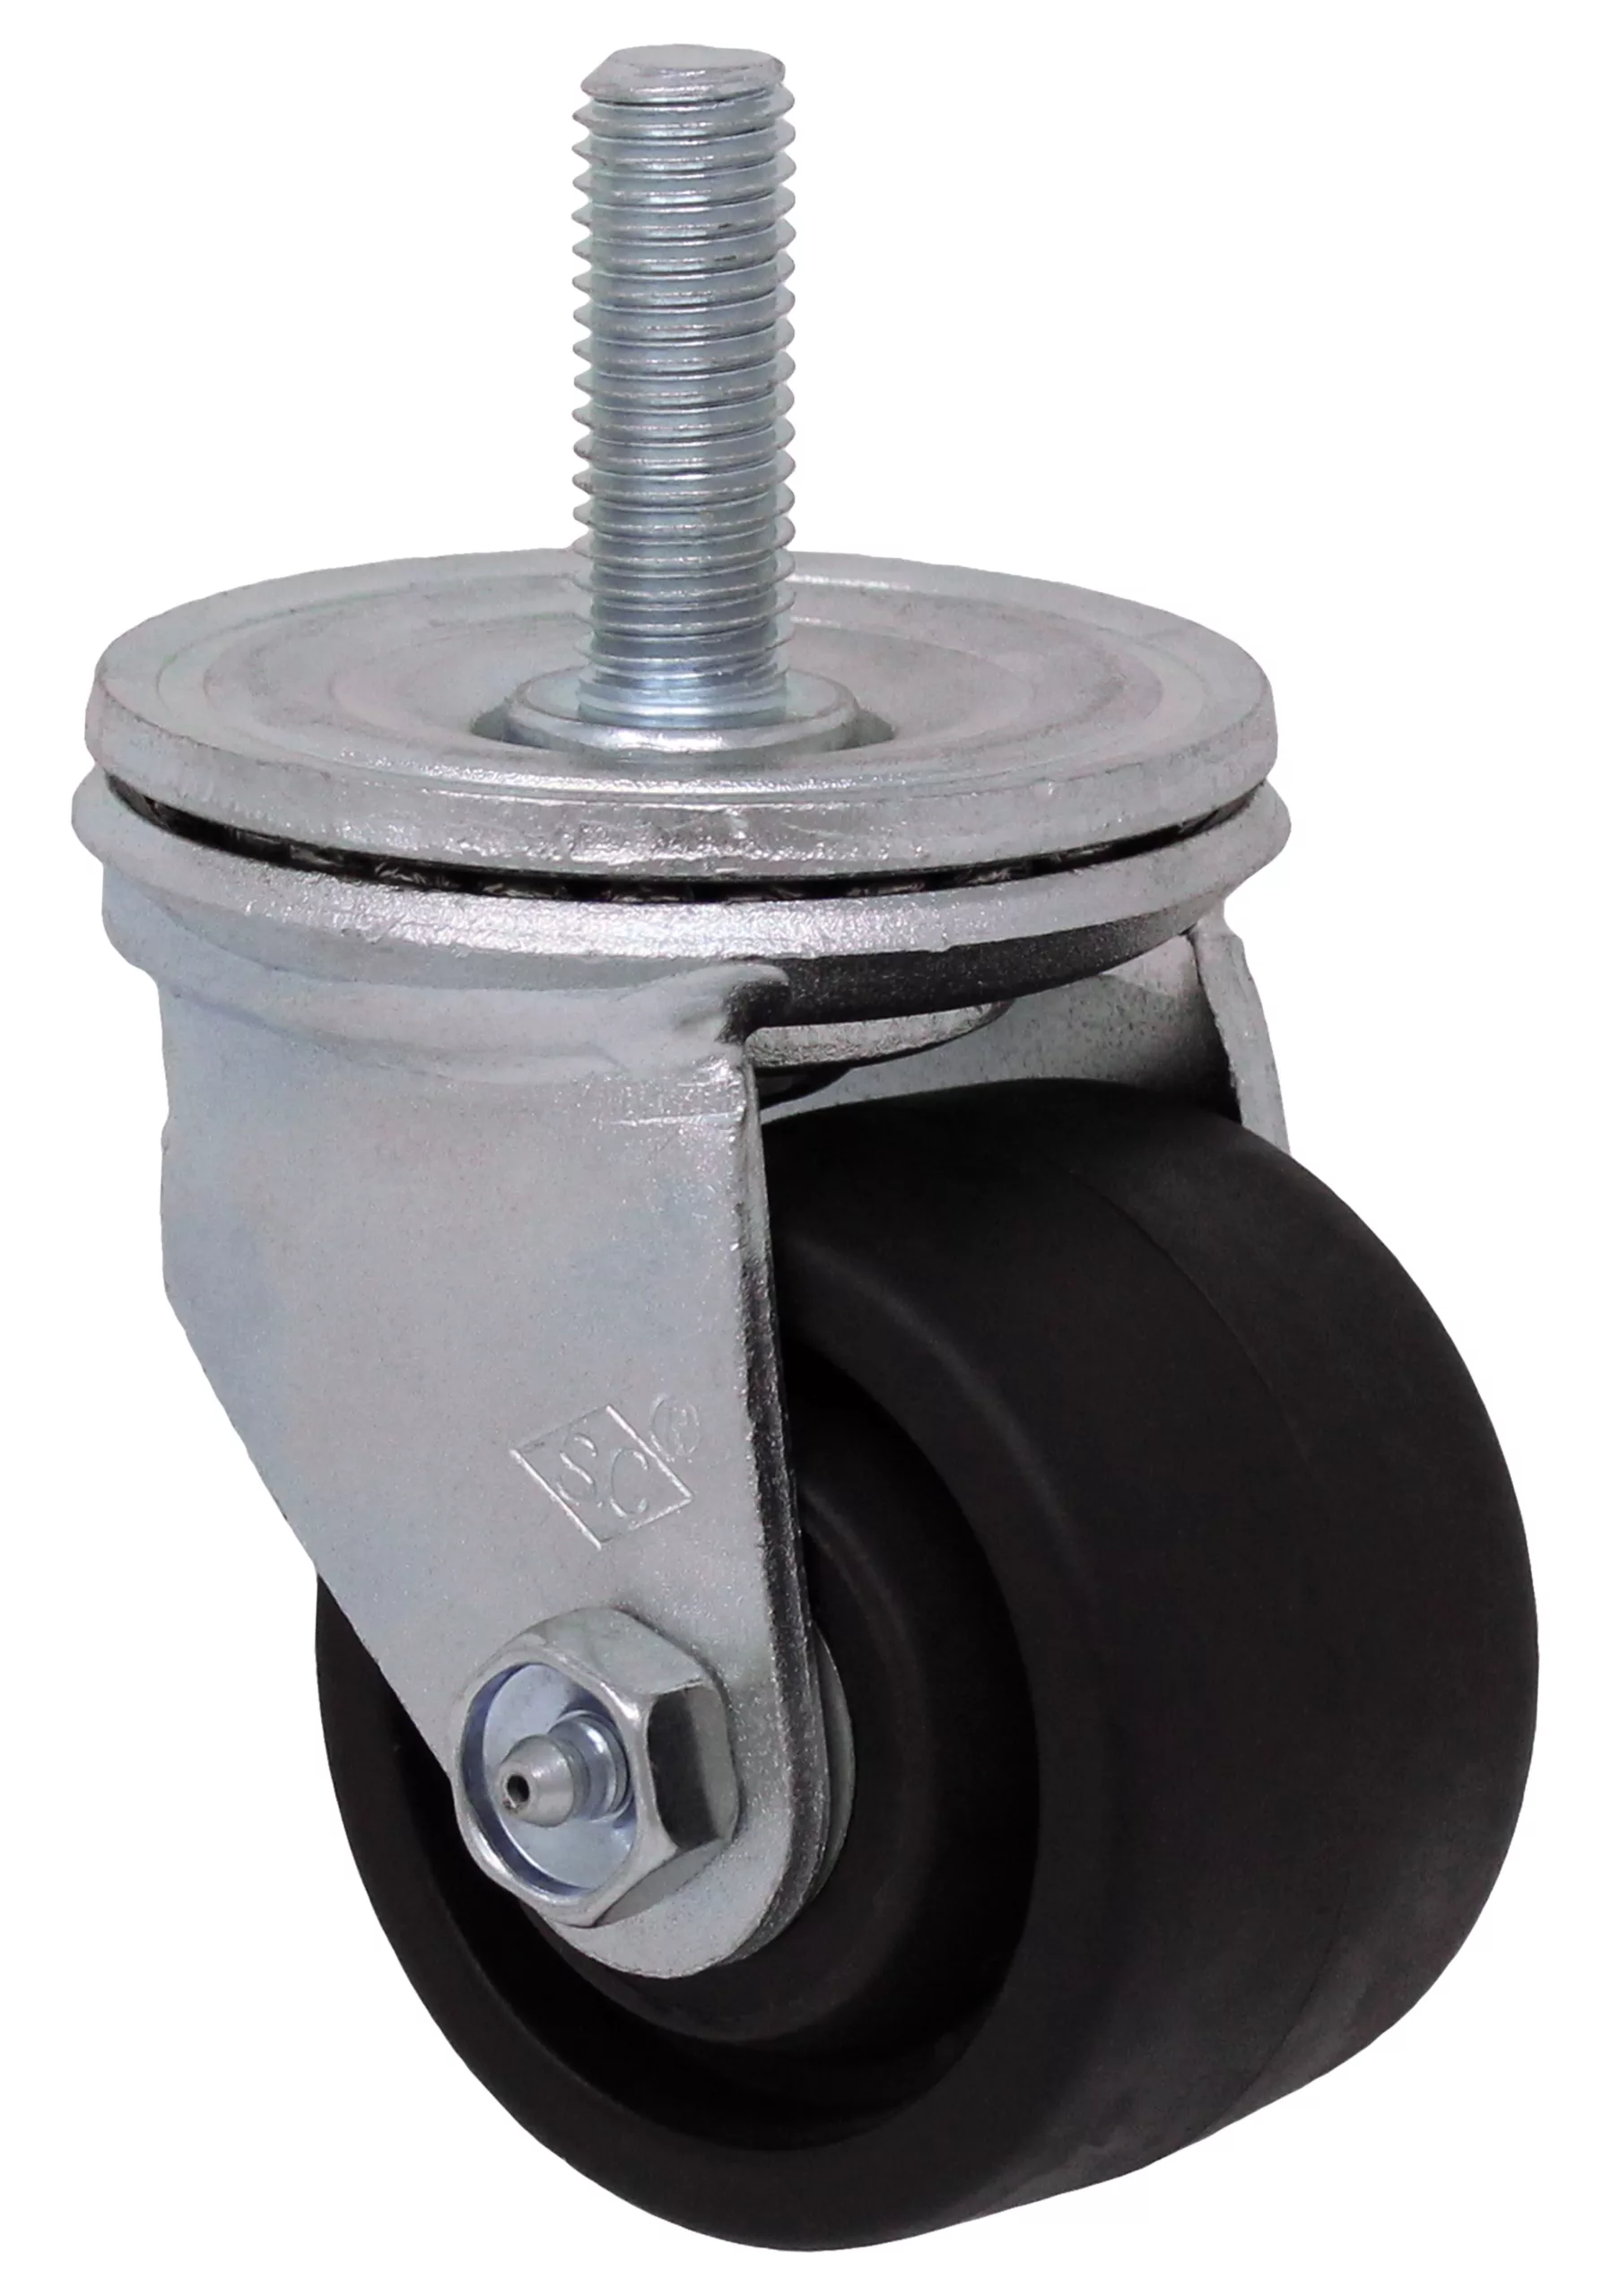
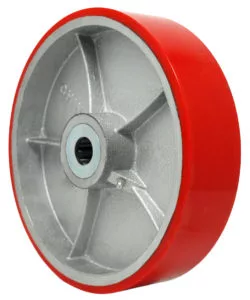
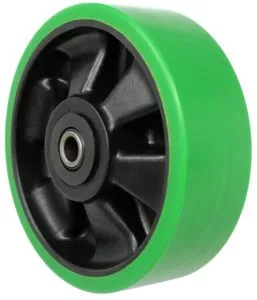
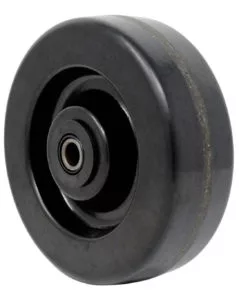
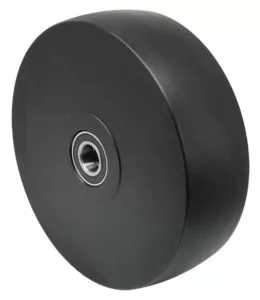
Crane Casters (Wheels)
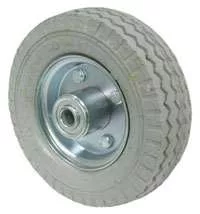
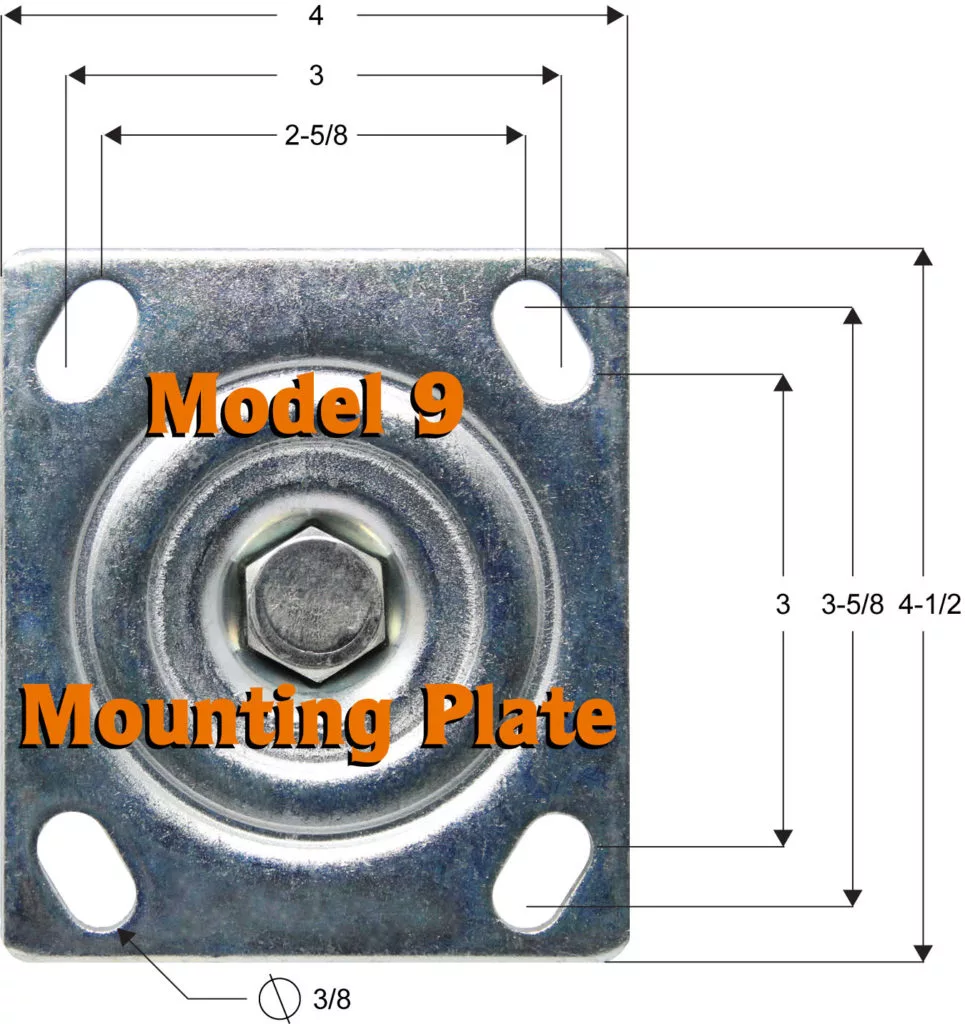
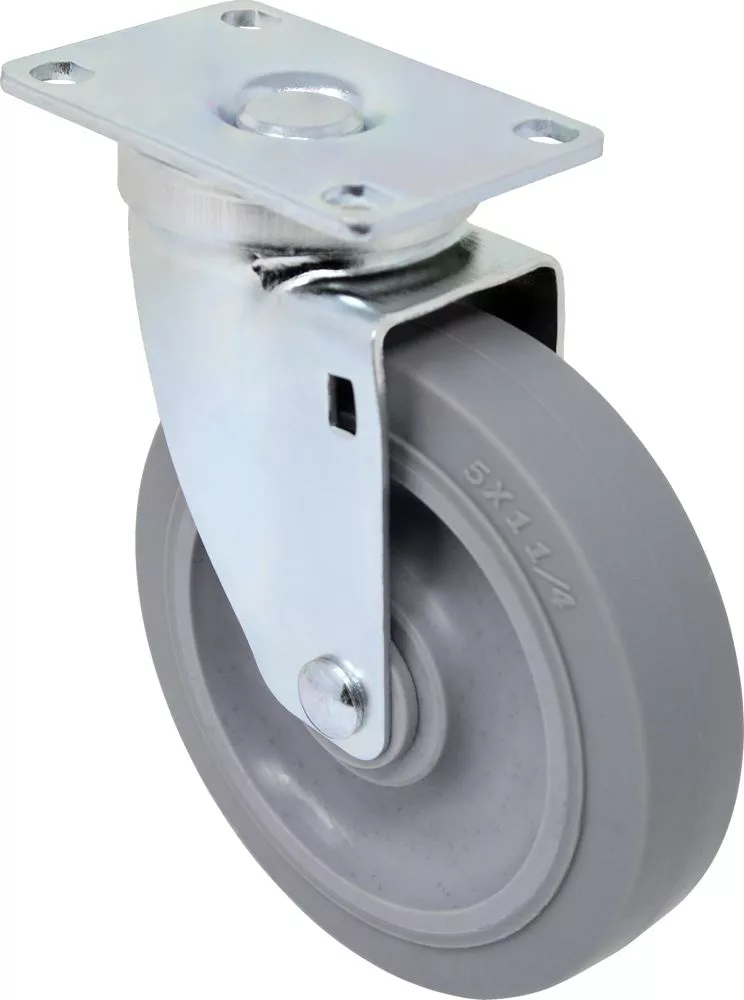
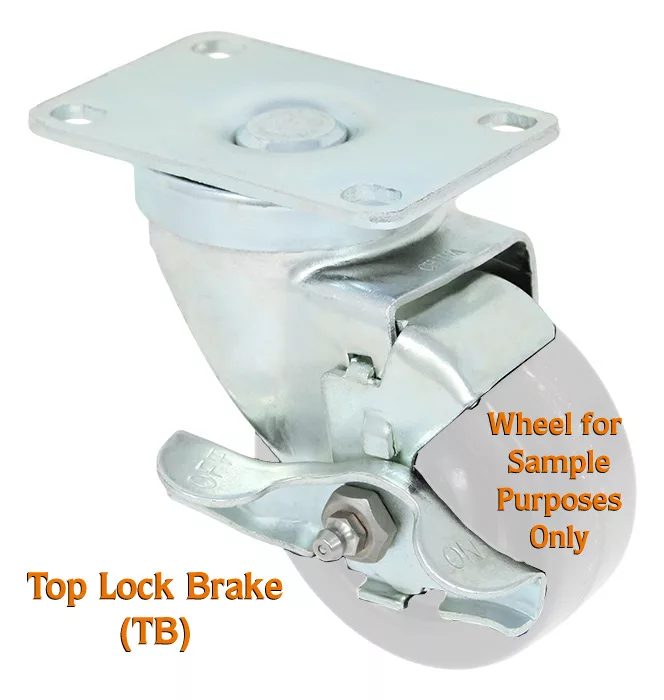
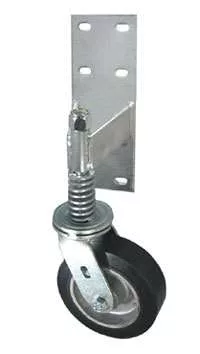
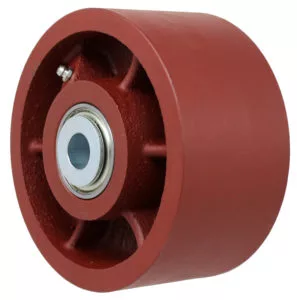
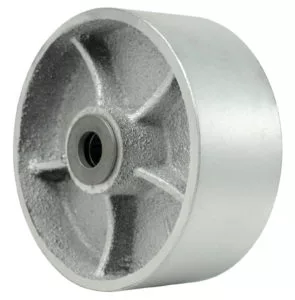
Crane casters allow your gantry crane to be mobile, making it possible to move your heavy loads to different locations with ease. The choice of caster should be appropriate for your load and the surface on which your crane will be operating.
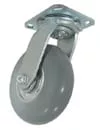
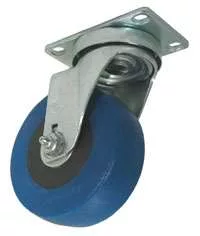
Here are some options you may consider:
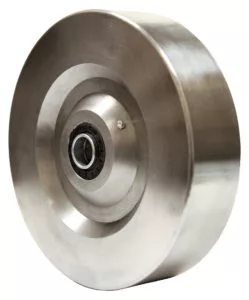
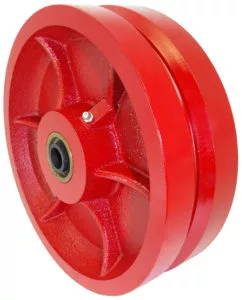
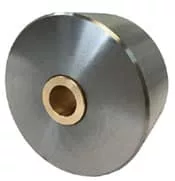
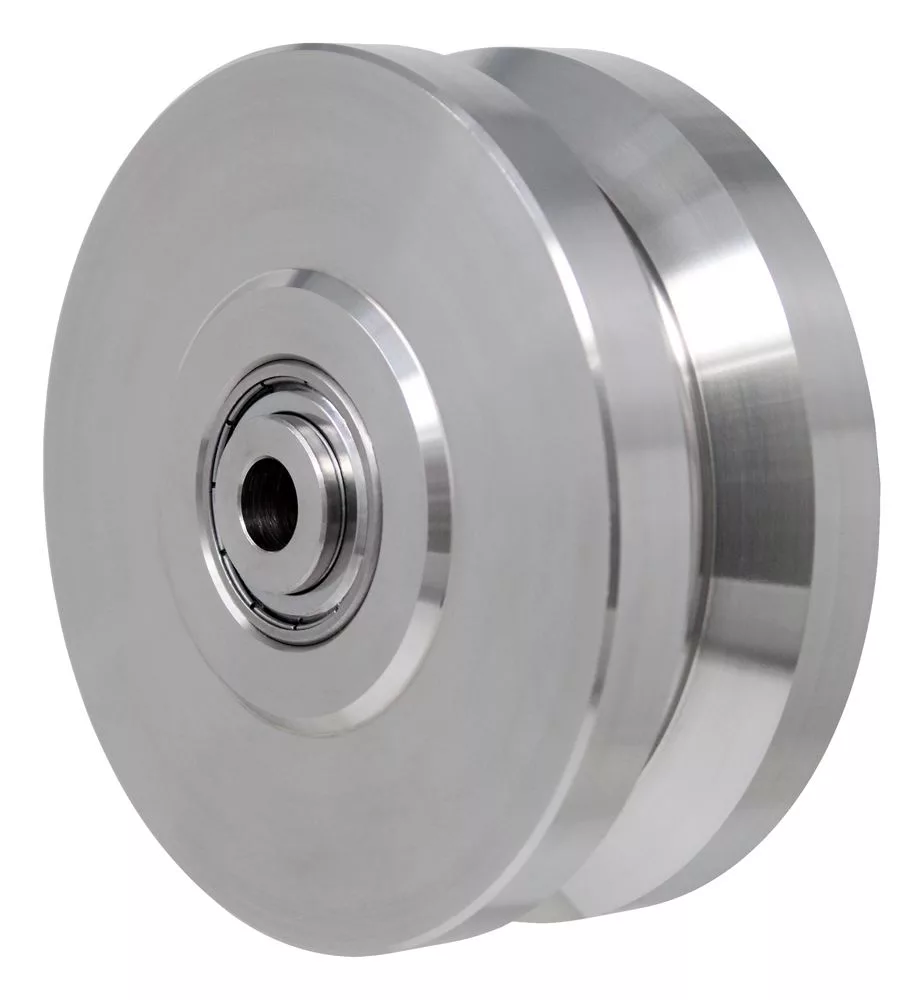
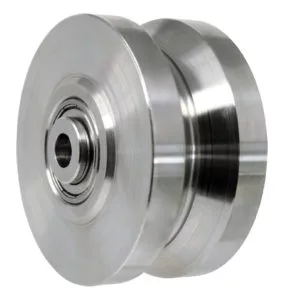
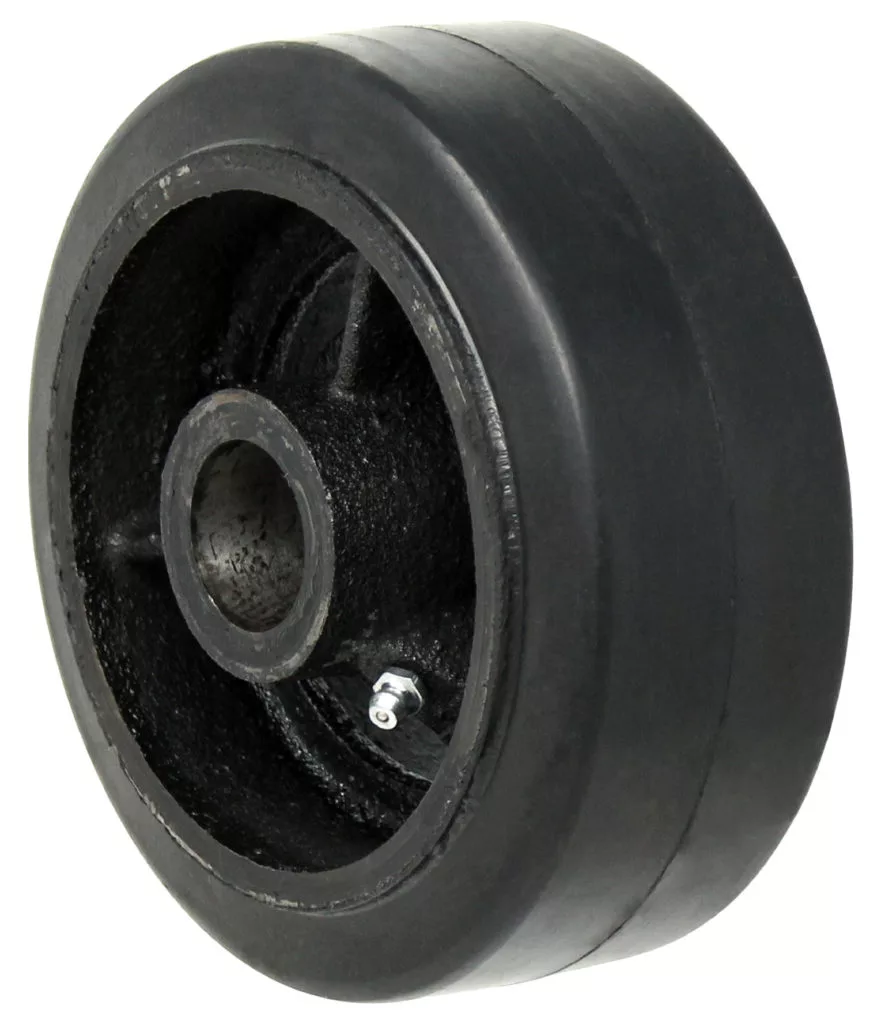
- Industrial steel or iron Casters are designed to handle extremely heavy loads. However, they may potentially damage certain types of flooring due to their weight and hardness.
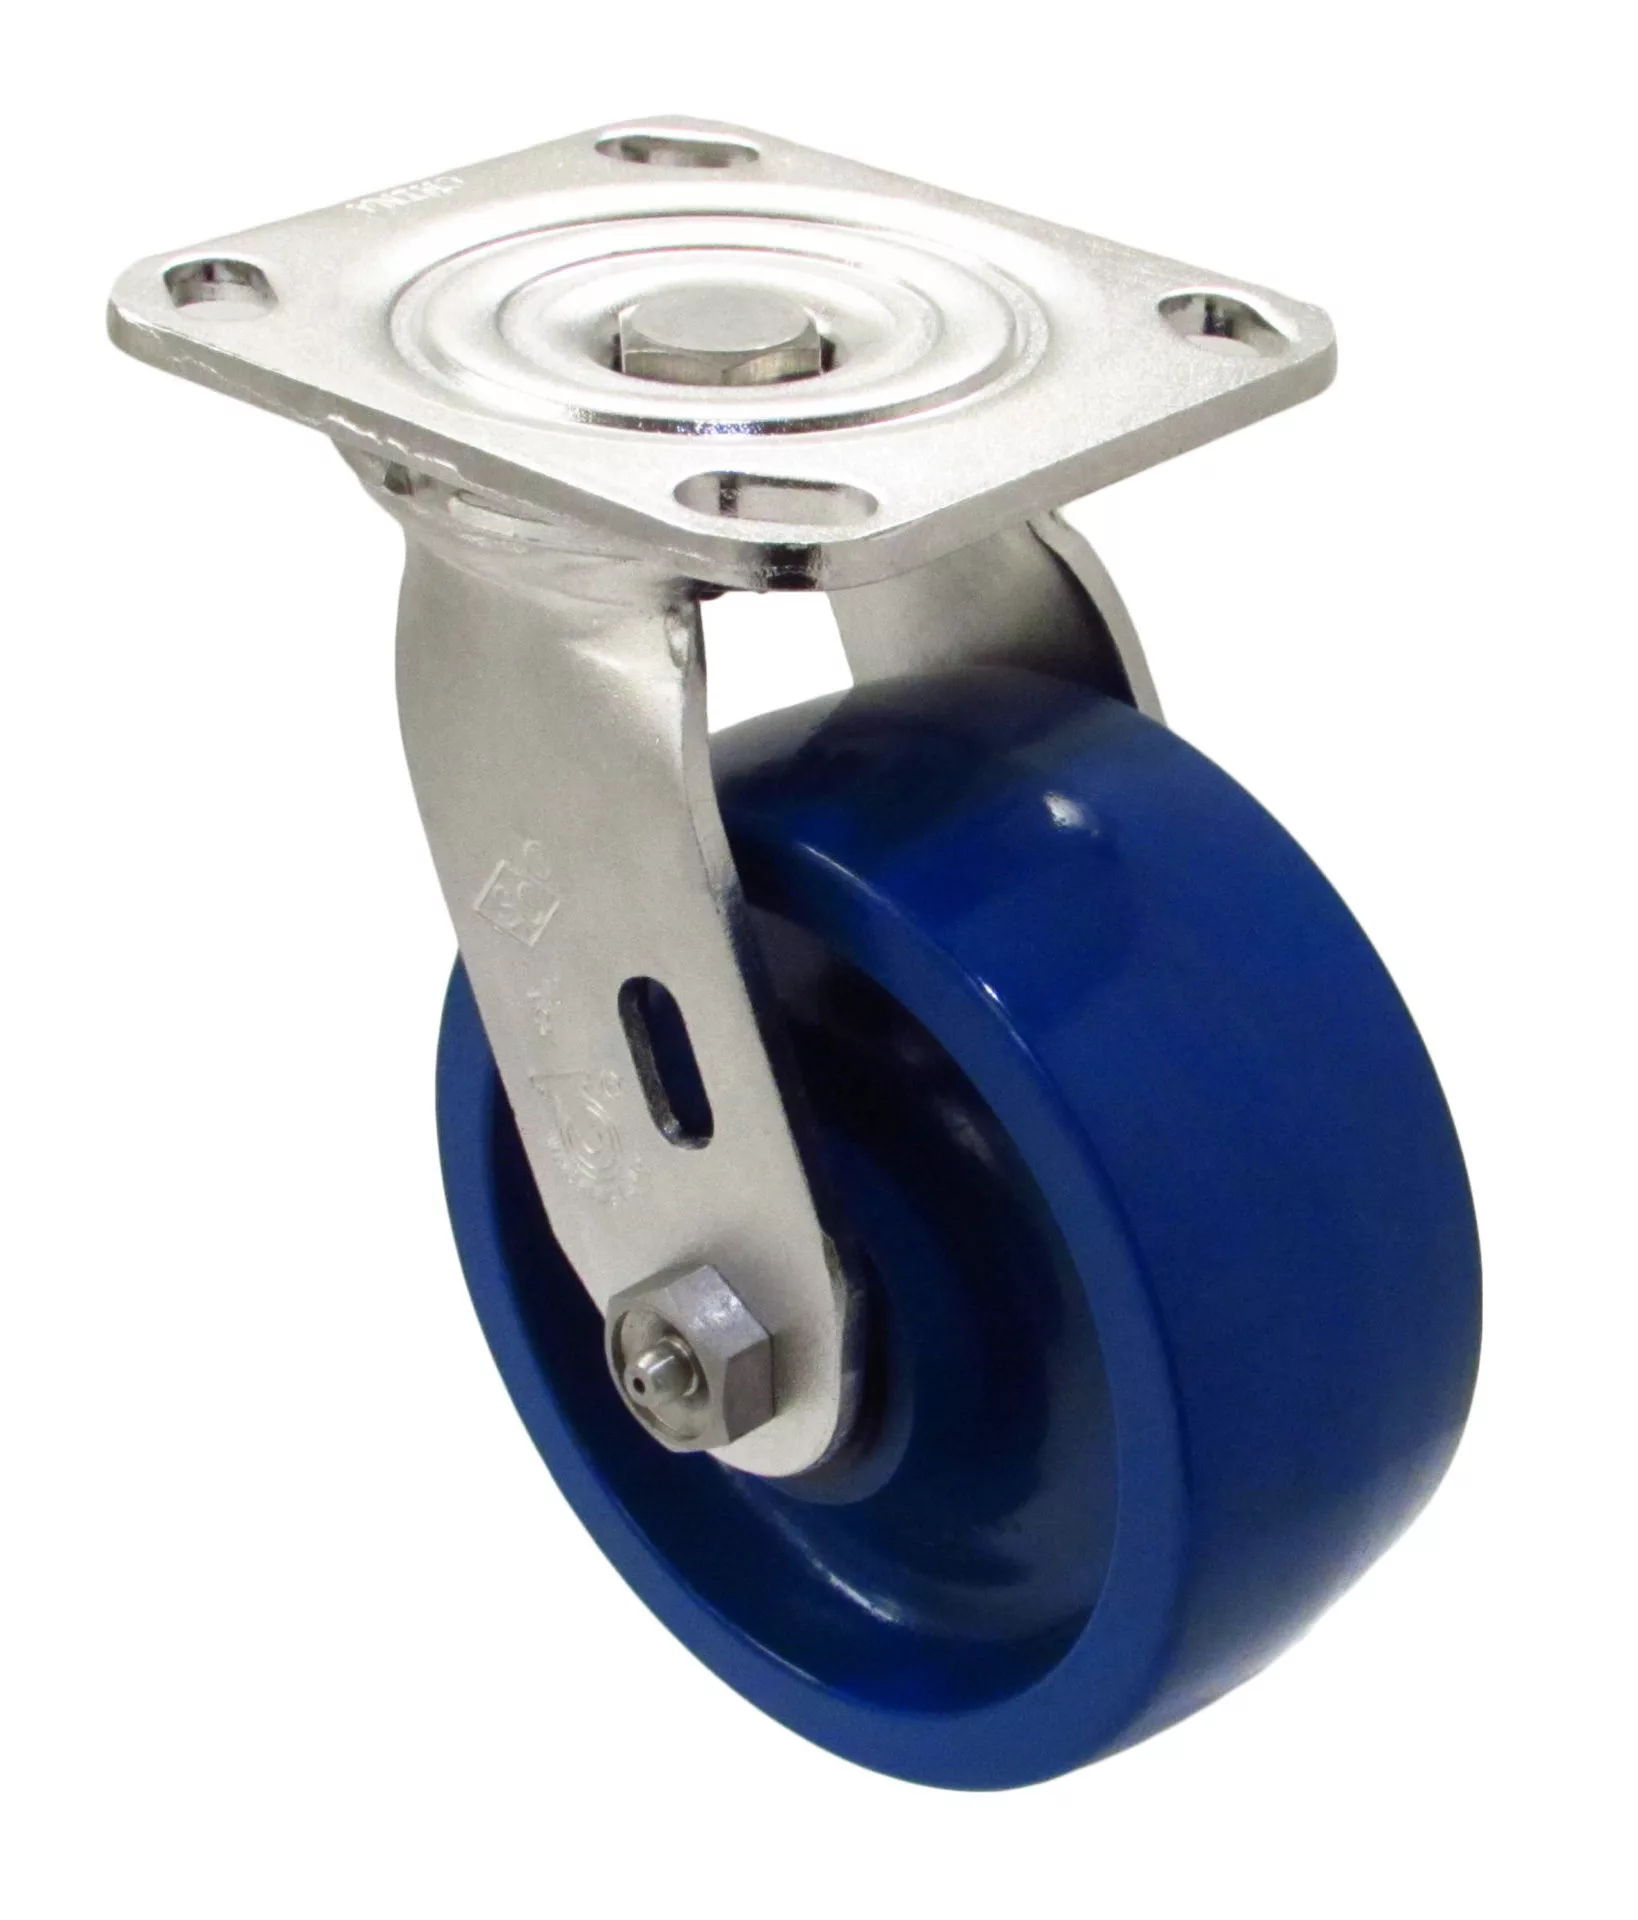
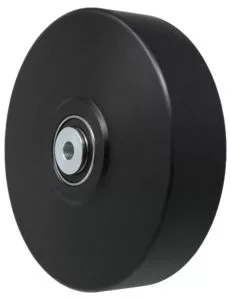
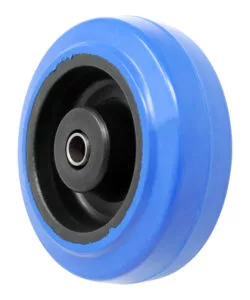
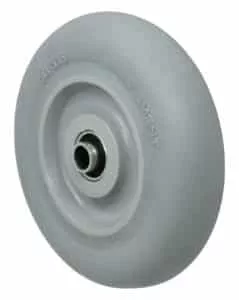
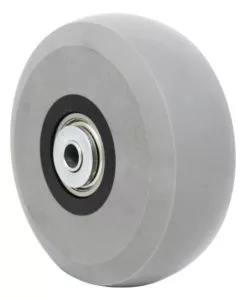
- Polyurethane casters are a great choice for reasonably heavy loads. These casters run quietly, protect most floor types from damage, and offer a great balance between durability and floor protection.
There are other materials available for crane casters, but it’s best to consult with a few industrial caster manufacturers to get their insights on your DIY project.
As leading manufacturers in the industry, we would be more than happy to provide specs on all our crane casters, helping you select the best option for your needs.
Remember, the right casters can significantly influence your crane’s effectiveness, maneuverability, and lifespan. So, choose wisely!
After discussing the basic components and types of gantry cranes, it’s time to guide you through the actual building process.

Constructing a Basic Fixed Gantry Crane: Step-By-Step Tutorial
Building a gantry crane might seem daunting at first, but it’s more manageable when broken down into a series of steps. Here’s a detailed guide on constructing a basic fixed gantry crane from scratch
1. Gather Your Materials
The first step is to gather all the necessary materials. For a fixed gantry crane, you’ll need steel beams for the frame and girder, a manual or electric hoist, a trolley, and your chosen casters. Depending on your chosen frame material, you may require a welding machine for steel or a drill and screws for wood. Be sure to prepare protective gear for your safety during assembly as well.
2. Design the Frame
The design of your gantry crane frame typically follows an A-shape, comprising two legs on either side. This design ensures stability. Make sure your frame is high and wide enough to accommodate your loads, clear obstacles, and provide ample room for operation. Also remember, the frame’s size will affect your girder’s dimensions.
3. Assemble the Frame
Begin the assembly process by cutting your materials according to your design’s specifications. Assemble the frame, ensuring that the legs are parallel and the cross beams are straight. Depending on your chosen material, this step may involve welding or bolting the pieces together. Make sure the connections are secure and strong.
4. Install the Girder
Your girder, a sturdy horizontal beam, will span across the top of the frame. Attach it firmly, ensuring that it’s evenly balanced on both sides. The girder is a critical component, as it will bear the brunt of your load’s weight. Double-check the strength and security of this installation.
5. Set up the Trolley and Hoist
Now, attach your trolley to the girder. The hoist – whether manual, electric chain or cable – is then attached to the trolley. Ensure that the hoist can glide effortlessly along the trolley’s length and that the trolley can traverse the entire length of the girder smoothly.
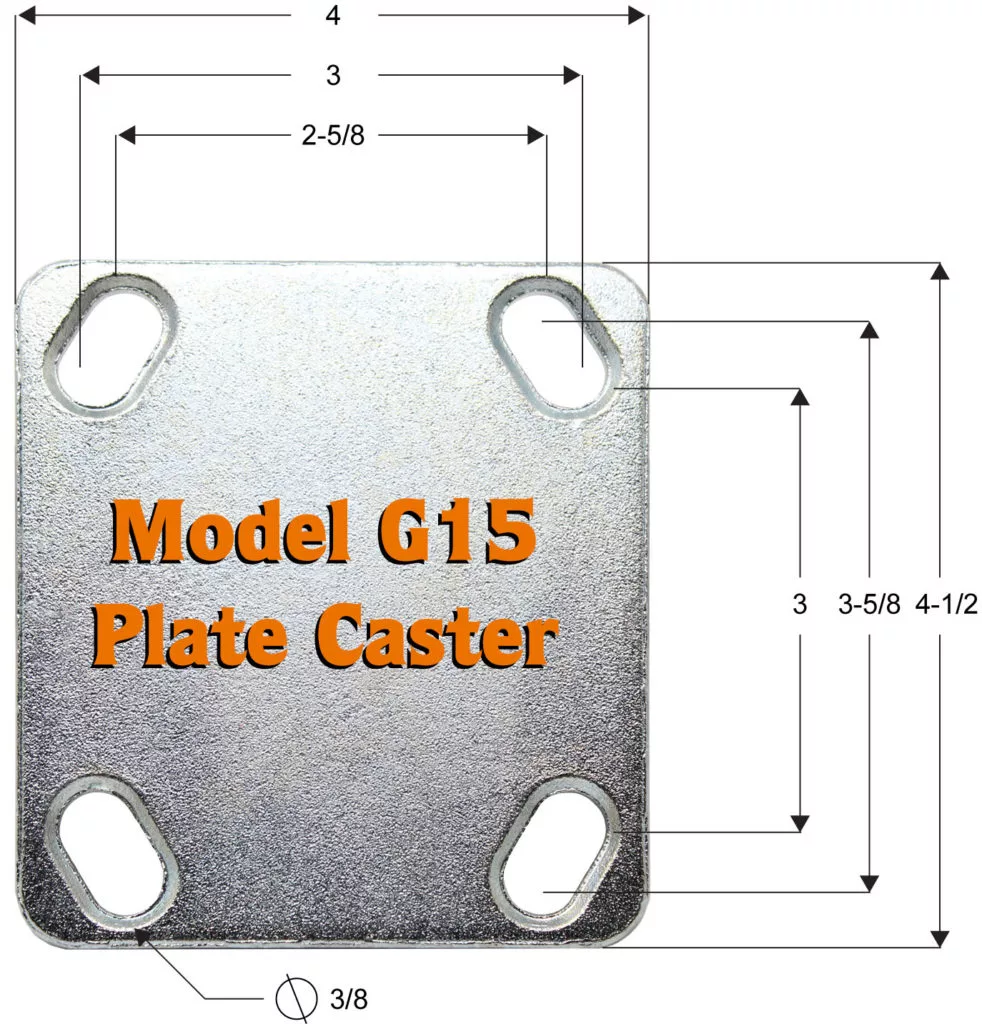
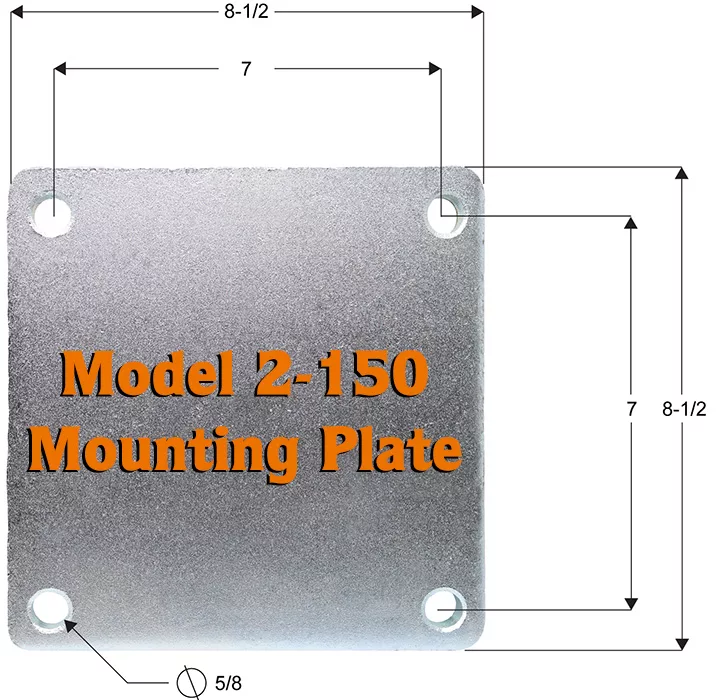
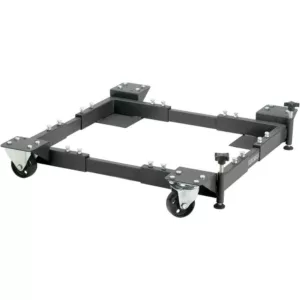
6. Attach the Casters
Lastly, attach your casters to the bottom of the frame. Make sure they’re secure and that they roll freely. The type of caster you choose will depend on your working surface and load weight. Choose high-quality casters that are suited to your working surface and load weight. The mobility of your crane relies heavily on this choice.
7. Conduct Final Checks
Before you start operating your crane, perform a comprehensive inspection. Make sure all parts are secure and stable, and nothing wobbles or moves unintentionally. To ensure it functions as expected, run a test with a light load first. This check will help prevent any malfunctions or mishaps during actual operation.

Safety Measures for Building and Using a Homemade Gantry Crane
Safety should be your prime concern while dealing with heavy machinery. Let’s go through some essential precautions.
Understanding Load Limits
Each crane has a specific load limit based on its design and components. Never exceed this limit. Overloading can lead to crane failure and serious accidents.
Regular Inspection and Maintenance
Ensure your crane is always in the best working condition by performing regular inspections and maintenance. This includes checking for wear and tear on all parts, especially load-bearing components like the hoist, girder, and casters.
Proper Training
Anyone who will be operating the crane should receive adequate training. This training should cover all aspects of the crane’s operation, including lifting and moving loads and emergency procedures.
Conclusion
Constructing a DIY gantry crane may seem daunting initially, but understanding the interplay between its various components demystifies the process. Each decision – from choosing the crane type and frame materials to selecting your girder, hoist, trolley, and casters – forms a part of a bigger picture, ultimately leading to a robust, valuable tool serving your needs for years.
Embracing this challenge not only cuts costs but also equips you with a useful skill. The gantry crane you build will be a practical solution for numerous heavy lifting tasks, enhancing the efficiency and safety of your workspace. Beyond the utilitarian benefits, there’s a profound sense of accomplishment in seeing a project of this scale through to completion.
Don’t hesitate to reach out to our team for advice on choosing the right components or if you have any other questions related to your DIY gantry crane project. We’re here to help!